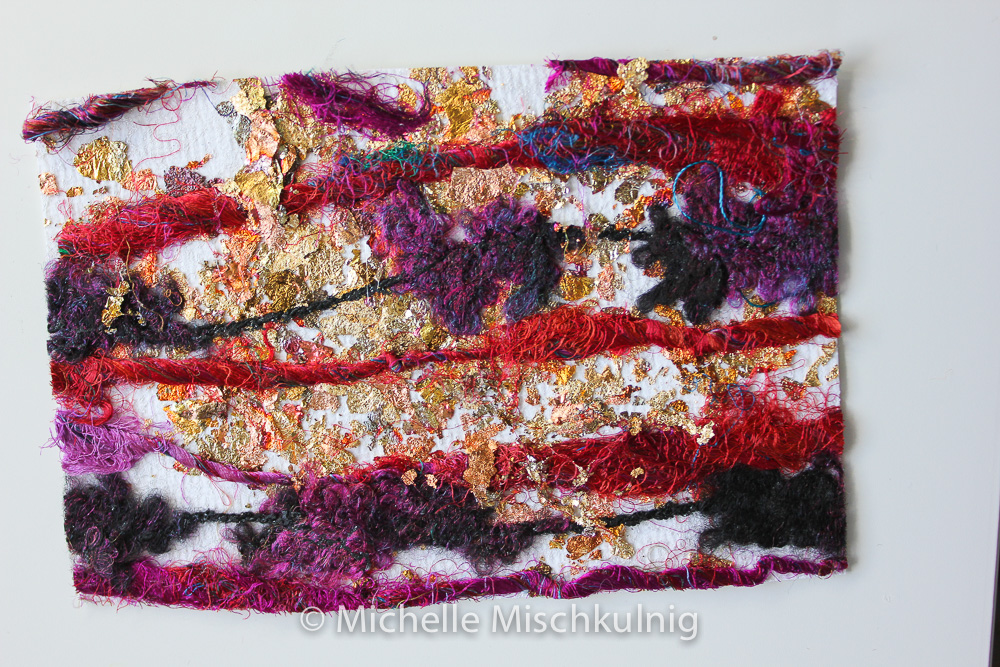
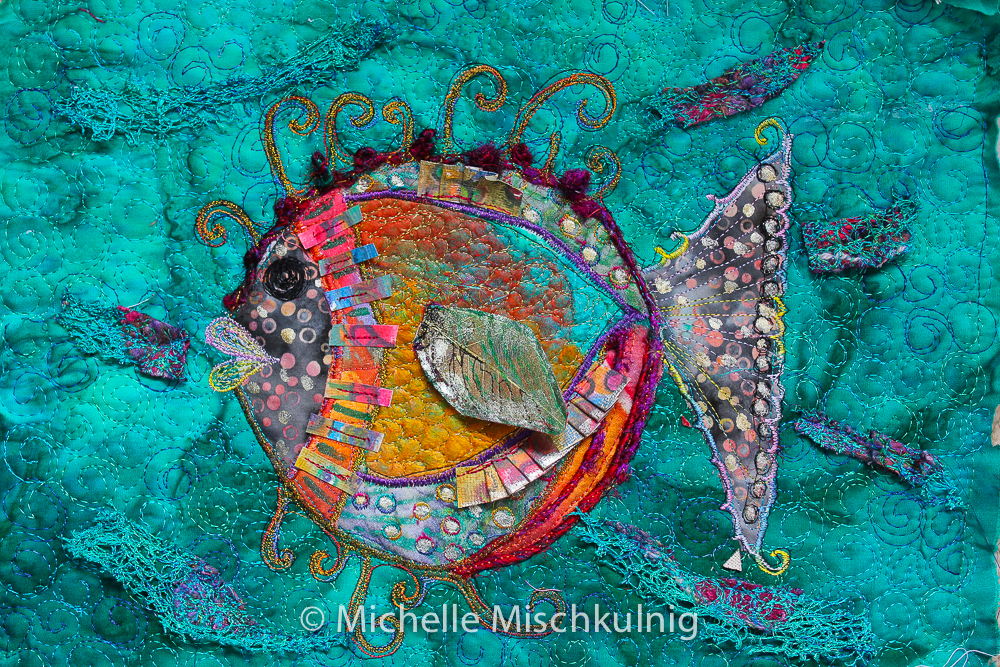
A textural journey/journal to share
Enjoy the view
“Every child is an artist, the problem is staying an artist when you grow up” – Pablo Picasso
Hello and welcome back.Today I am sharing with you the next part of our textural journey. I have an image in my mind that we all are travelling in a train taking in the gorgeous vibrant joyous textural views and sharing this experience through visual media .I am enjoying the views and your company on this trip and hope you are too.
Part two of the journey of the journal begins by admiring the versatility of skeleton leaves and it tells you don’t be afraid to cut and weave and cut again
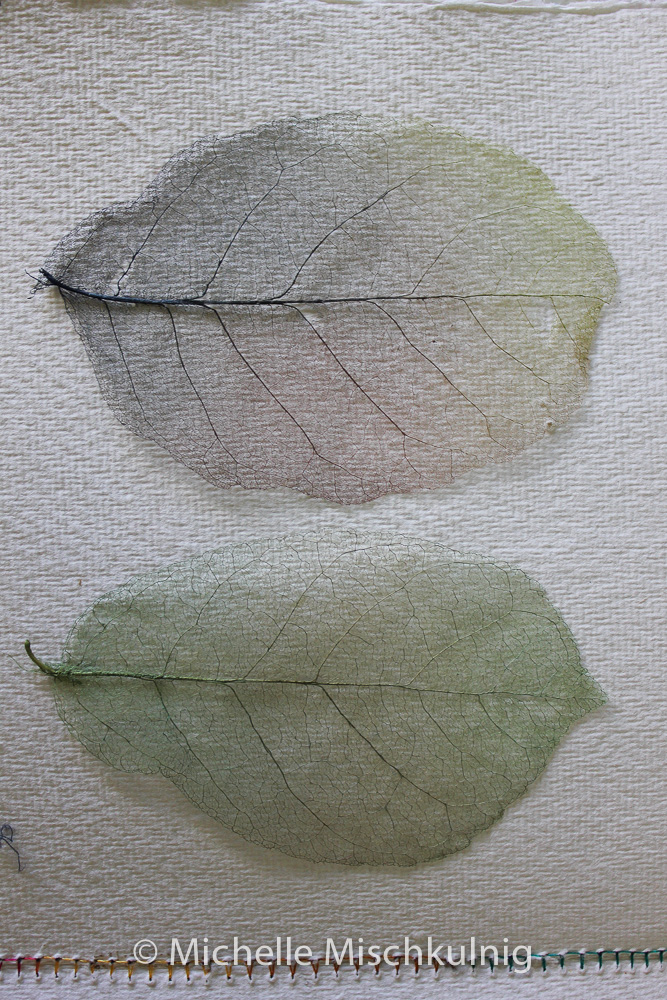
Skeleton leaves
These are so beautiful in their differing shapes and forms, they are fragile yet strong and are elegant in their structure. They offer many possibilities, below are 2 ideas for you to add to your journal or just to have a play when you wish.
Materials
Skeleton leaves
Water-soluble fabric
Sewing machine free motion foot
Machine embroidery threads
Silk hankies or caps or similar http://www.thethreadstudio.com/catalogue/fibre/fibre1.htm
Gold thread
foil paper
Fusible web
Iron
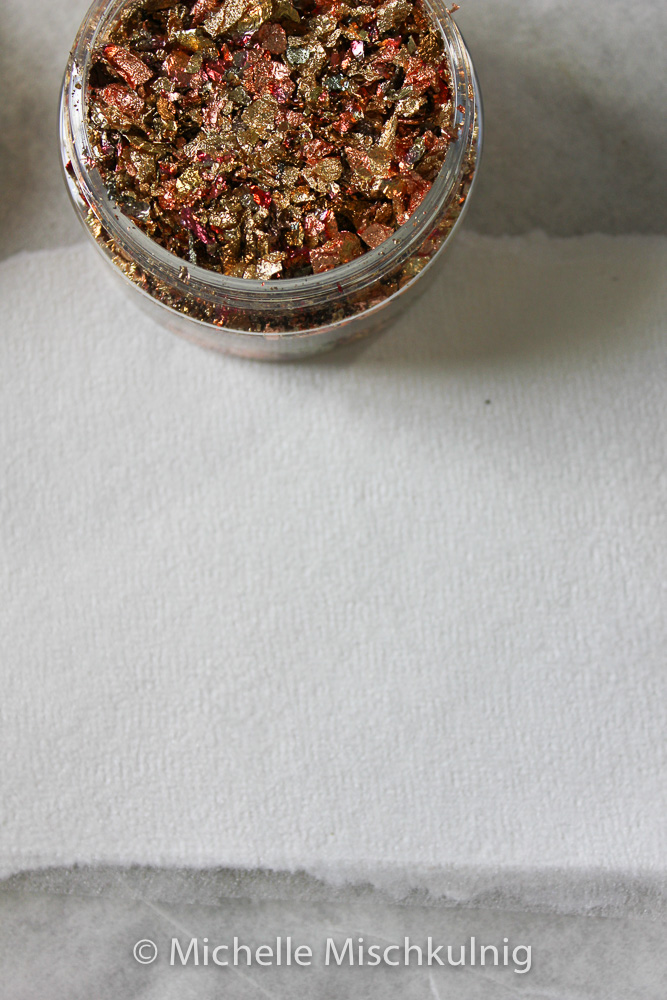
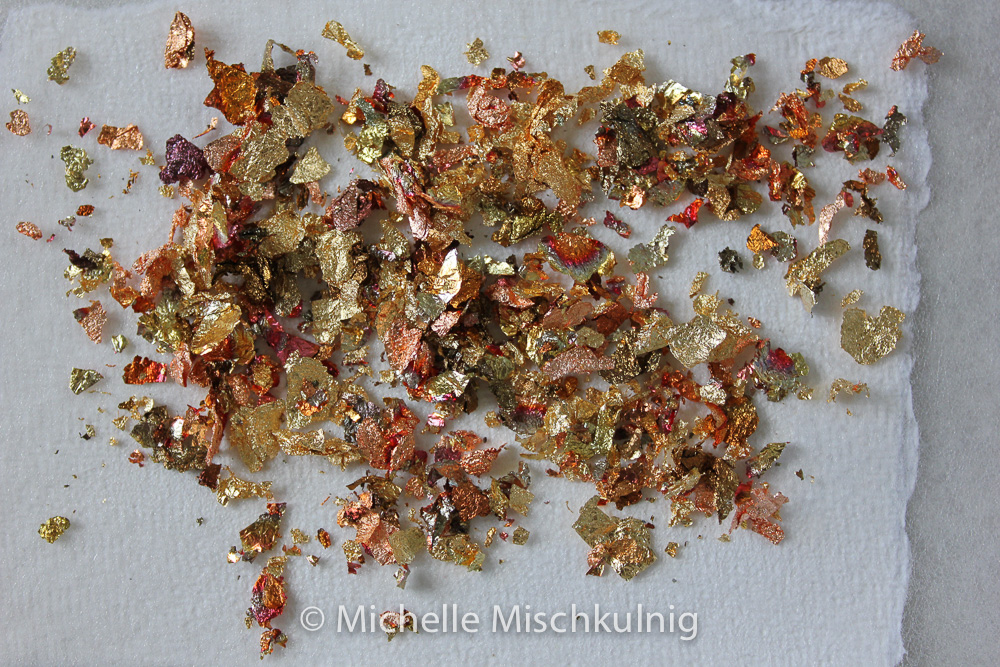
Gold leaf gilding flakes or (easter egg wrappers choc wrappers etc) http://www.thethreadstudio.com/catalogue/exp/gilding.htm
silk yarn or such
Hand stitch threads
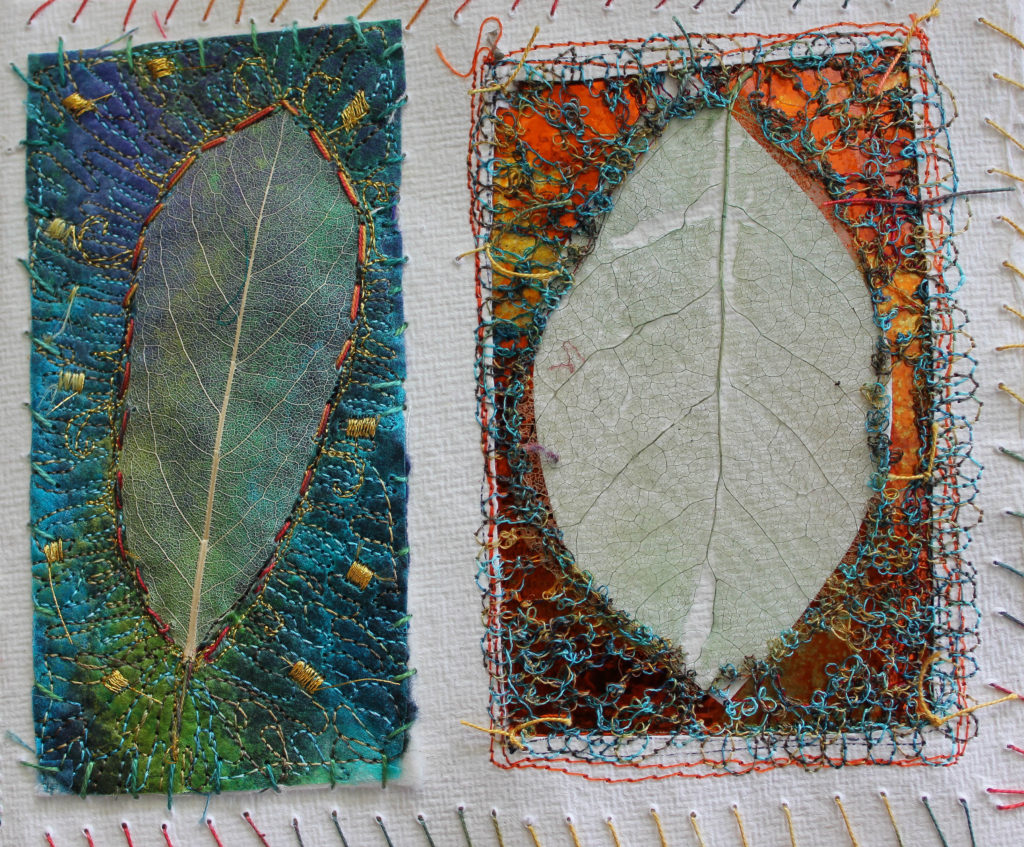
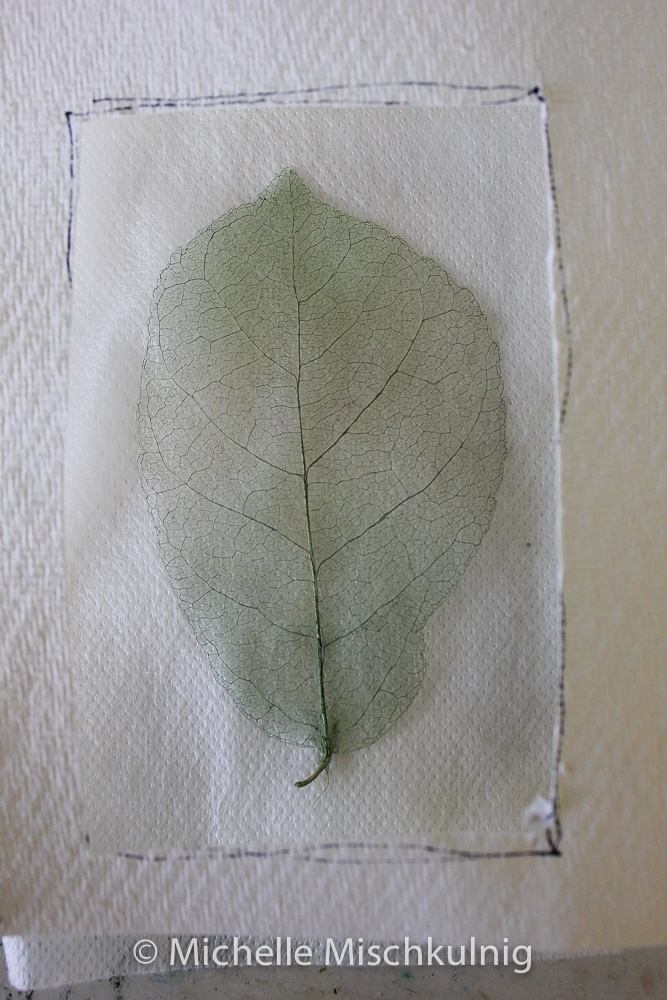
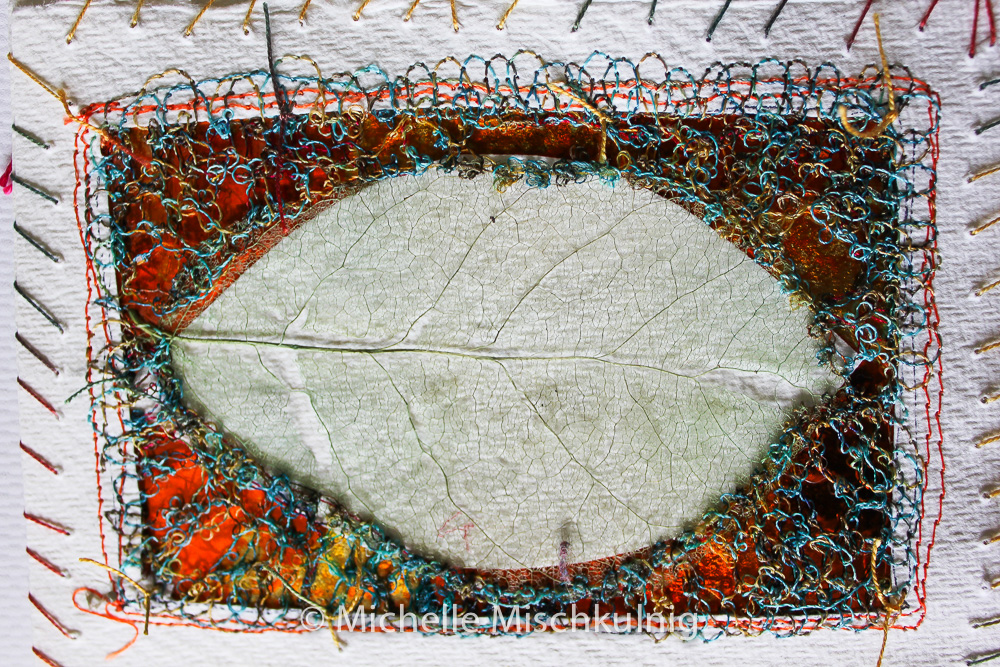
1. lace work leaf
- Take your cotton rag paper and place the leaves on top to give you an idea of the space each will need.
Draw a line around the outside of one of the leafs to form a rectangle shape
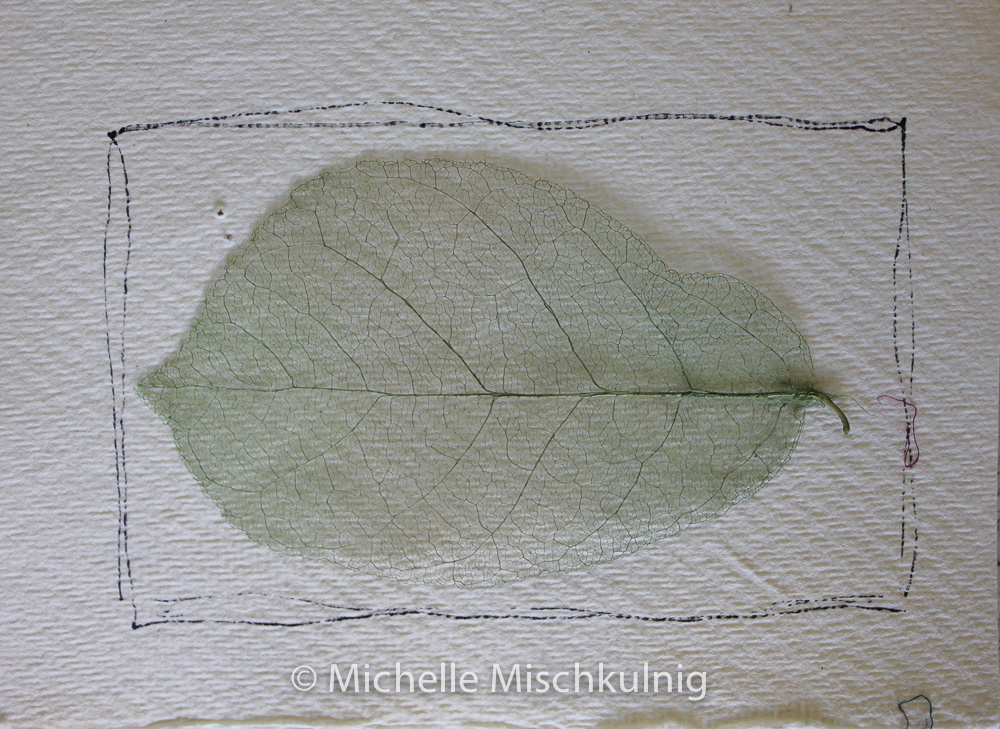
2. Cut the rectangle shape out of the cotton rag paper making a small frame .
3. Stitch some water soluble fabric to the back side of the page then place your leaf on top of this
4.Cover the leaf with another layer of water soluble fabric and stitch the edges to hold into place.
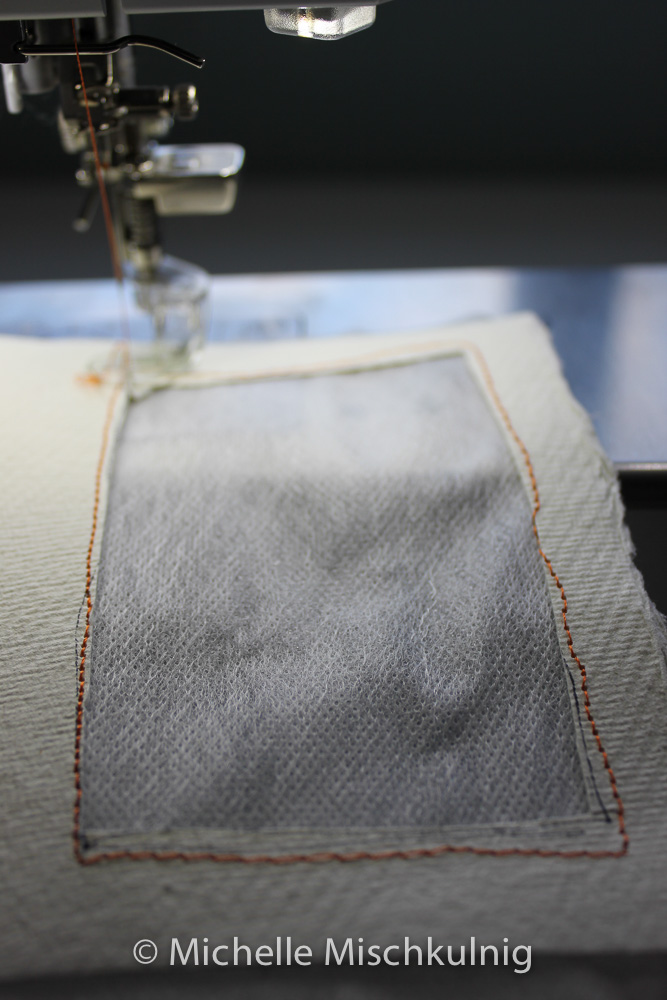
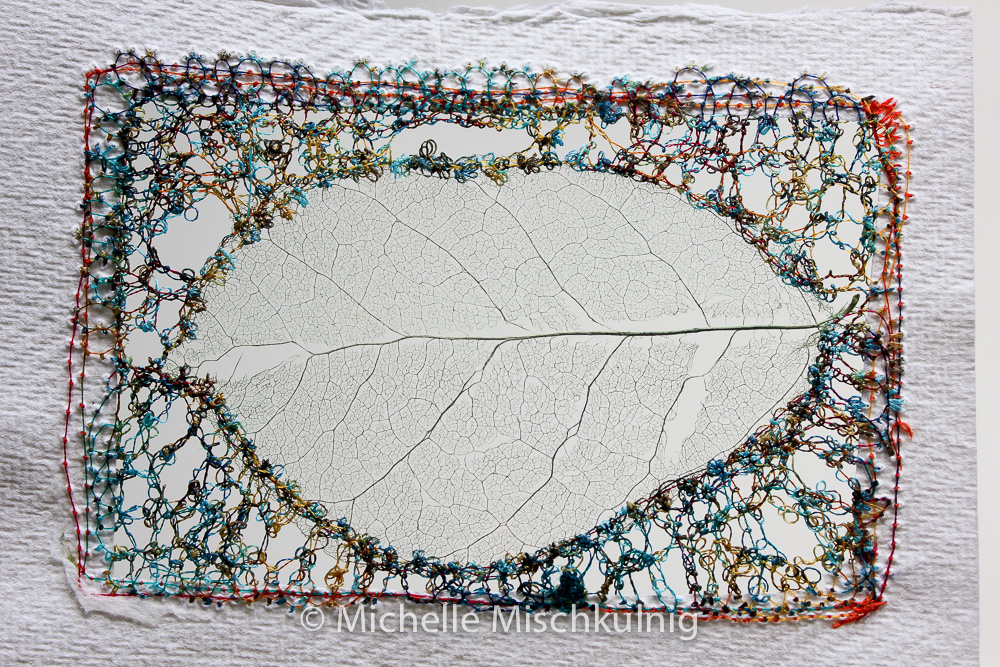
5. To hold the leaf to the edges of the paper I have used a circular motion making sure my stitches interlock and touch both the edge of the leaf and cotton rag.
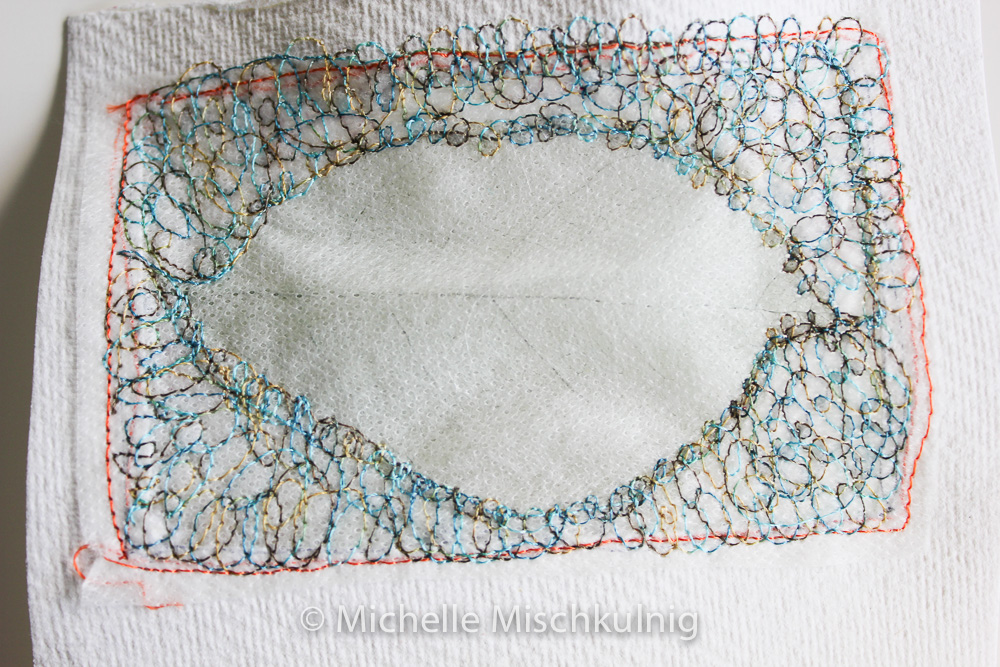
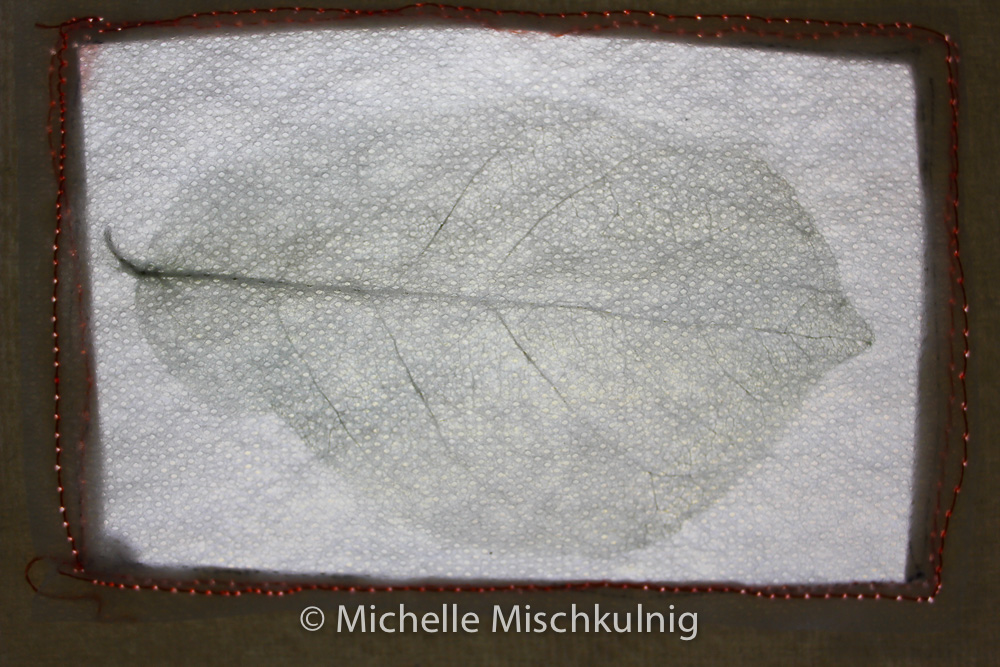
6. When you have finished stitching place in a shallow dish of warm water to allow water soluble to dissolve.
When the paper and leaf are dry press flat between two layers of baking paper.
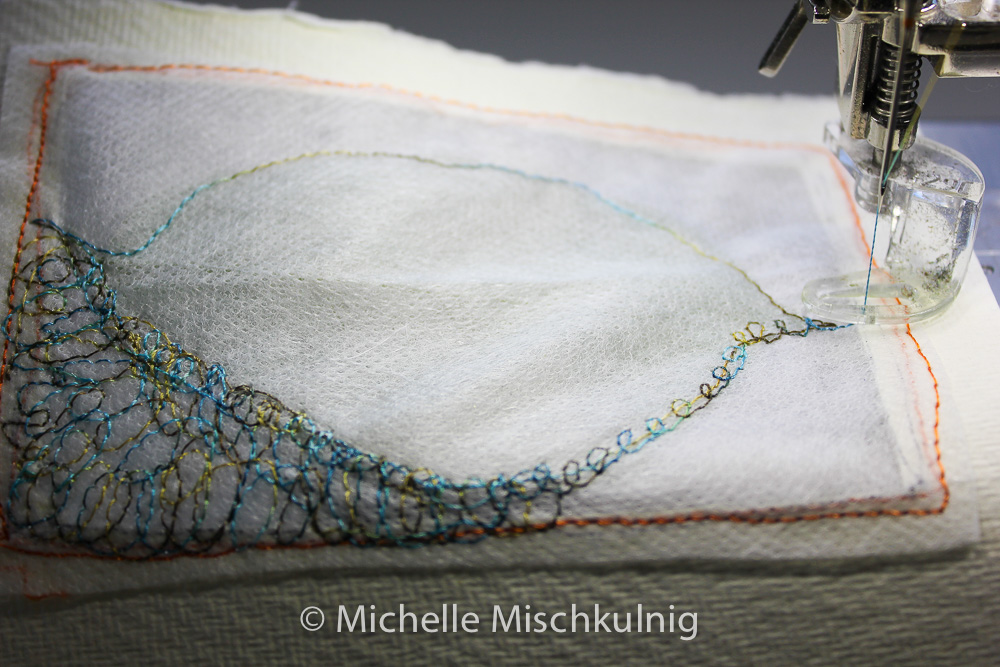
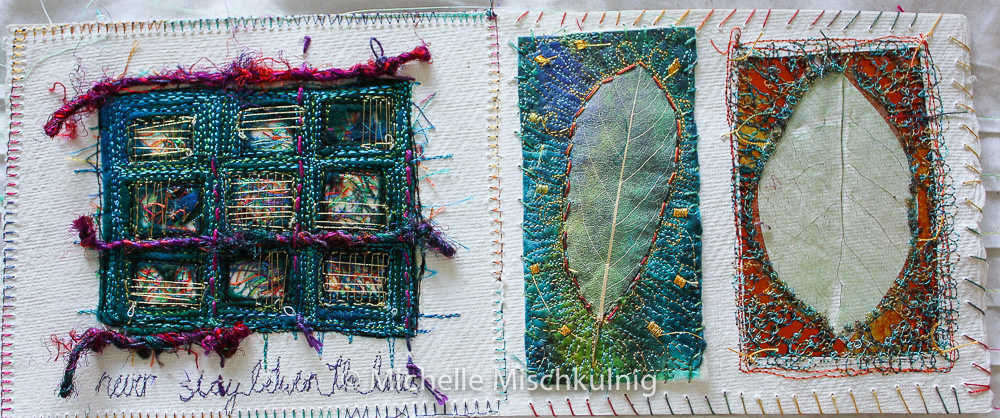
Raised and quilted skeleton leaf.
7. I have layered fibres from 2 different silk cap colours using fusible between the layers if you don’t have silk fibres such as hankies or caps experiment with what you have available. Fuse layers together by using a hot dry iron and some baking paper to protect the iron and the silk
Hand Dyed Silk Hankies
Silk in very fine layer form. The hankies are made from degummed cocoons that have been stretched over a square frame, forming a square of approx 22cm x 22cm, from which cobweb thin layers of fibre can be peeled off. Beautiful to look at, and great fun for experimenting with. Try trapping things inside the layers. Very versatile. together by using a hot dry iron and some baking paper to protect the iron and the silk
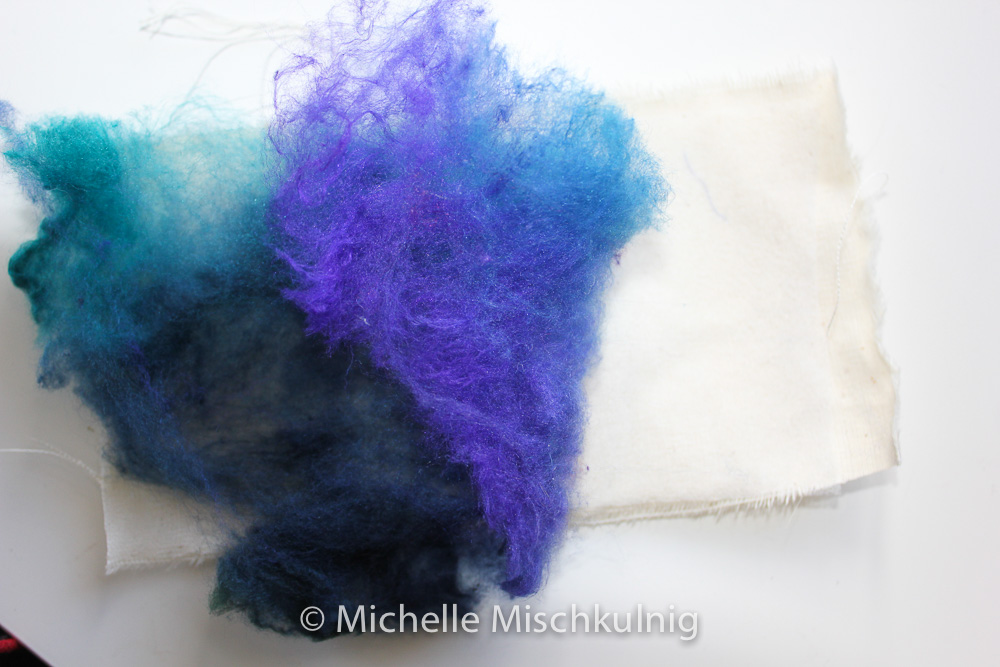
8. Place a final layer of fusible web on the surface of the silk caps and place your skeleton leaf on the surface of this layer. Fuse with a hot dry iron and baking paper protecting the skeleton leaf and your iron.
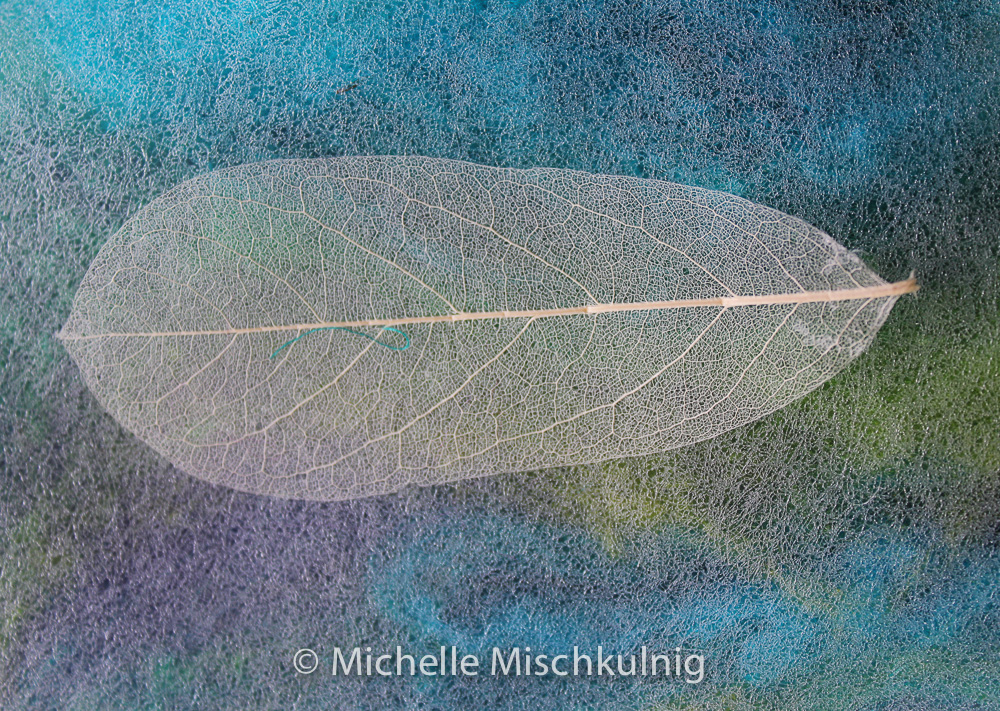
9. Back the silk hankie/ skeleton leaf with some wadding and stitch the surrounding area of the leaf this will lift the leaf up from the surface. I have also used a zig zag in a gold metallic thread to give a beading effect. I used the beading effect and gold out line on the leaf to attach the leaf art work to the to the cotton rag paper and finally hand stitching the edges to the cotton rag page and outlining the leaf.
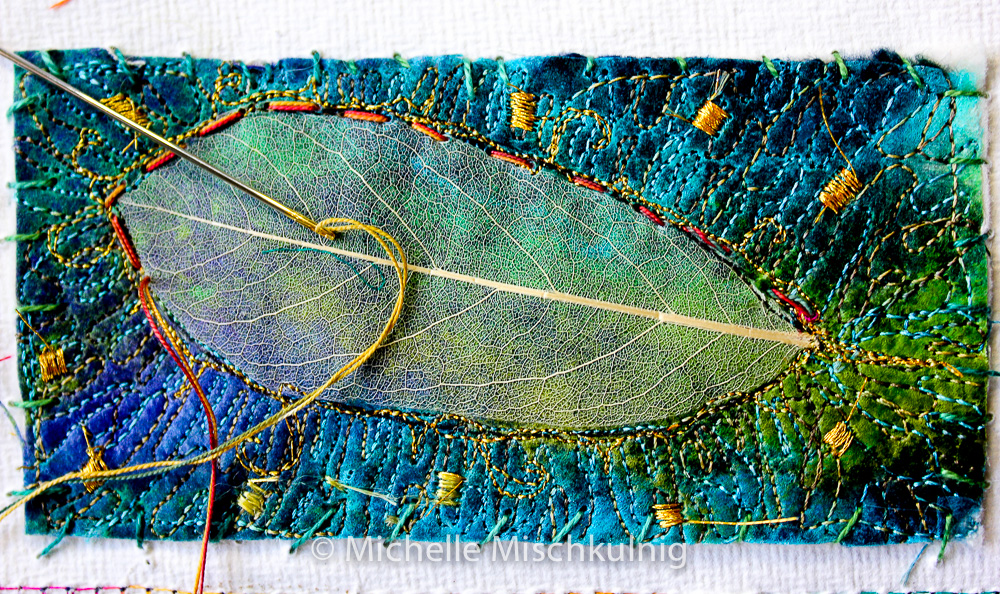
10. To complete the skeleton leaf page I have backed the lace work leaf with a copper foil paper. To do this I ironed the copper foil onto calico backing using fusible web to adhere the 2 layers then stitched it onto the back of the cotton rag paper this gives the skeleton leaf a little depth .My skeleton leaf deteriorated a little when I washed the water soluble away, this doesn’t usually happen it must depend on the type of skeleton leaf.
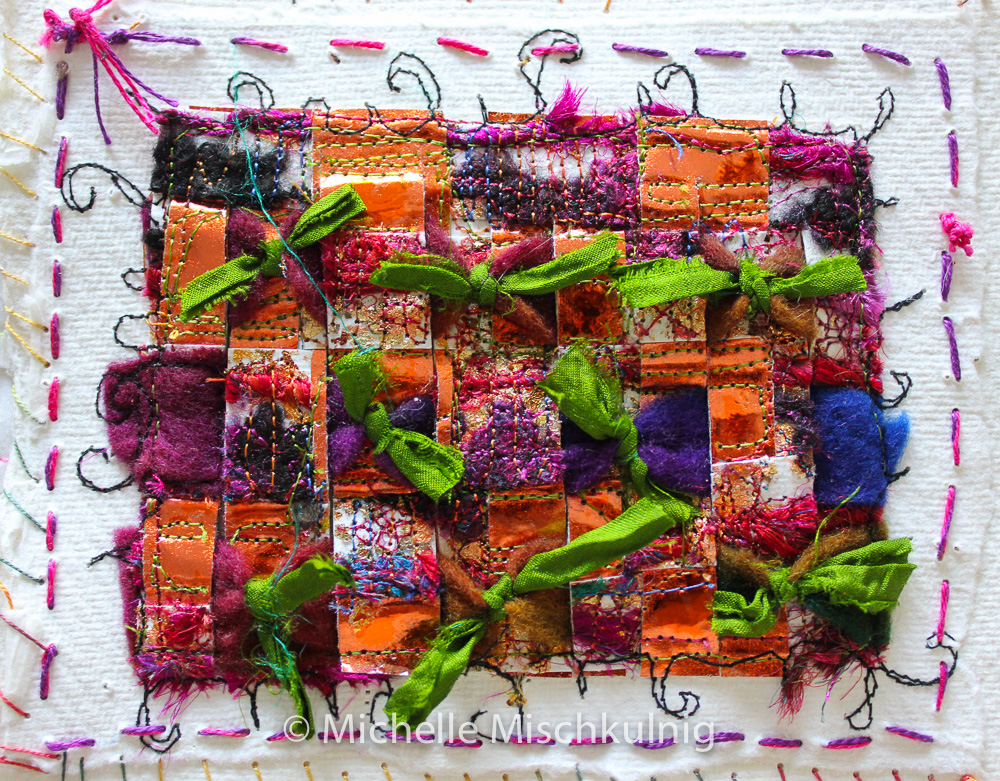
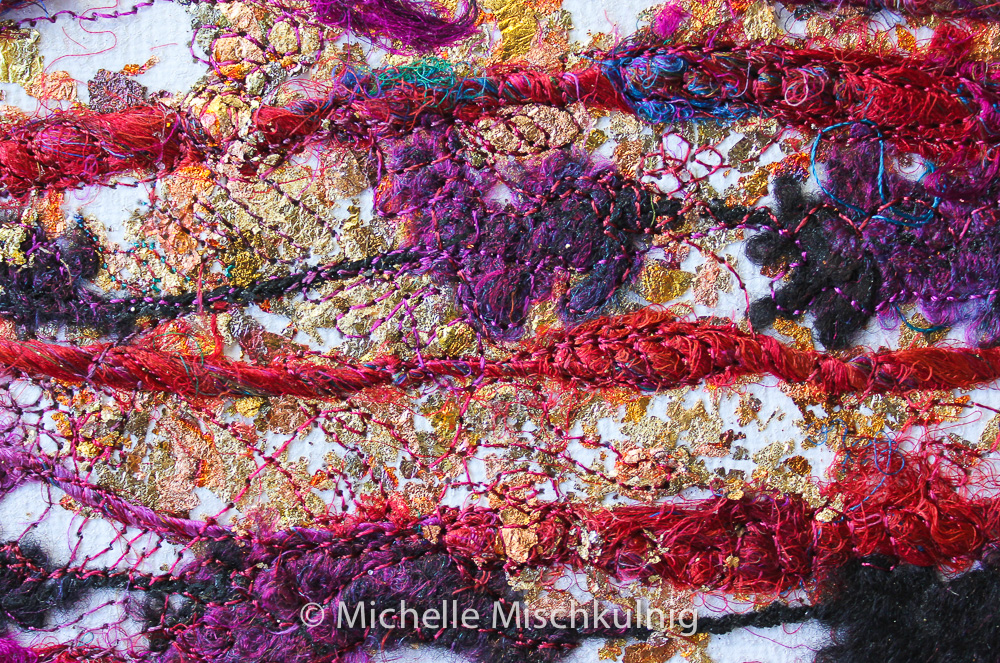
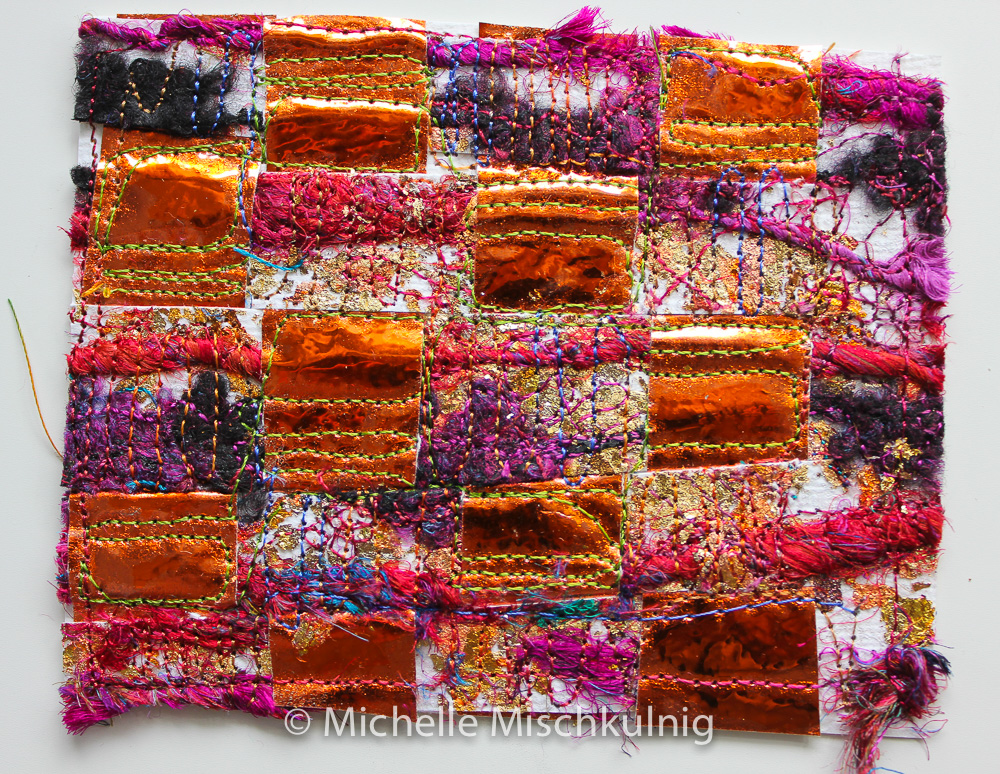
Page 2 cut a weave
1. Cut a small rectangle of calico fabric and lay the same sized piece of fusible web on the top.
Then sprinkle some gold leaf gilding flakes or similar on the surface.
2. Lay another same size piece of fusible web over this and place silk yarn across surface
3. Top with baking paper and fuse all together with a dry hot iron, carefully peel off the baking paper.
4. Stitch with a whim.
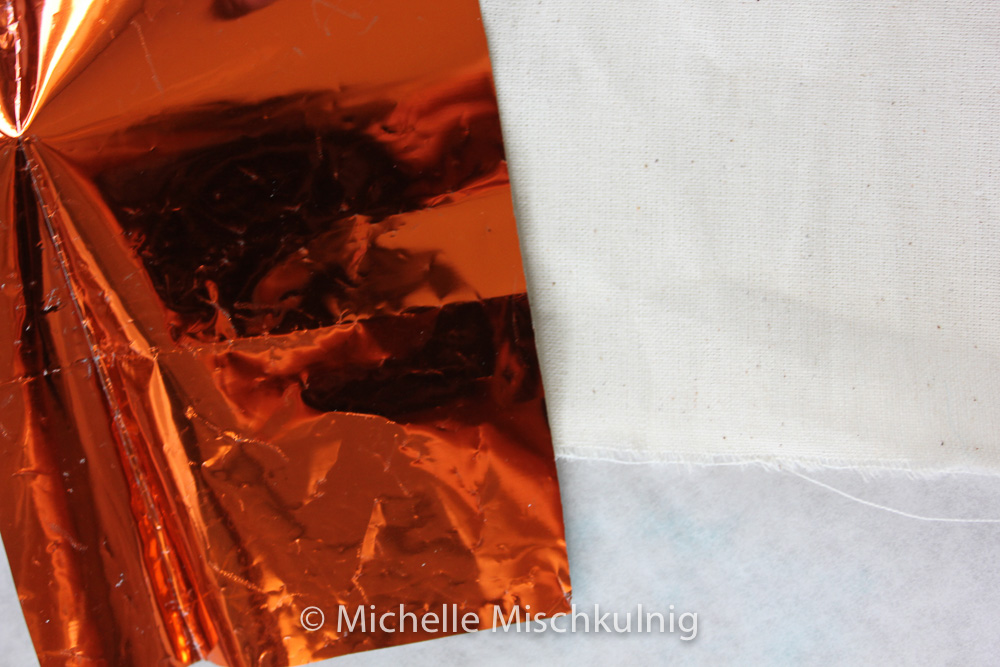
5. Fuse copper foil onto a calico fabric using fusible web and baking paper the calico gives it strength for stitching.
6. Cut the calico in strips but don’t cut through completely leave all strips joined together along one edge by approx. 1-2 cm.

7. Weave your cut foil strips back through the gold leaf calico and secure the edges with stitch.
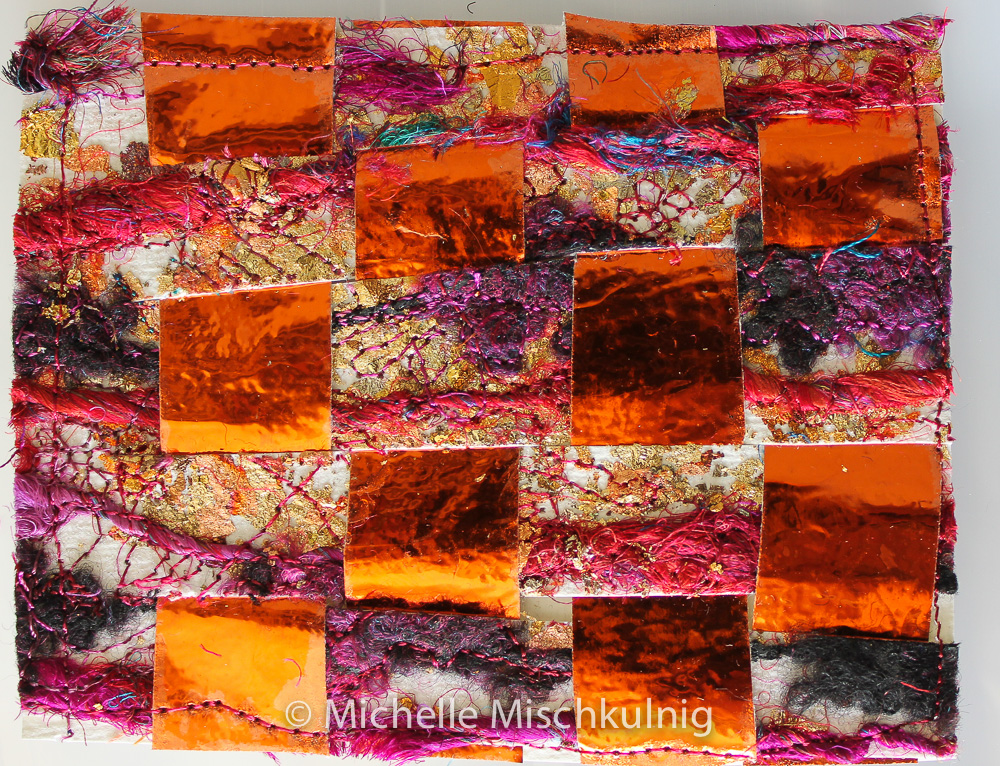
8. Free motion stitch the surface of your weave preparing it for cutting again
9. Cut again into strips leaving one edge with a 1-2cm border uncut. This time weave back through with a contrasting fabric I have used a felt.
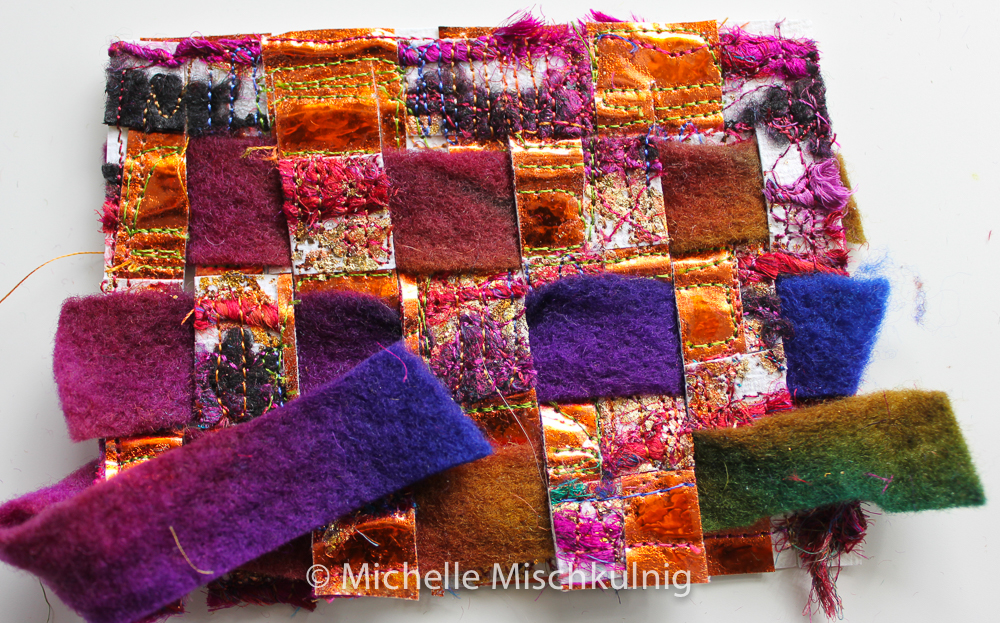
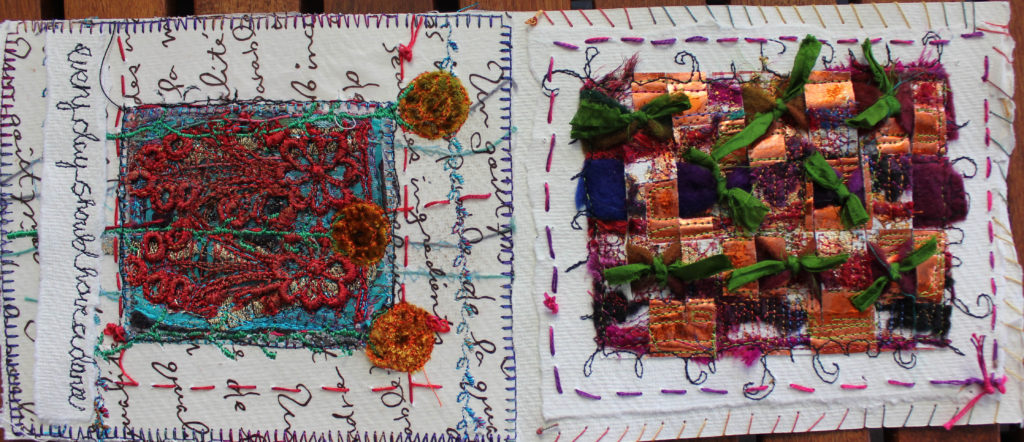
10. The felt strips form little pockets where they are woven that I have gathered tighter with ribbon but you could also place found objects such as feathers an leaves in these pockets.

11. Attach to your cotton rag paper page
12. Stitch and glue leaf page and woven pages togehter
Come Cruise with me
If you are looking for a great trip next year come on a cruise with me not only travelling but 4 days of workshops woohoo the project is not yet definite as I may come up with a new idea by then .I will publicise the project in November,.
http://www.craftours.com/trips/?page=australia_michelle_0417

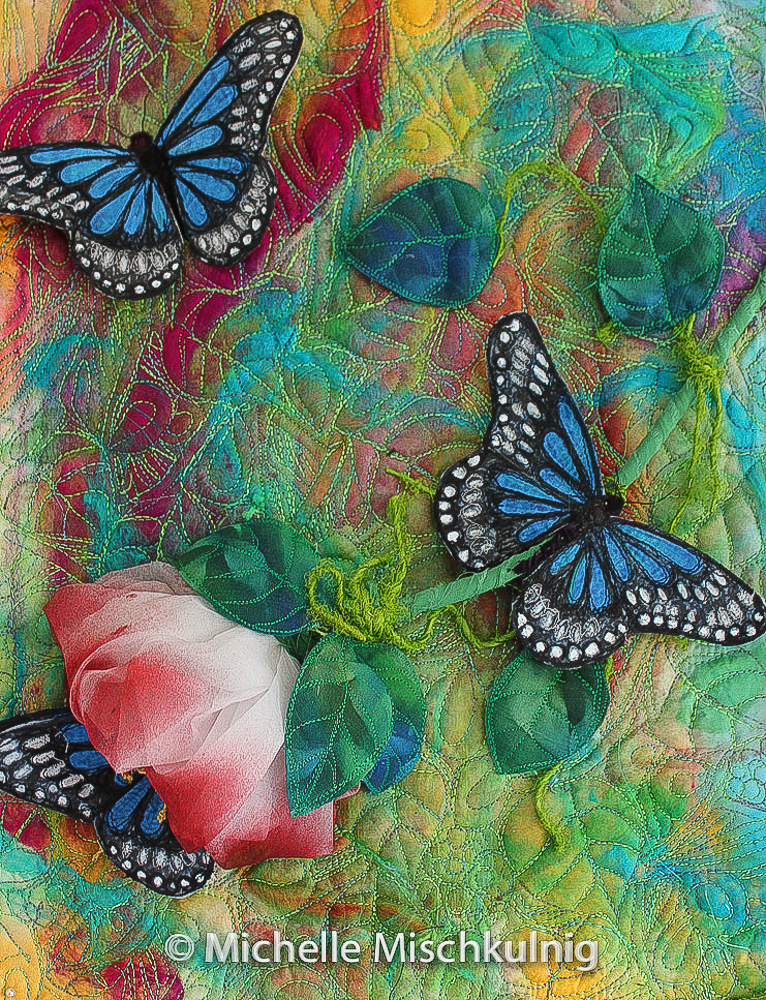
Some ideas for the cruise


The leaves are beautiful – both fragile and robust at the same time
hola Sonia no se me ha pedido que enseñar en Argentina :-) tal vez un día alguien me pregunta, que es un largo camino desde Australia le gustaría ver a su país es muy bonito y colourful.xx
Michelle a ver cuándo vienes a Argentina a dar un curso. Seguro a varias nos encantaria. Un abrazo
Gracias estoy feliz que les guste mi obra
es usted una artista !!!! me encantan sus trabajos