Mystical journal cover
This is an article I have written for the Bernina corporate blog http://blog.bernina.com/en/ , I thought I would share with you.You may have already seen it as it has been shared by various others. Hope you enjoy.
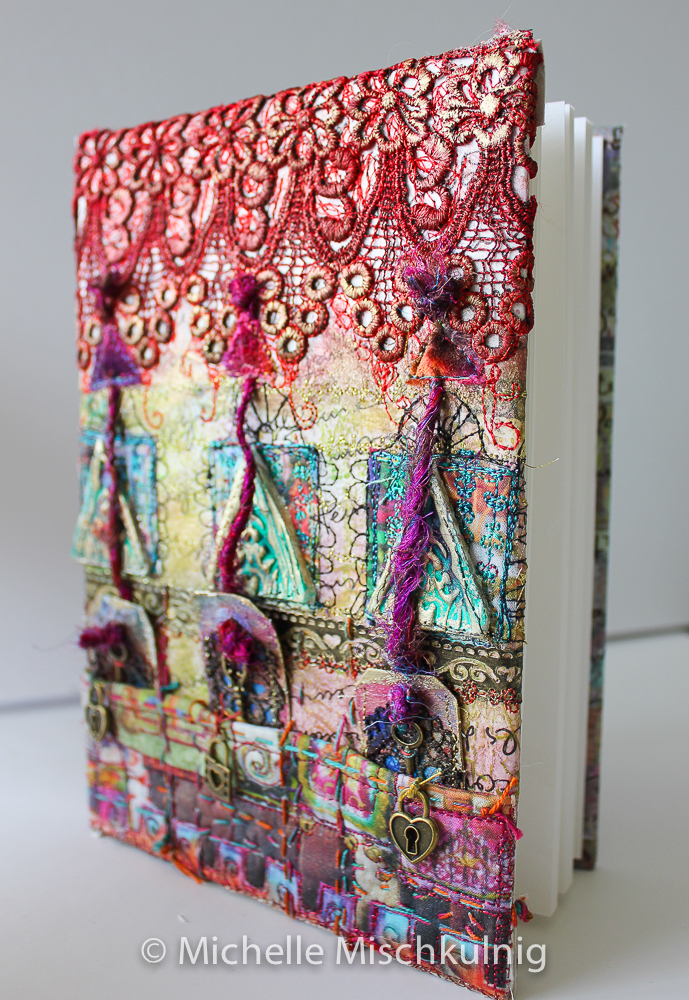
The making of a mystical journal cover
I have owned a Bernina 720 for about 6 months now and before that 3 x 30+ years old Bernina 830’s. In that 6 months she has been a work horse.As you will see from past blogs she needs to be adventourous and tackle all surfaces with gusto, my Bernina 720 does that with out drawing breath.In this project a mystical journal she danced across paper, fabric, yarn and modelling clay. I am sharing this project with you and hope it inspires you to take your sewing machine on an adventure across tough terrain with confidence.
Materials
*Artist journal or lined for writting if you prefer it is best to have a hard cover to stretch and glue your art work too.
*Fabric for back cover and pocket on front cover the amount will be pre determined by the size of your journal.
*Deli paper http://www.thethreadstudio.com/catalogue/exp/papers.htm This can be bought online and at other craft supplies.
*Fusible web.
*Iron.
*Free motion foot and setting on your sewing machine.
*Hand stitching thread and needles to match.
*Fimo air dry light weight modelling clay or equivalent.
*Yarn.
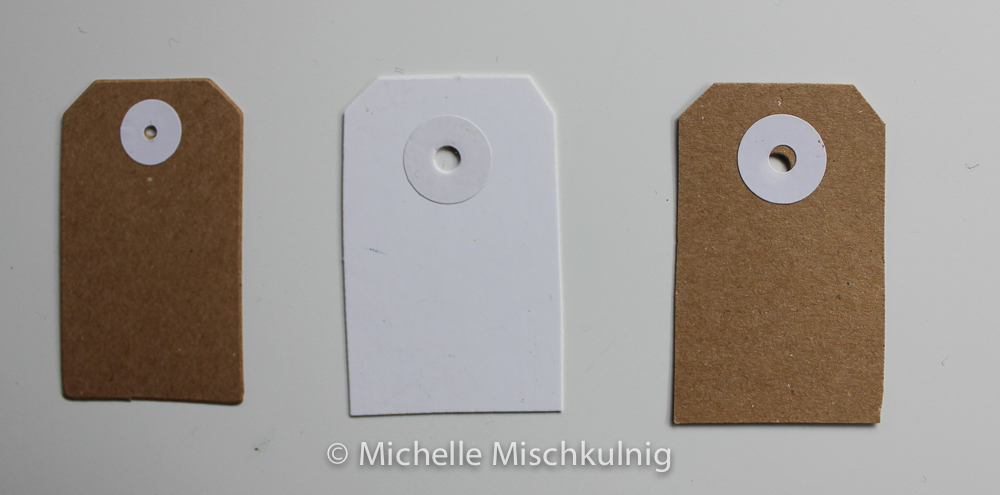
*Swing tags ( medium sized depending on size of note book can be found in Kmart and scrap booking shops )
*Craft glue .
*double sided tape.
*Decorative lace to fit front cover width.
*Embellishments such as mini locks and keys, luscious fabrics.
*Small amount of extra white card to fit back of swing tags.
*Mould for clay
*Medium to heavy weight water colour paper to fit a little larger the front cover, you need to allow for tuning back over the edges of the notebook to attach and finish.
*Derwent inktense blocks or similar water colour.
*Decorative scrapbooking tape optional
*Baking paper
Lets start
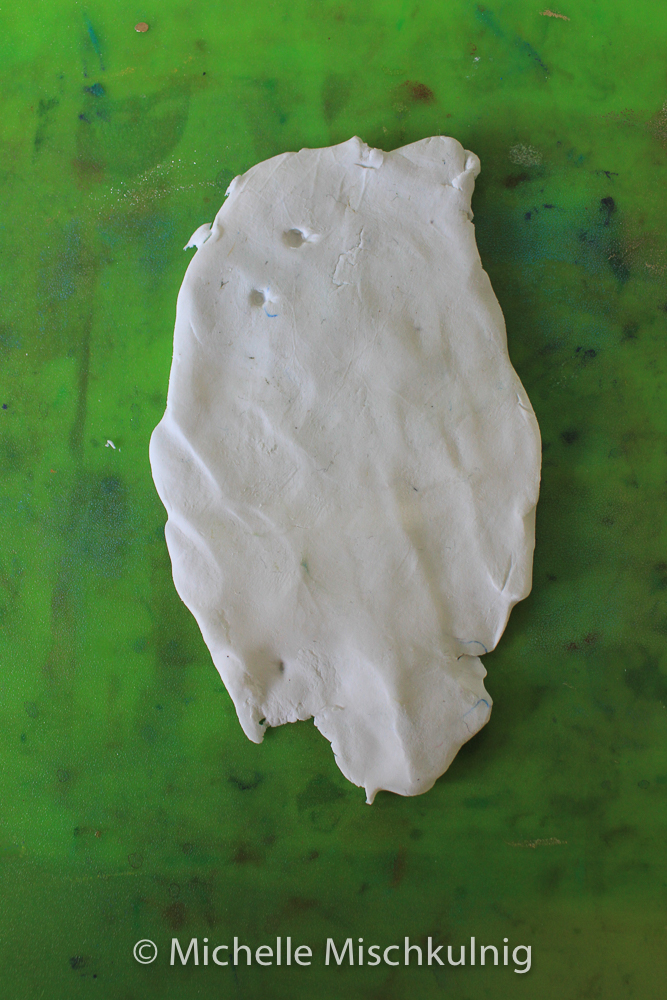
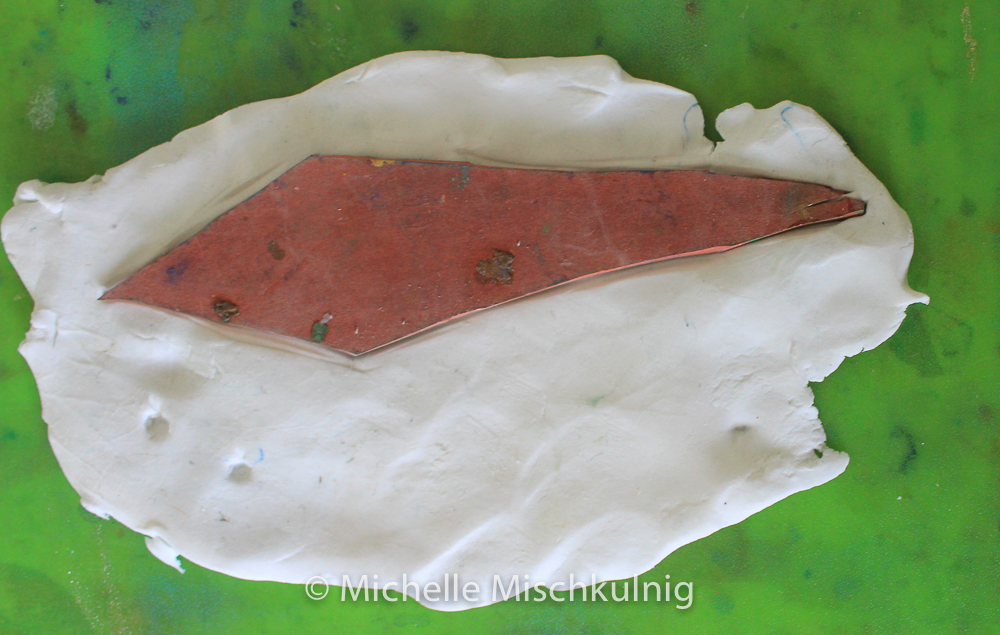
I use Fimo air dry light as it is soft and easy to stitch into.
Roll out the modelling clay to approx 4 mm and press your mould into the top surface gently lift your mould off repeat this 4 times ( just so you have a spare :-) ).Gently trim the edges with scissors and leave to dry over night.
Gather together your goodies and lets make a start
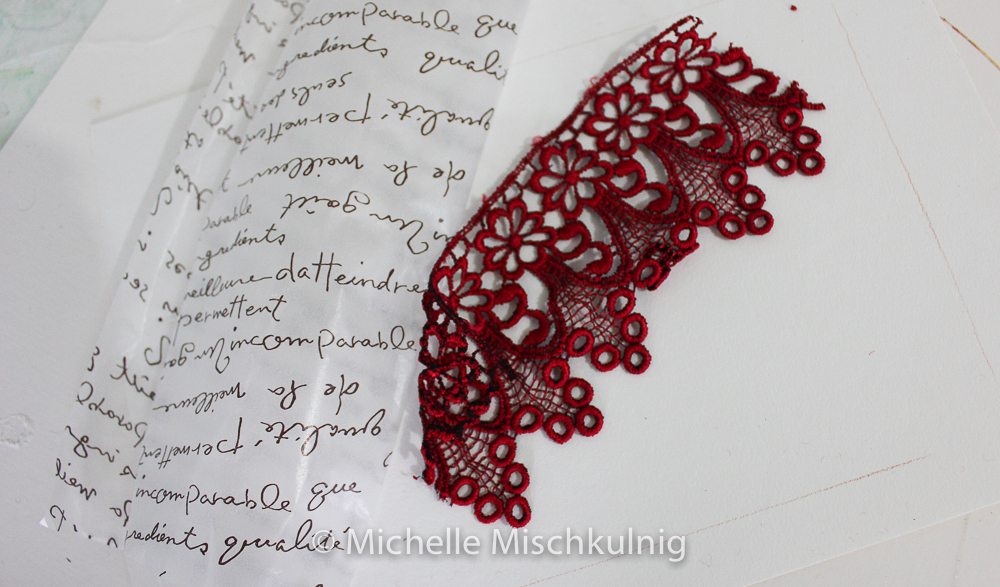
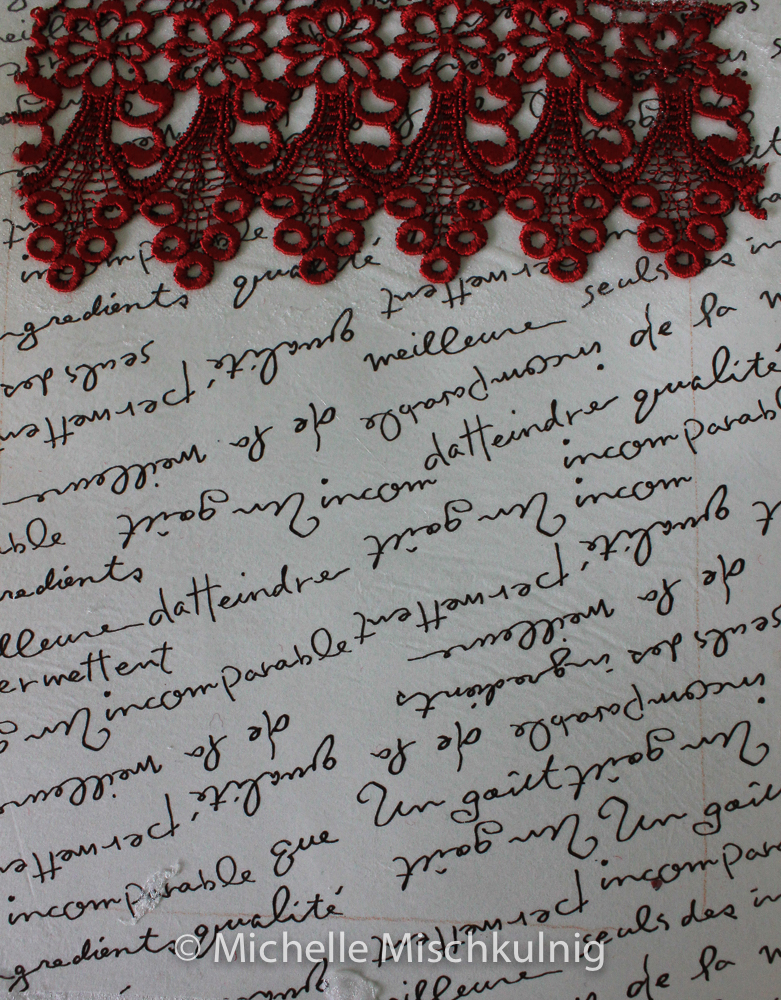
Take a piece of water colour paper and lay a peeled layer of fusible web i.e. peel the backing off the fusible web and then lay over the surface of the water colour paper, place the deli paper on top of the fusible web.Use baking paper as a final layer to protect your iron and the surface you are fusing.Iron with a hot dry iron when the 2 papers are fused together attach the lace in the same way with fusible web.
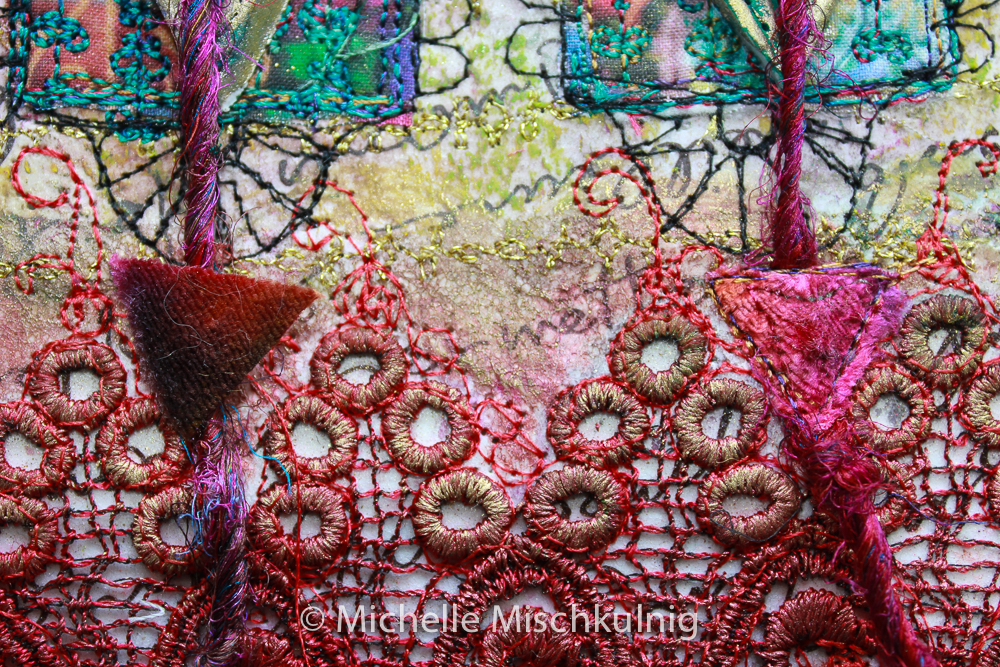
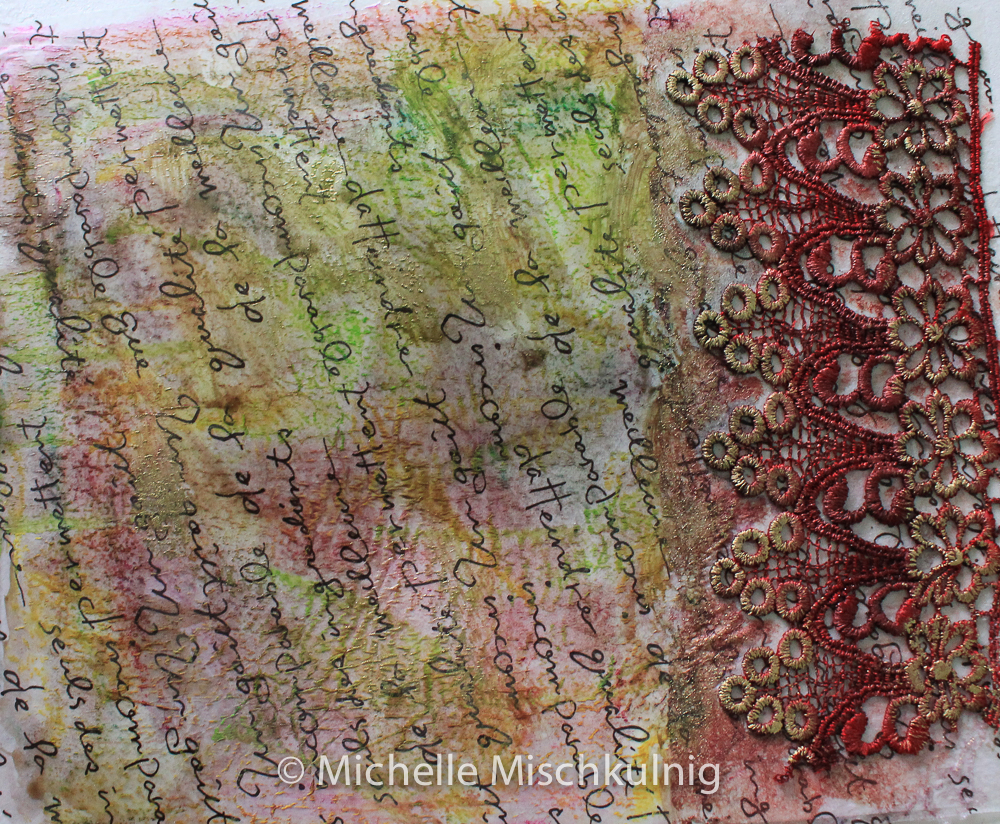
When the fusing is completed colour the deli paper and lace with my derwent inktense water colour blocks and some guild wax or similar.
Once the paper is dry you are ready to continue creating I have used a gold metallic thread and decorative stitch number 708 to run lines across the paper.Please not any decorative or free motion stitch can be used.
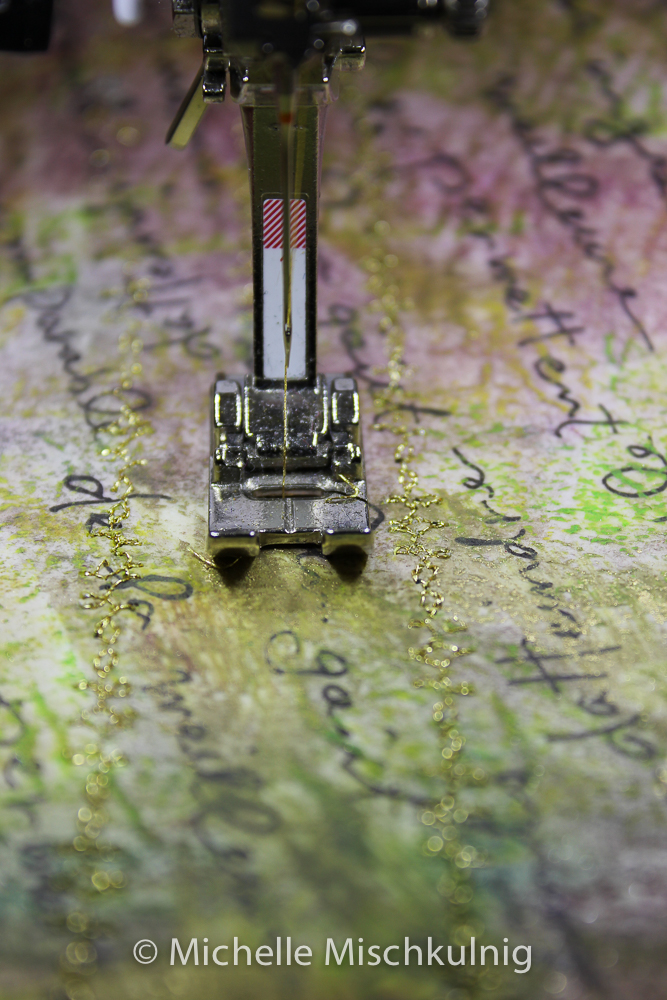
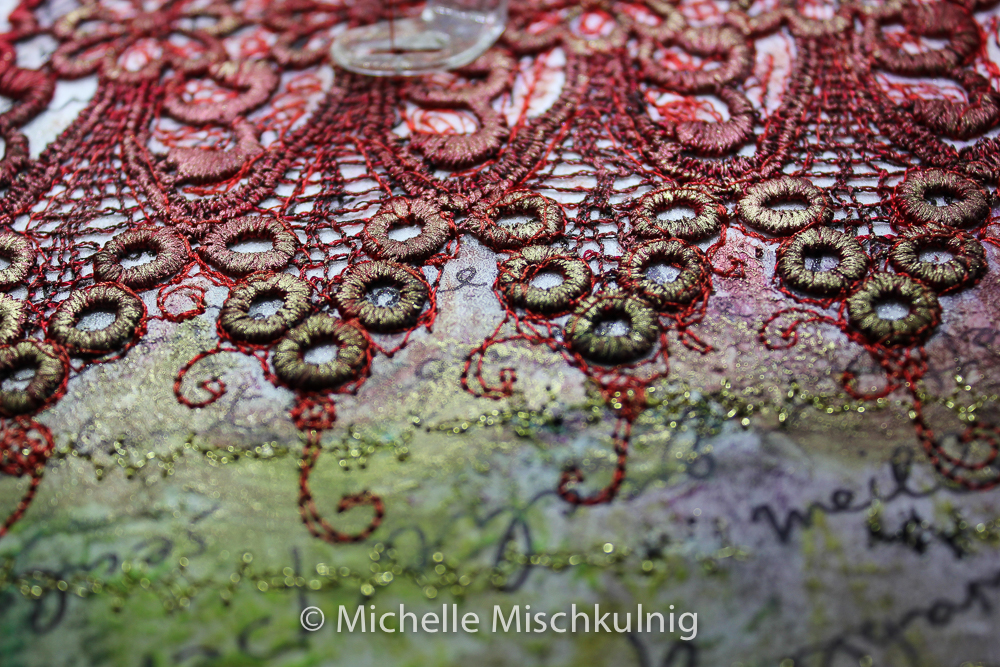
Attach your free motion foot and drop the feed dogs to enhance the lace work.
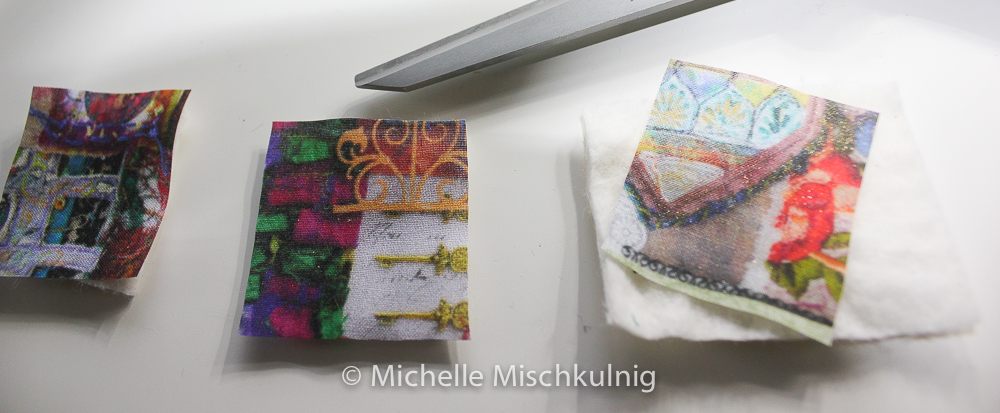
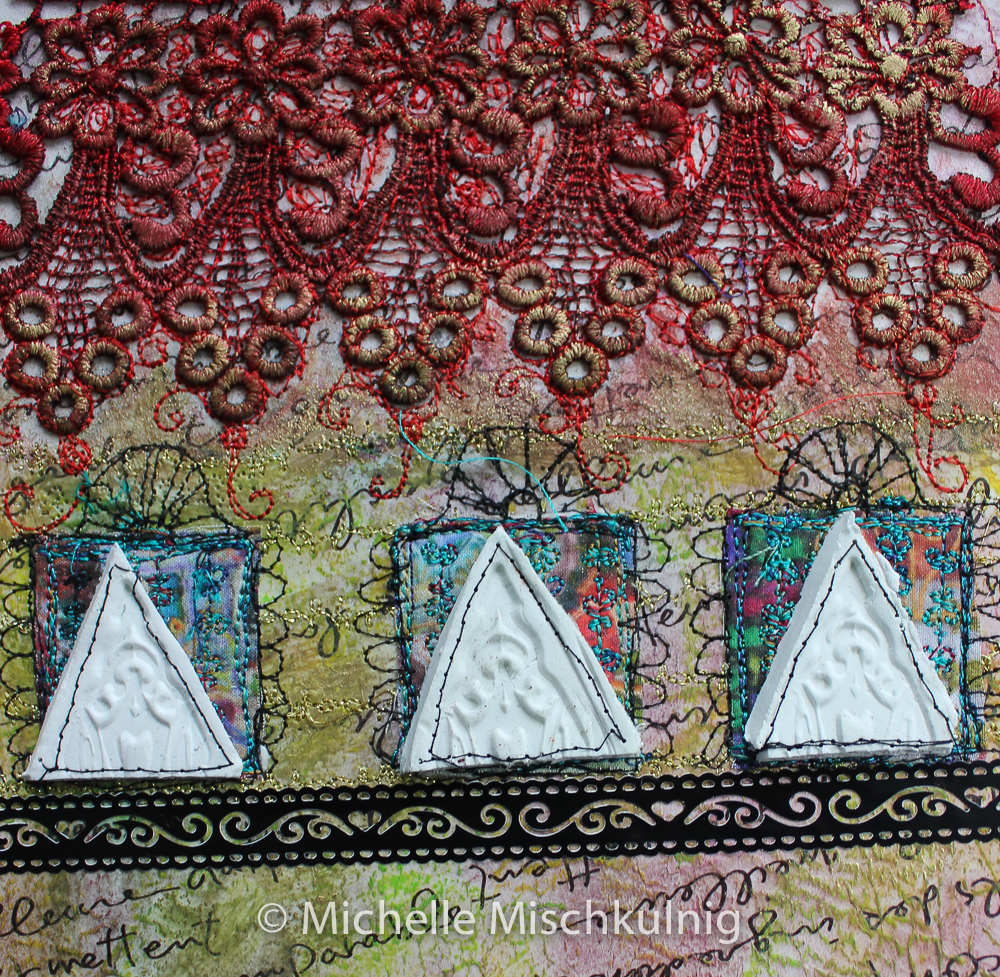
To add a feature to the journal cover by cut some small squares of fabric and back them with cotton wadding, then stitch onto the cover using a variegated thread and stitch number 706.I have created these small squares on the cover to embellish with the modelling clay shapes.
The small squares are then outlined in a black thread to make them pop from the back ground and add some interest.
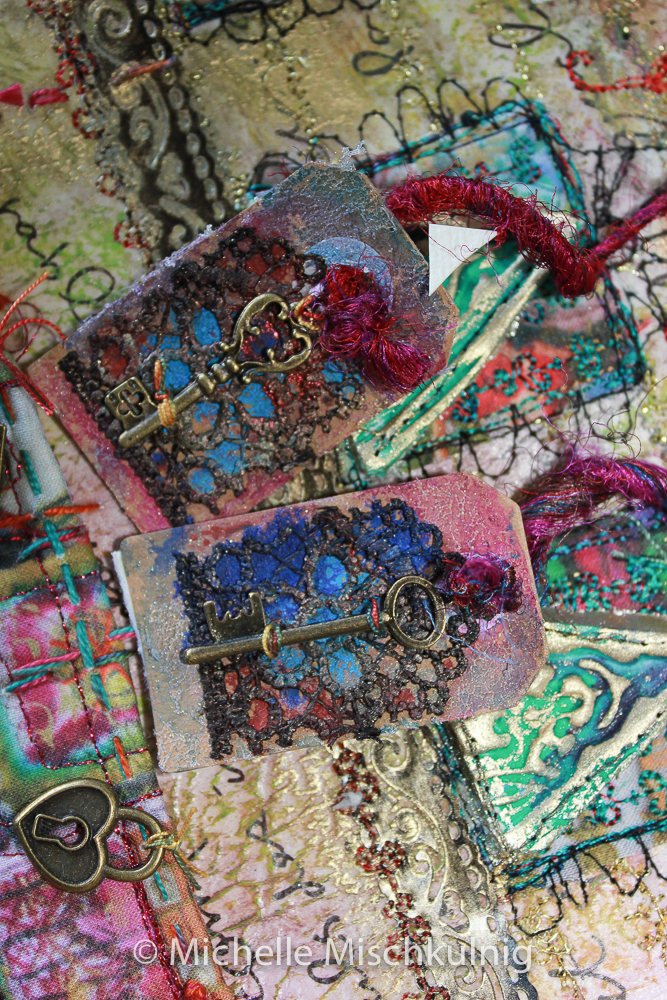
When the clay is dry I have cut to the desired shape and size and stitched the clay shapes on top of the squares, when stitching through the modelling clay use a free motion embroidery foot with machines teeth dropped. move slowly and don’t let your stitches get to close together .
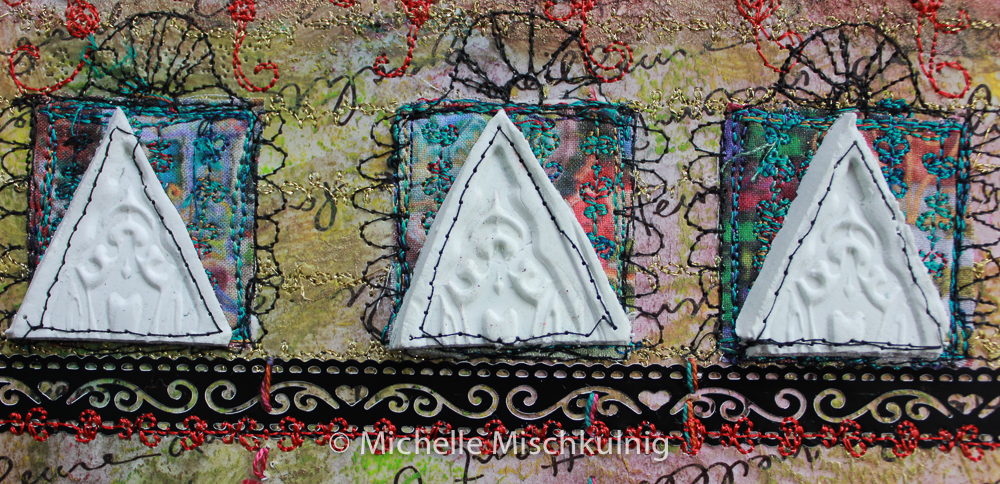
The last pretty I added is a strip of decorative paper crafting tape and a line of decorative stitching over the edge of the tape.
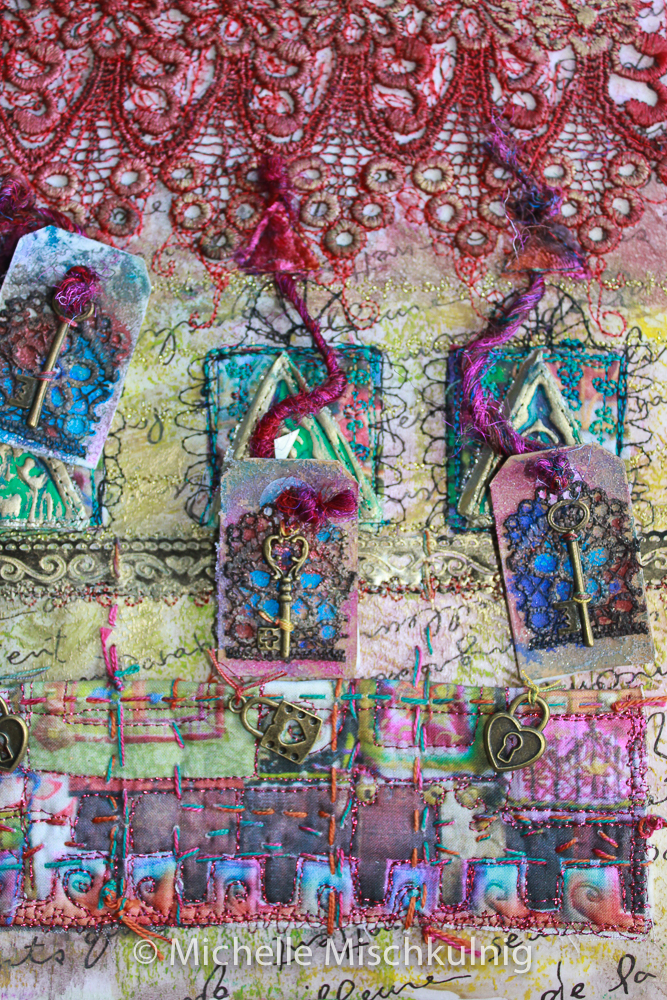
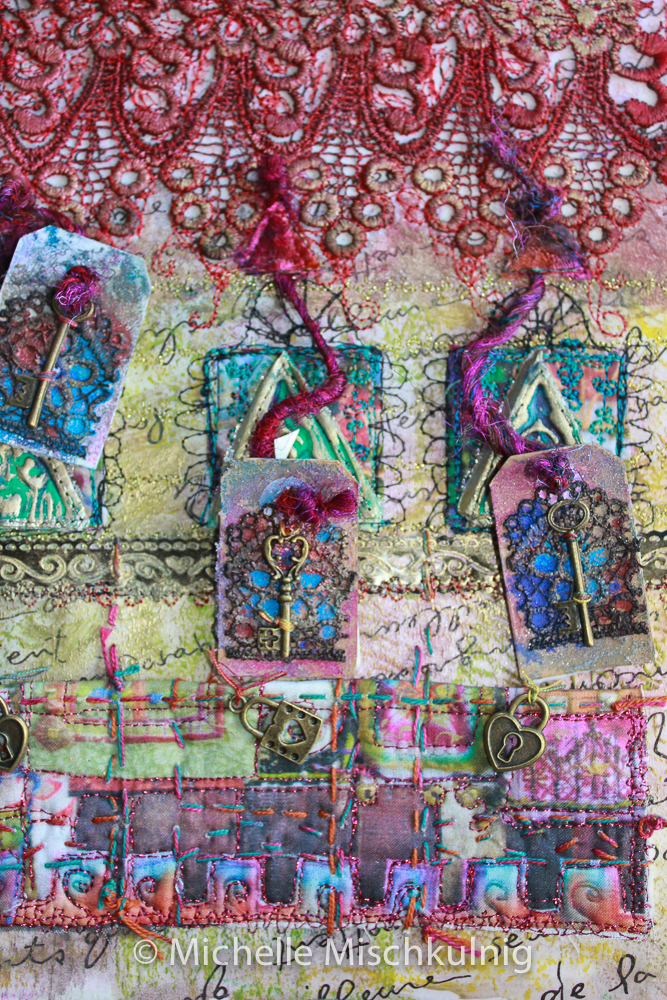
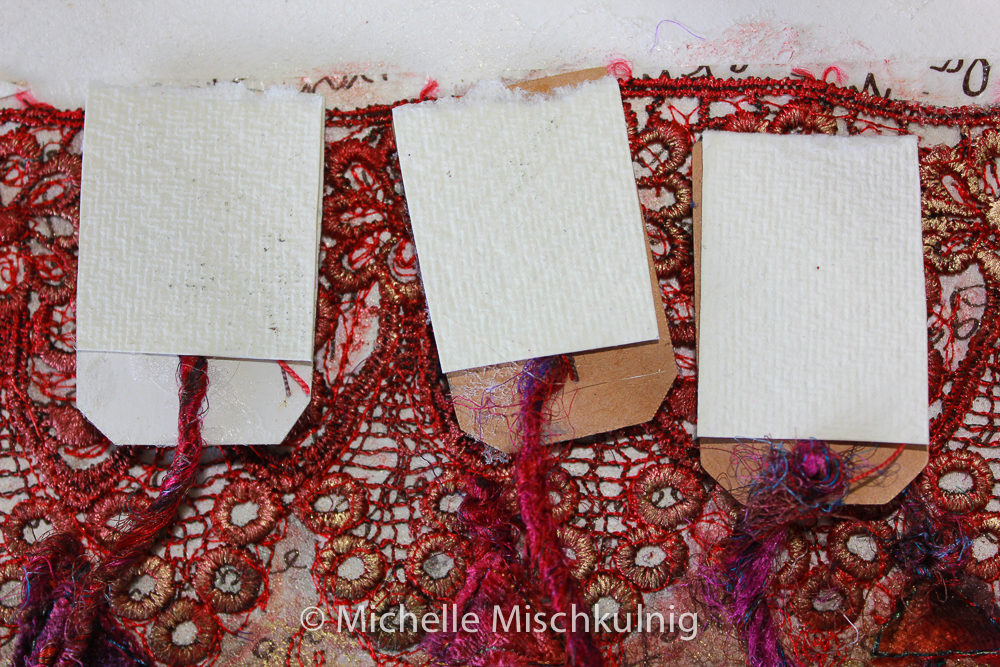
Making the pockets for your swing tags which will hold wishes, secrets and hopes written by you on the back of the tags. Measure the fabric to fit the width of your front cover .Place some cotton wading behind and quilt I used free motion foot and metallic thread.
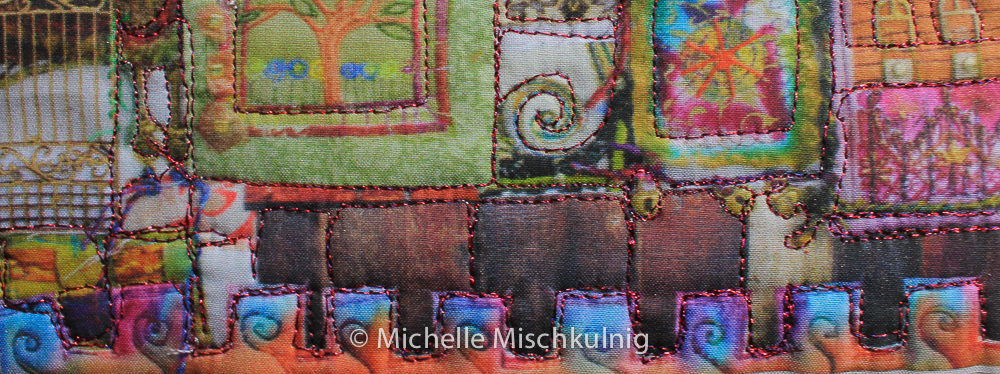
Measure the pocket size by placing your swing tags in the pocket and placing them in a line with the clay embellishment.
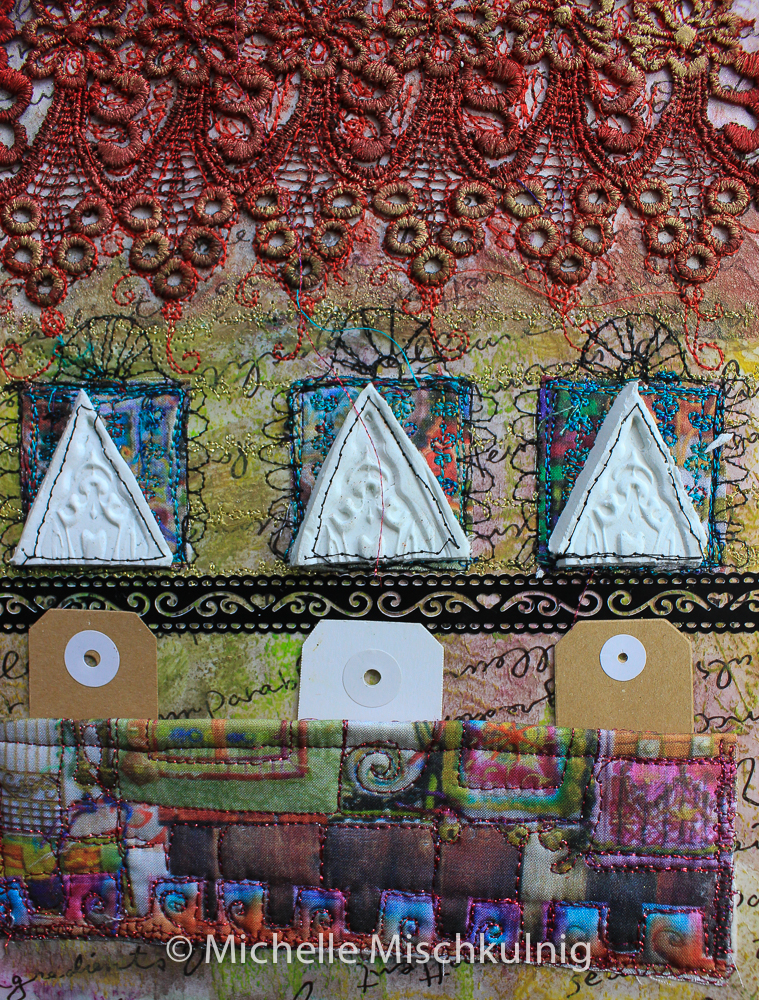
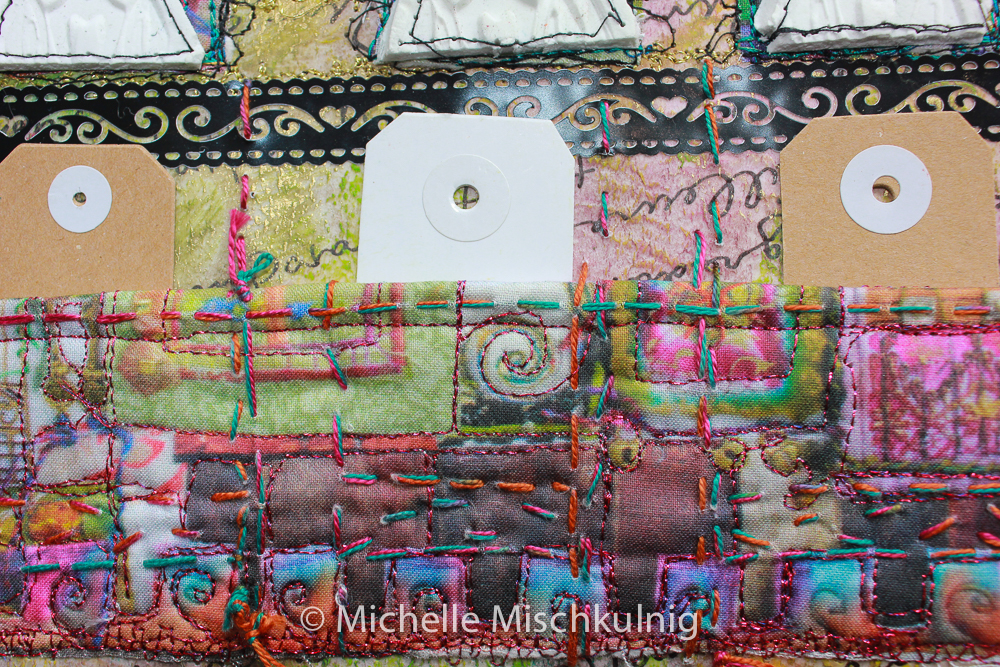
I hand stitch the pockets with a lovely variegated cotton hand stitching thread, trying not to make the stitches too symmetrical and keeping the old world mystical feel to the journal cover.
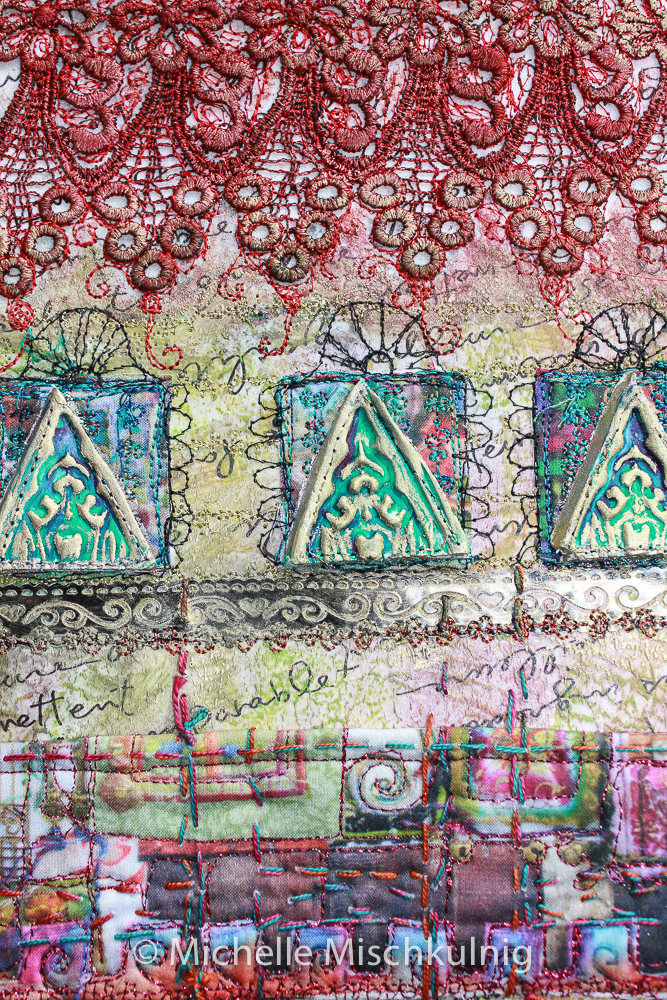
Back to some painting and gold gilding wax. First paint the clay embellishment with inktense pencils or similar water colour paints and then rub gold gilding wax with your finger tip across the surface of the clay embellishment to capture the lovely raised surface.
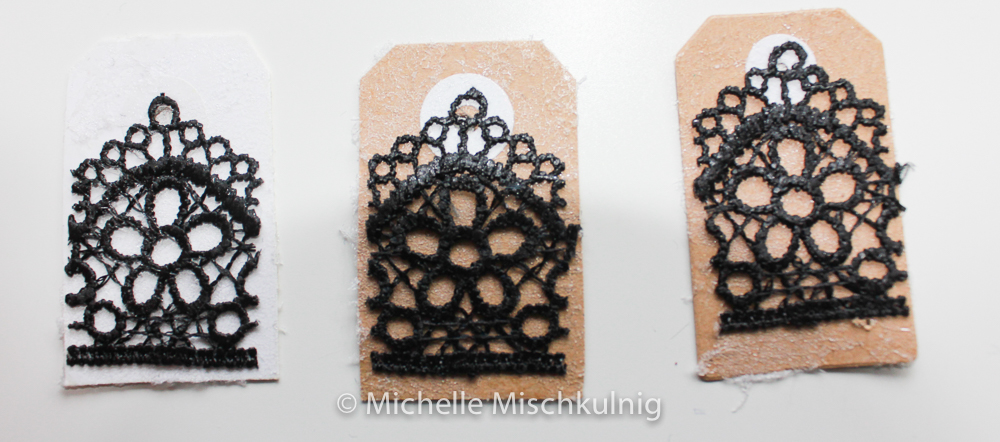
On the swing tags using a free motion foot stitch your lace to motif, thread with some interesting yarn or chord and then paint and gild the surface of the lace.
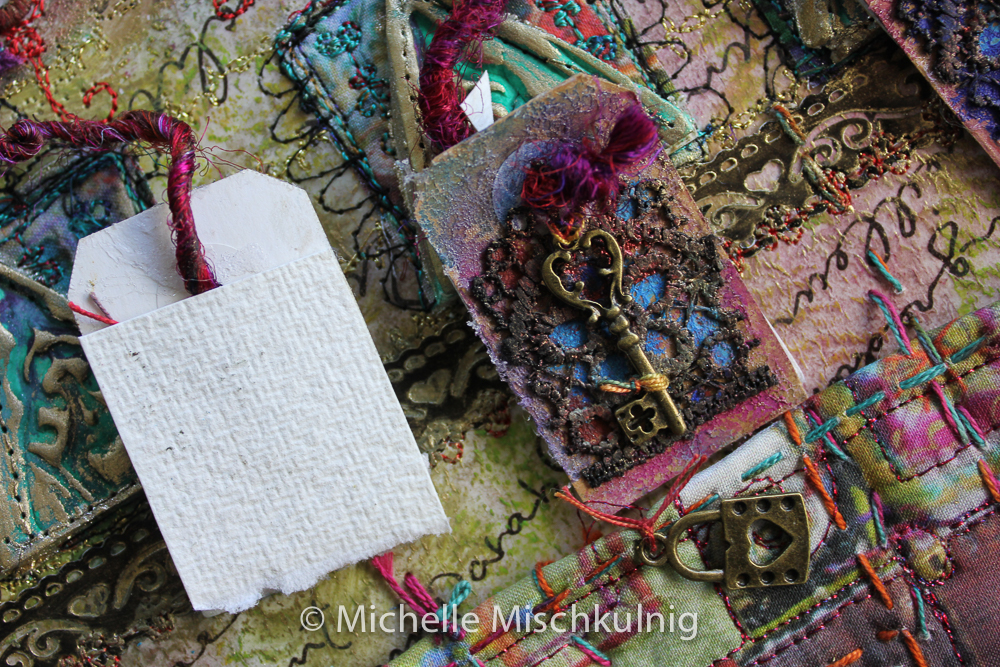
When this is finished cover the back of the swing tags with nice plain paper to write some special words on.
I have attached the chord to the swing tag by free motion stitching through all the layers and using some rich velvet as a contrast texture.
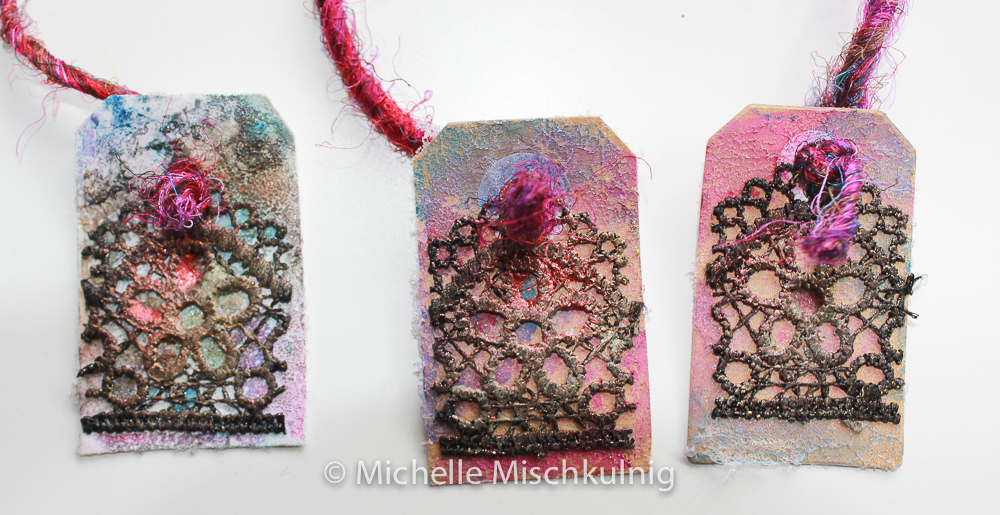
I felt that the swing tags needed a little more colour and after adding some more colour I hand stitched the keys into place. In the bottom image you can see that I have free motion stitched a gold a outline around the swing tags and added padlocks to the pockets.These swing tags are for you to write your sweet whispers, hopes, well wishes, quotes etc and keep in the pockets to be read when needed.
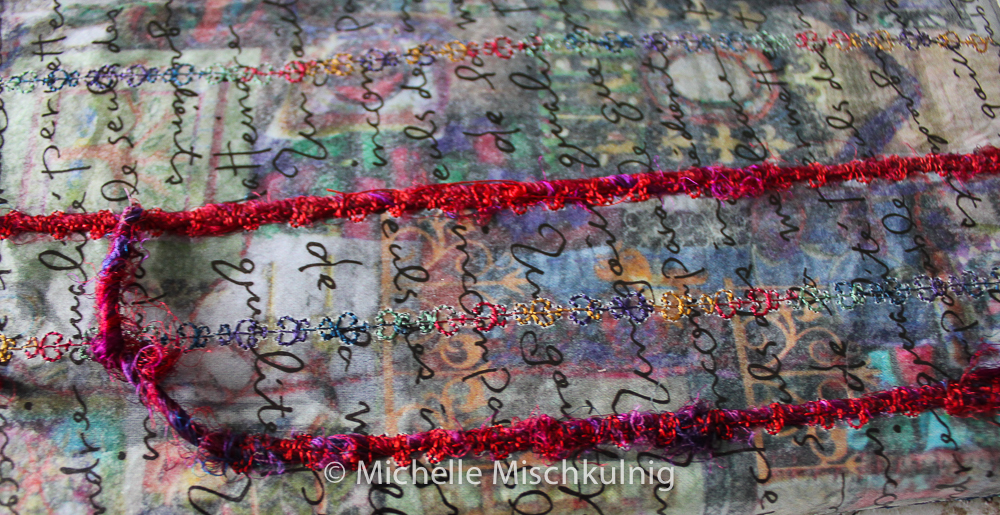
The back of the journal is simple but creative use of materials. Take the piece of fabric that fits the back cover and lay a piece of fusible webbing on the surface make sure the webbing has been peeled of its backing paper. Lay the fusible web and then a sheet of deli paper on the top of the fabric. I have used some silk yarn to compliment the journal and stitched it to the two layer with decorative stitch 706 and I have used this stitch again in between the yarn lines with a variegated thread.
Time to put this mystical journal cover onto your journal book use a contact or craft glue and stick the decorative back cover to the face of the back cover of the journal, making sure you have allowed enough overlap for edge turns to the inside of the cover and enough to wrap around the spine of the book.
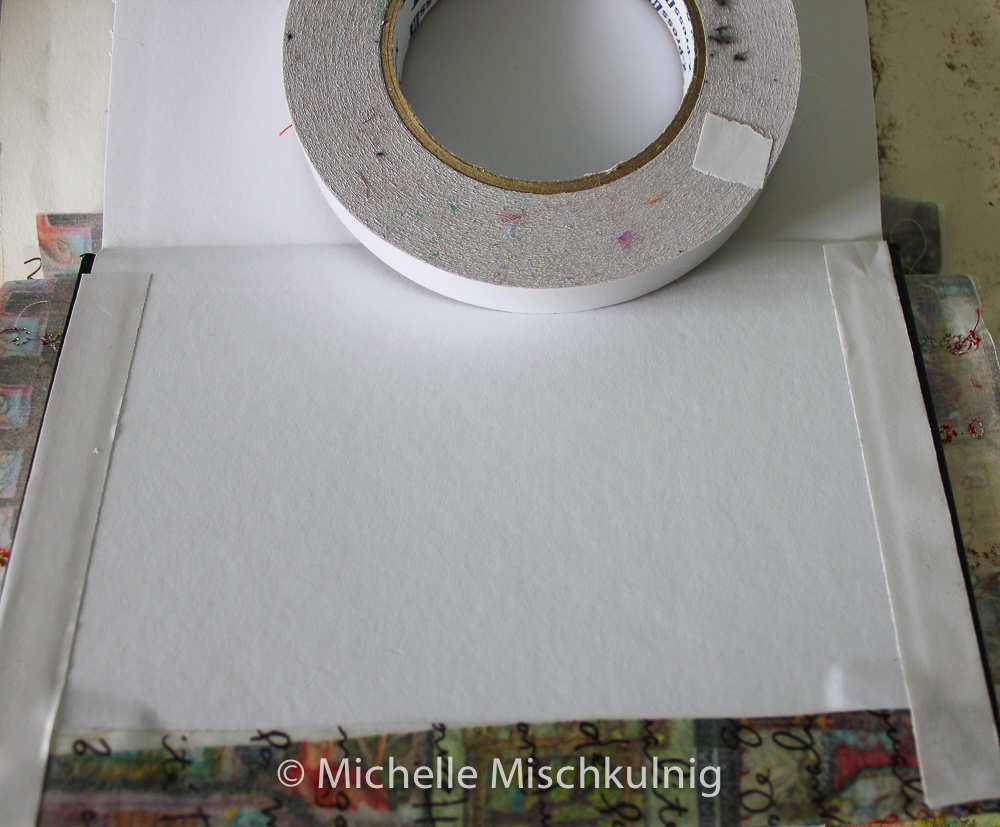
When the decorated panel has adhered to the journals back outside cover turn the edges in and secure with double sided tape.You will need to snip the corners and spine of the back cover decorative paper to fit snugly.Once the edges are fitted glue the next two blank pages of the back of the journal to the inside of the back cover to disguise your taped edges.
Repeat this with the procedure with the decorative front cover, only this time take the front cover over the spine to the back edge of the spine ( this will cover the decorated back cover paper along the spine). Glue the spine edges down. The final step is to spray a protective layer over the whole journal and then Ta Da its finished .

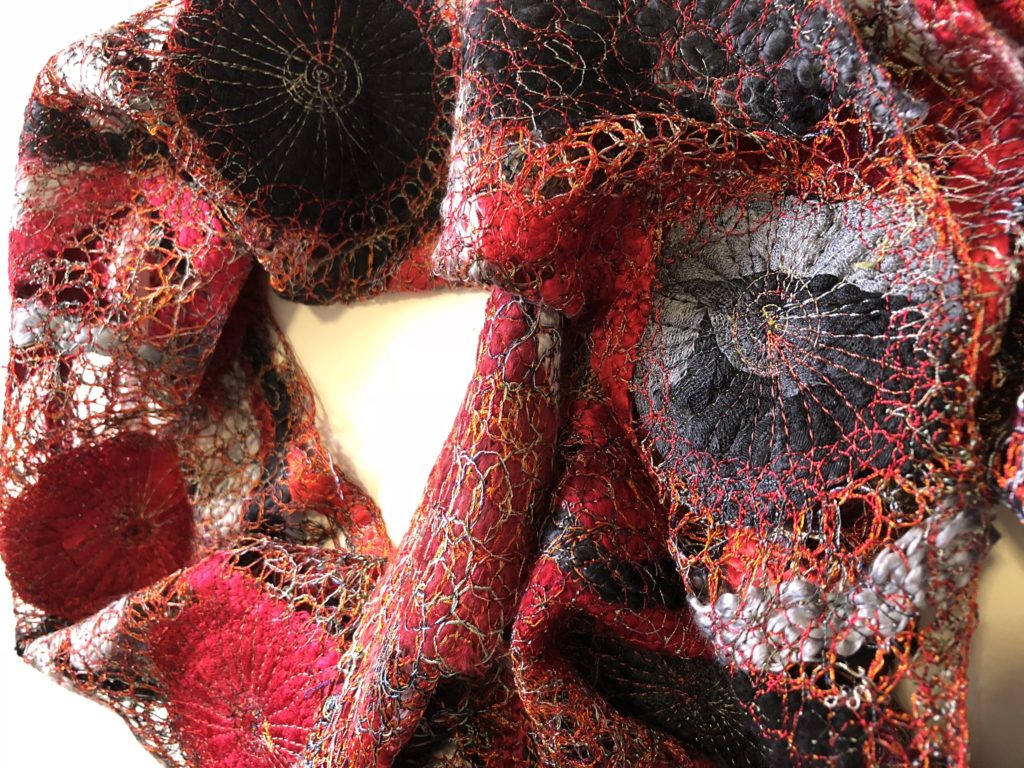
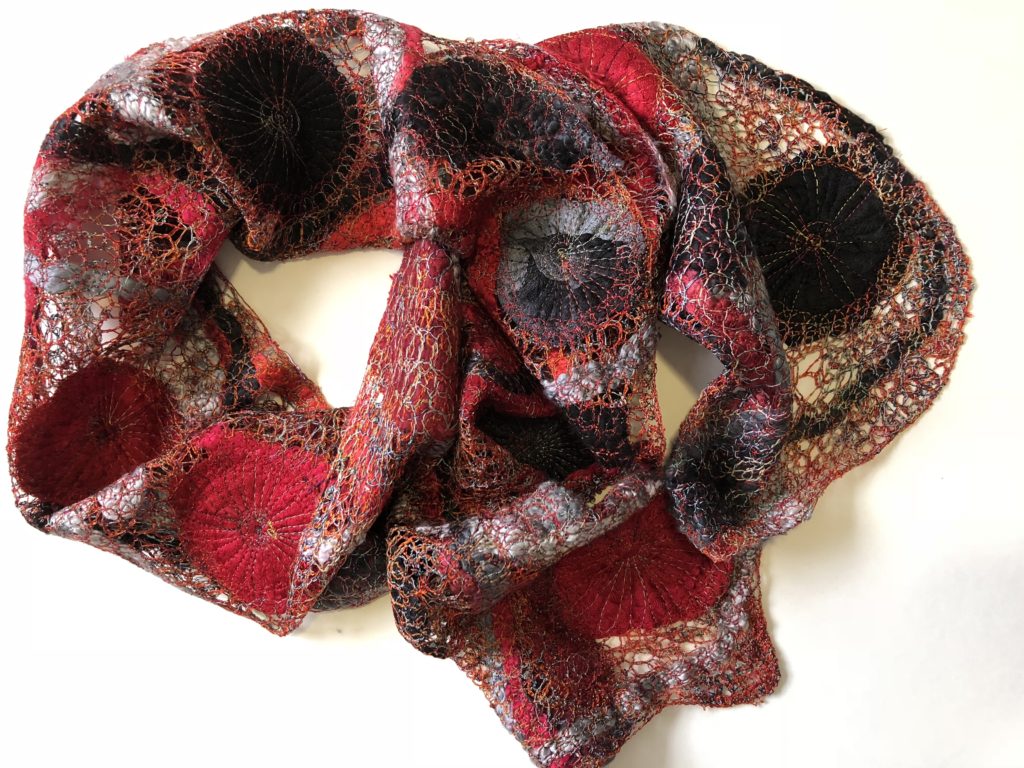
My scarf kits are still available https://chelletextiles.com.au/product-category/scarfs-wraps/
Black/red grey
And don’t forget this fantastic trip and retreat at ULURU http://www.textileartworkshopsonline.com/michelle-mischkulnig-2018/





Thank you for making contact Faye it means a lot to me to hear from people who have taken up the opportunity to explore and adventure into the unknown with me.These are possibilities that I give you to own as yours and put your own signature on.I am delighted to here people are having fun.Each post takes a long time for me to create so feed back is important. Thanks again and always create with a spirit for adventure and a smile on your face.
Firstly I’m loving these posts,you have me trying so many new things , even free motion sewing on the machine.Secondly I’m fascinated with the idea of the fimo light air dry clay,in the past I have used a 2pack craft clay but you have always needed to drill holes in it and hand stitch it on. Fimo will be my next new toy to play with me thinks.Thank you for doing theses blogs ,we are all loving and learning so much. Cheers Faye
I hope you have a play Lilly its all about sharing a possibility for you to own.
Thank you for sharing. Fabulous ideas that you have shown. Must have a go! Much love to you xx
Thanks glad you like it was a fun play :-)
This journal is stunning and beautiful!
Gracias Celia, enjoy !
una maravilla !!! gracias por compartir
Thats a pleasure Patricia I hope you enjoy making it.
Beautiful! Thank you so much for sharing!
Neither did I Debbie until I tried always look for a possibility.:-)
absolutely awesome, thanks for sharing, I never knew you could sew fimo clay,