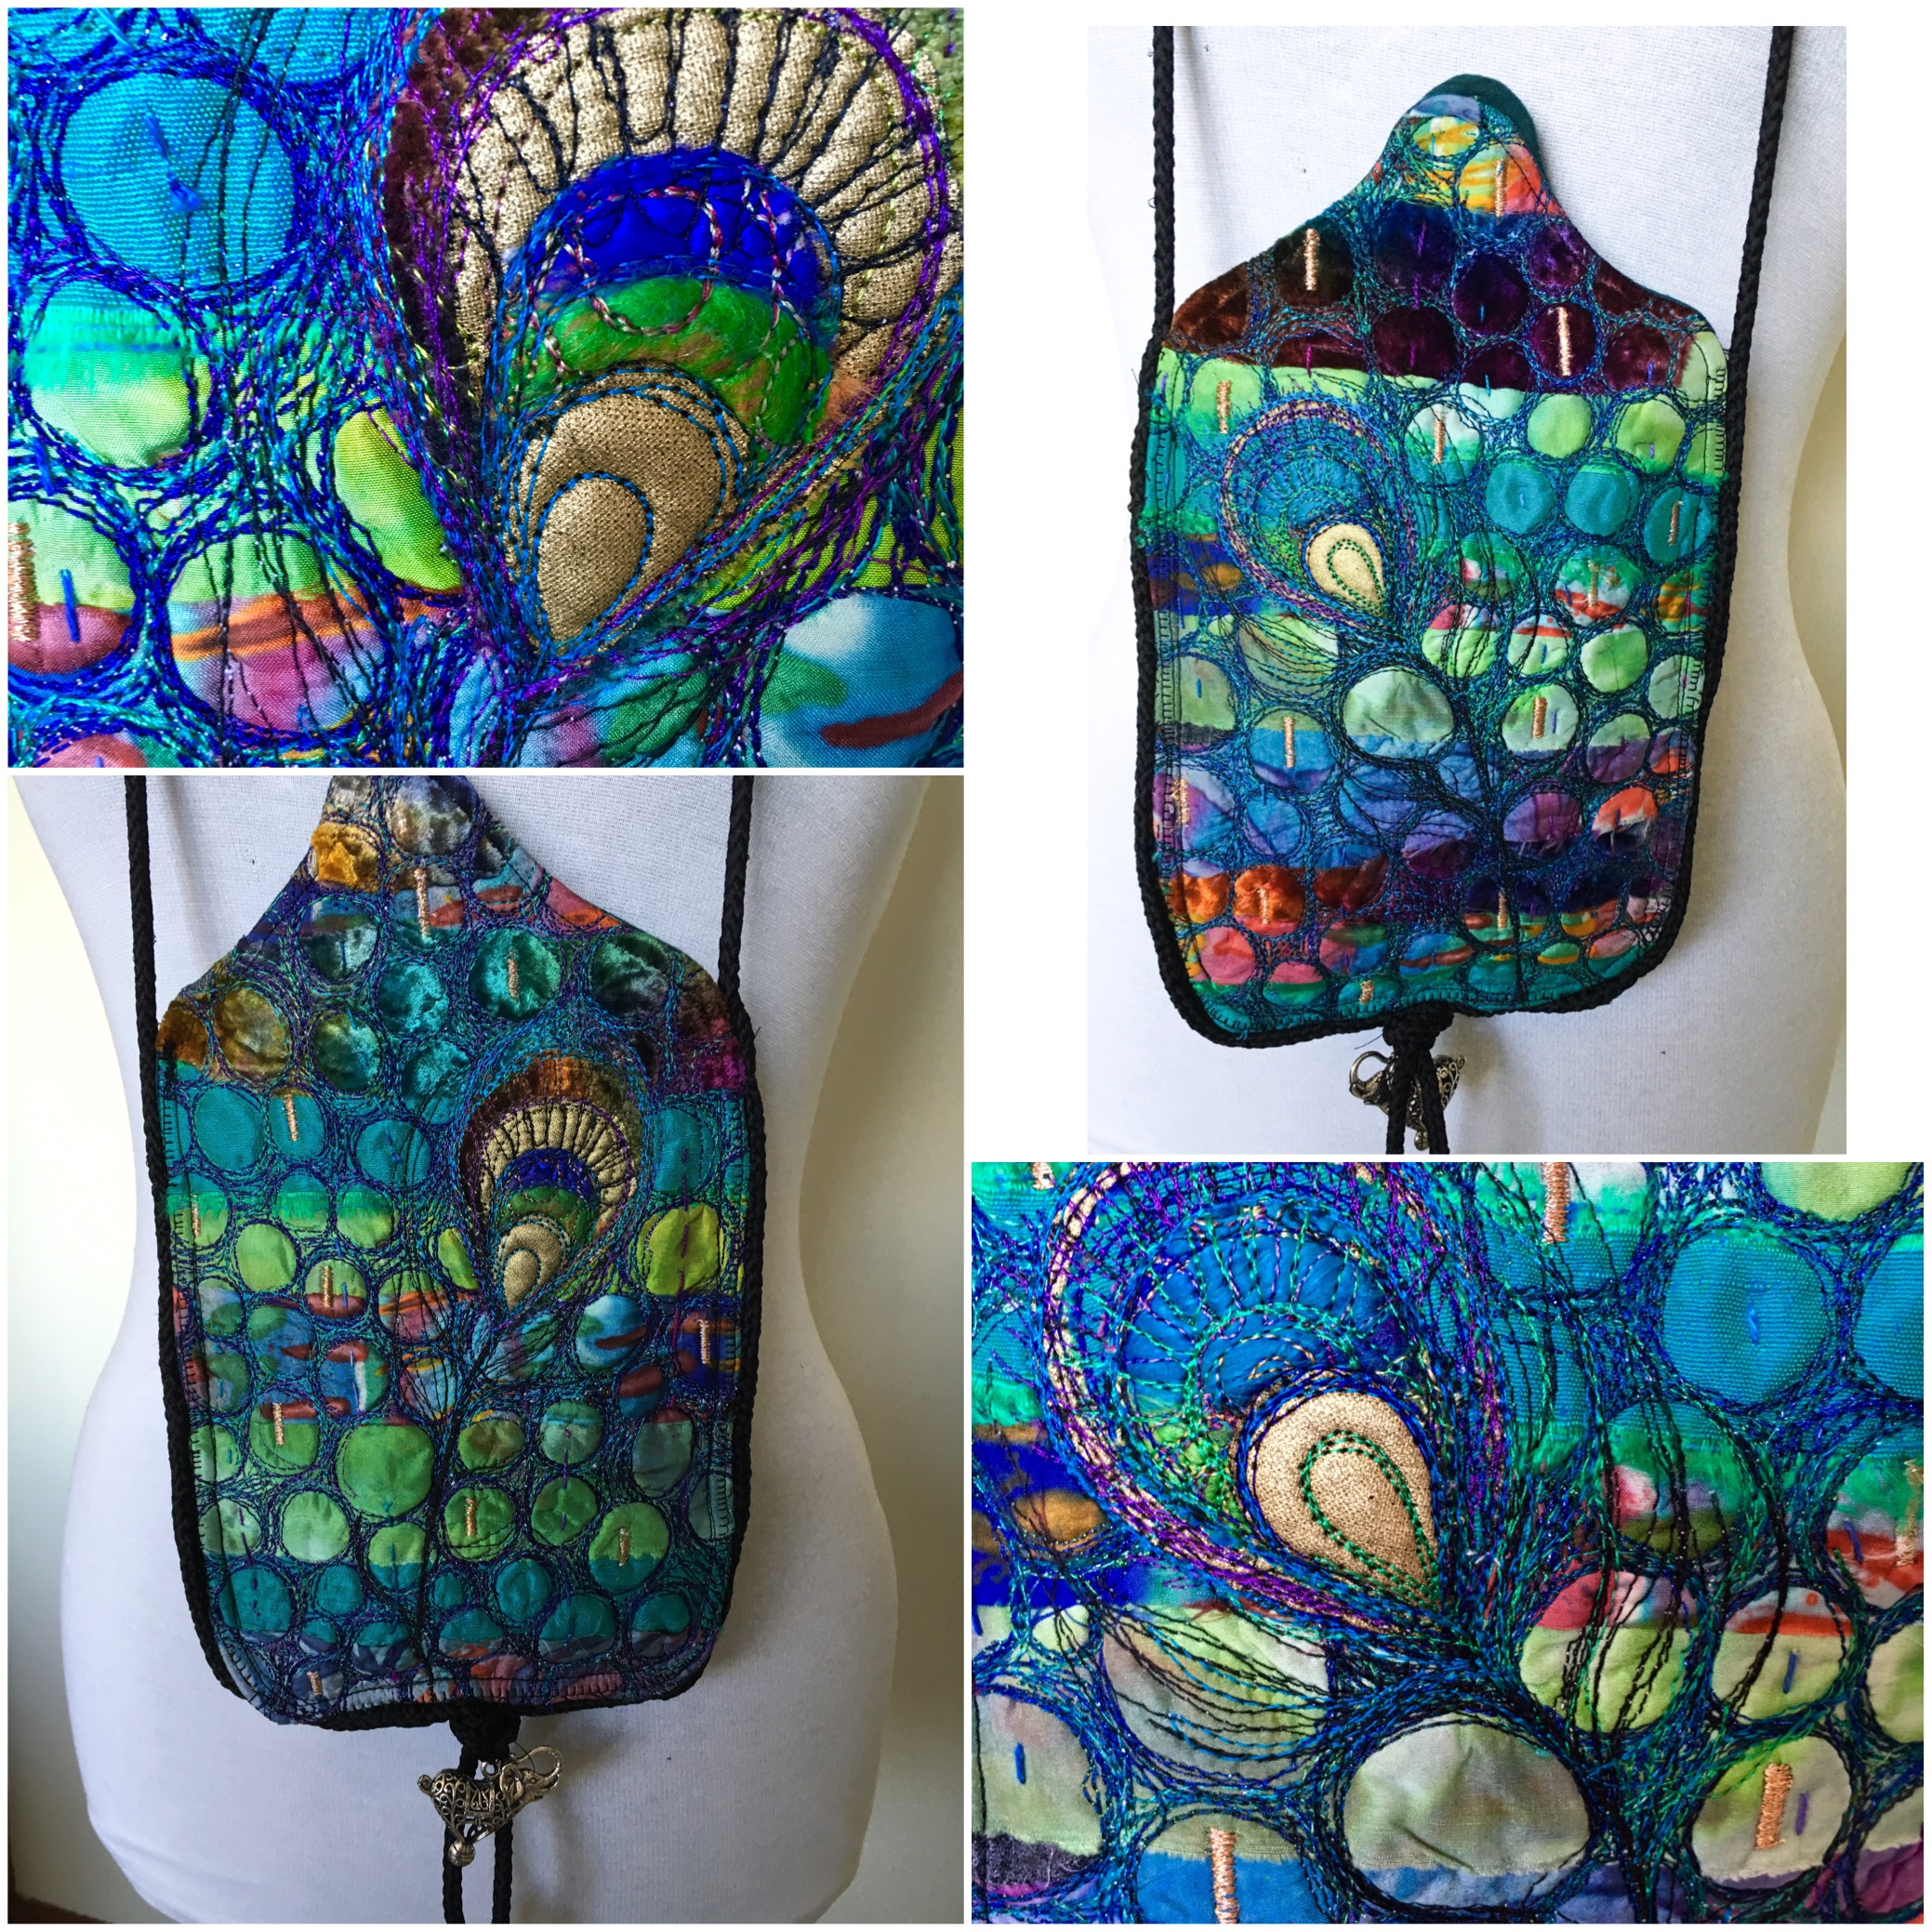
“Its just a little bit special “
Do you ever go to a “special” occasion and only want to carry the necessities a phone, glasses and a card or two. This bag fits just those things. It would jazz up a ” a little black dress ” or in my case something a little larger than the little black dress, you can use fabrics that coordinate with the colours in your glamour clothes or just enjoy creating from the heart and wear it how and when your heart desires.
Materials
Fabric for backing and lining approx 40 cm x 20 cm of each and an optional small piece for an internal pocket .I used black for my base cloth and lined in a teal green with a small pocket in a patterned fabric.
Strips of beautifully coloured silks, cottons, velvets to whatever you choose enough to cover the base cloth.
Small amounts of lovely fabrics to form the decorative peacock feather.
I piece of fusible web approx 40 cm x 20 cm .
1 set of small bag magnets to clap together .
Black chord cut to your desired length that needs to edge the whole bag plus a little hassle at the bottom.
Some bling if desired.
Free motion foot for the sewing machine.
Rayon or equivalent embroidery threads may include metallic threads
Bobbin thread .
Hand needle for the black chord.
Hand stitch threads are optional .
Baking paper.

Pattern
The pattern below is for guidance you can design any size bag you like please make sure your phone fits this size.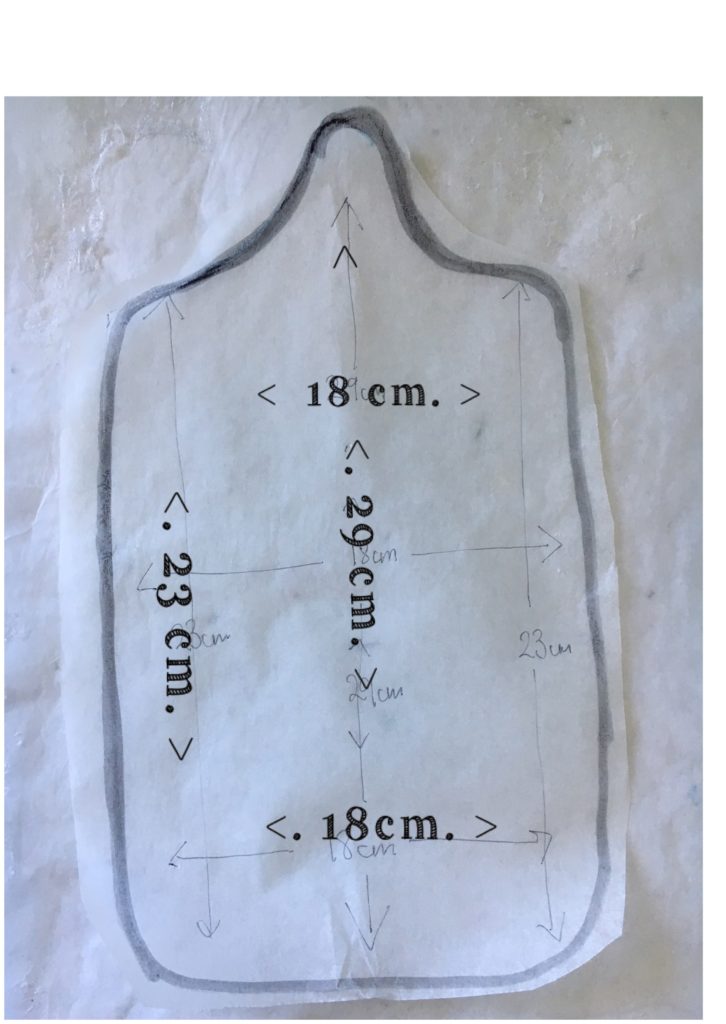
Cut 2 of your backing fabric.
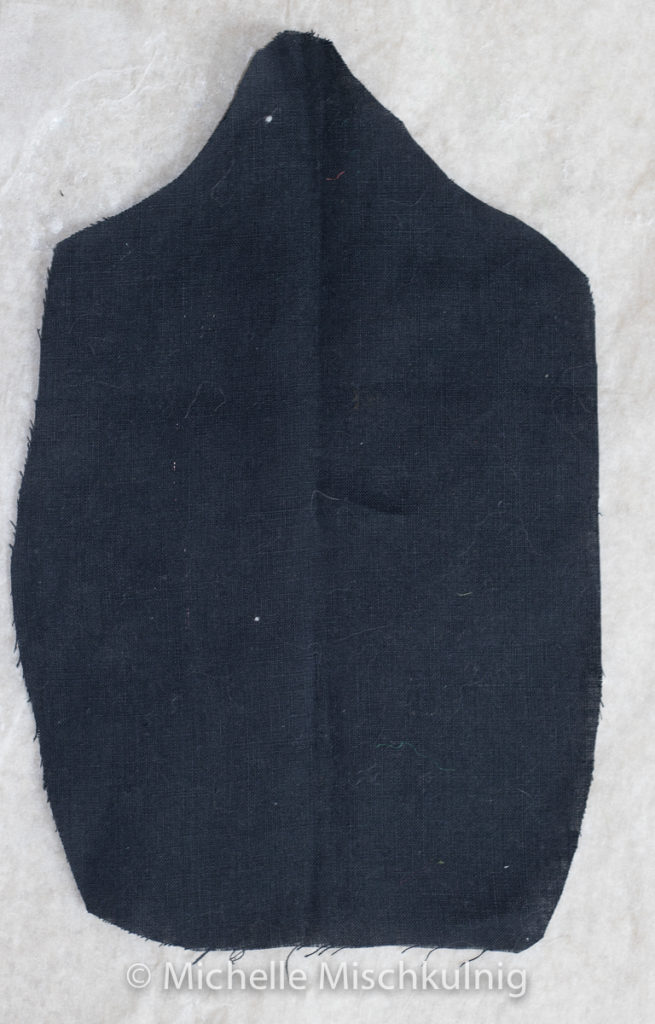
Cut 2 backing fabrics.
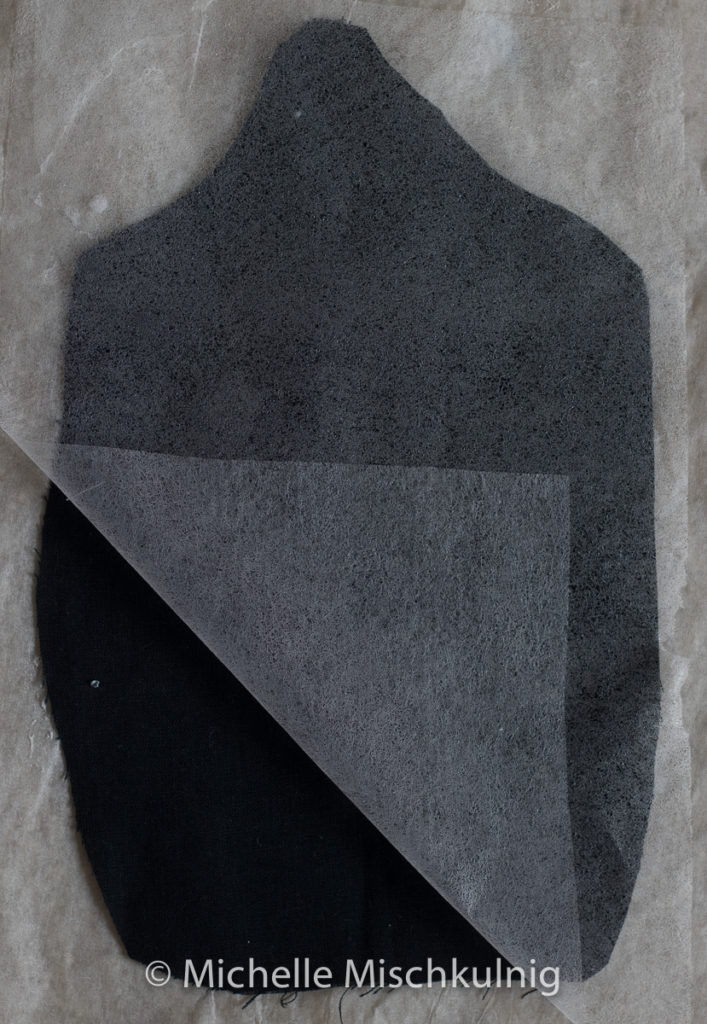
Cut 2 pieces of fusible web to fit.
Place a piece of baking paper on your ironing surface and then 1 piece of backing fabric cover with your piece of fusible web.
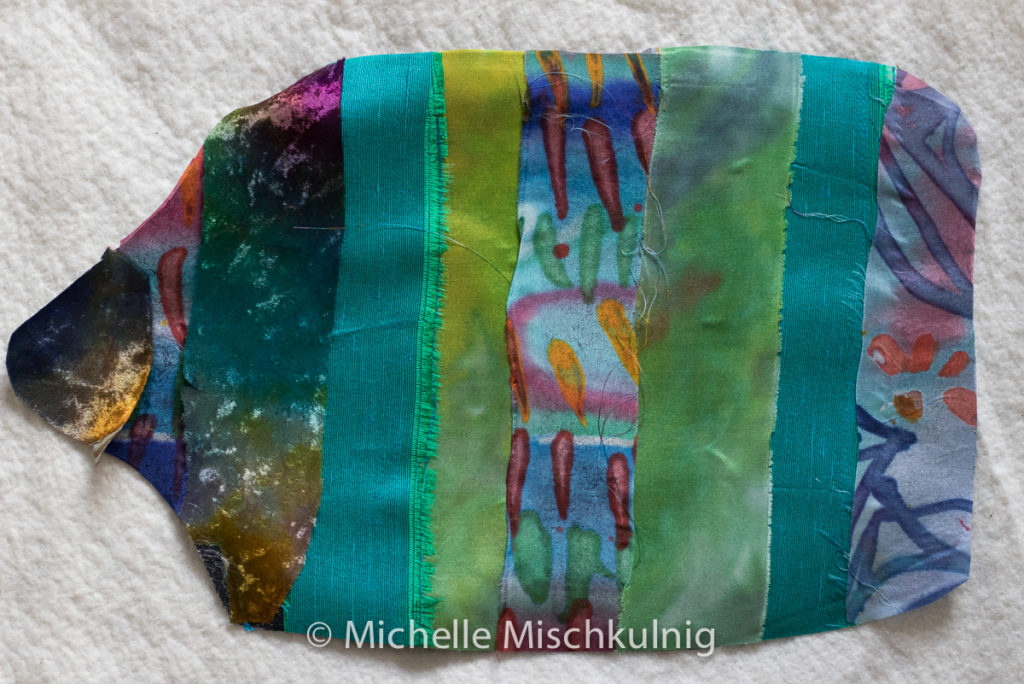
On top of the fusible web lay strips of your gorgeous fabrics they should only over lap by a very small amount, no more than 1/2 cm. I love raw and frayed edges. If you like tidy edges you will need to turn each edge under and stitch it before laying on the fusible web.

When you have finished laying your fabric and covering the base cloth place another piece of baking paper on the top of your gorgeous fabrics and fuse by using a dry hot iron.
Stitching
Set up your sewing machine for free motion embroidery .
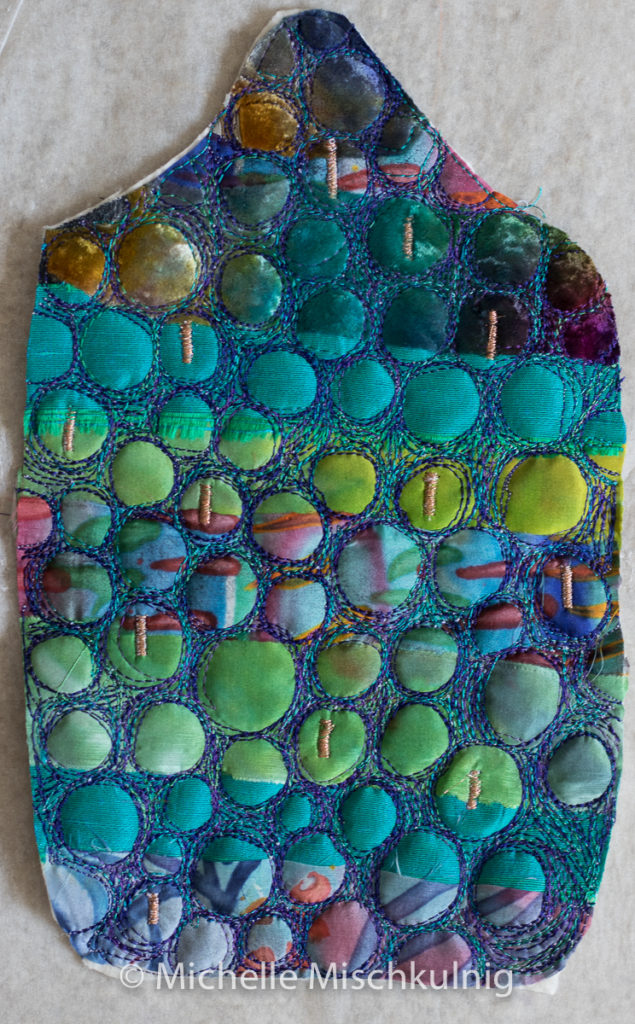
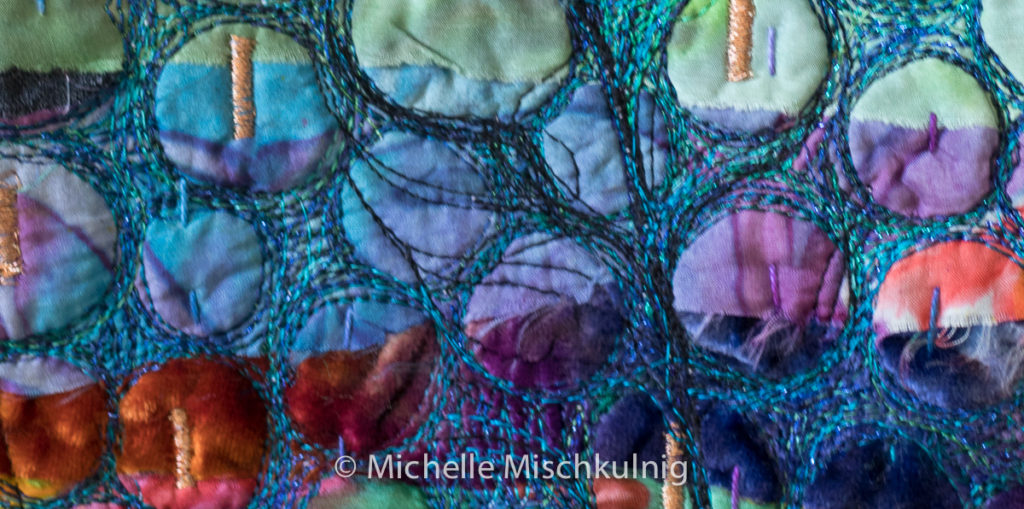
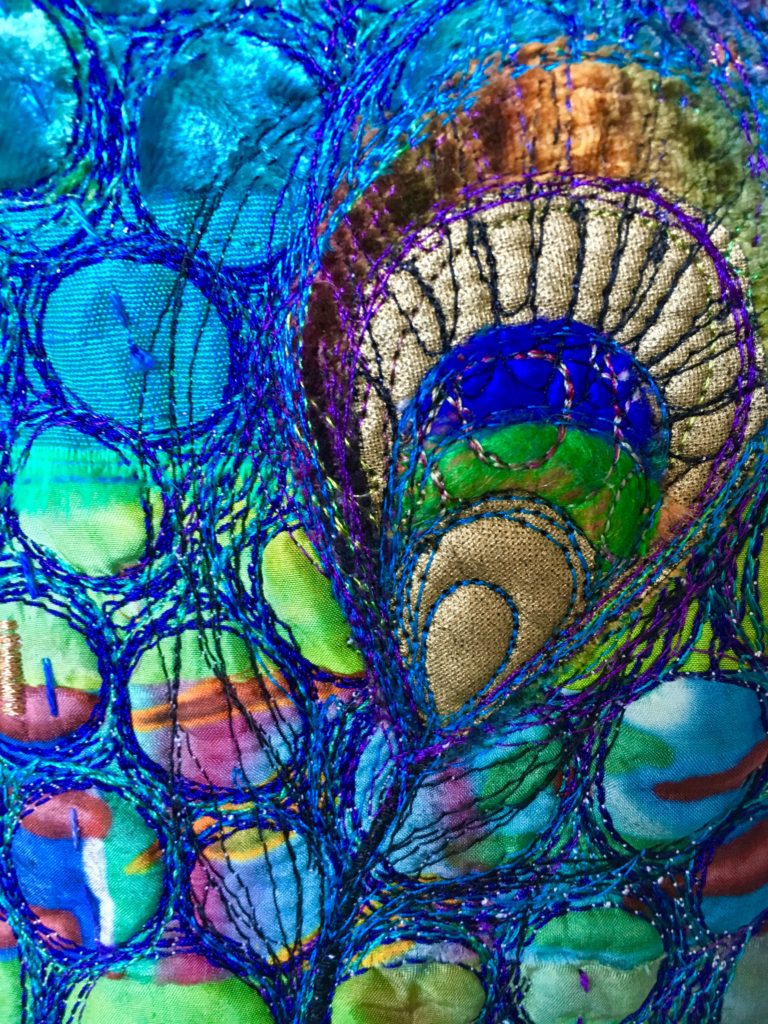
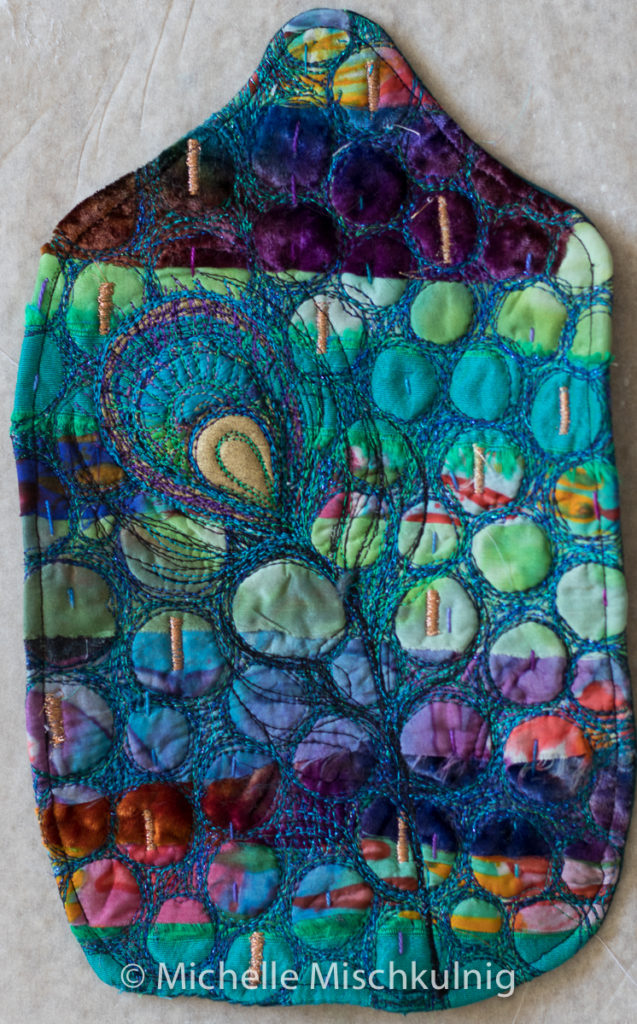
I have stitched in consecutive circles large and small and a little crooked. Stitching around each circle shape at least 3 times. My first layer of stitching is in darker blues and purples. You will be adding at least 3 layers of stitching in different colours.

Completethree layers of stitching around the outside edges of the circles using variegated threads, plain colours and metallic threads.Use a zig zag stitch free motion to add beads of metallic zing.
You may like to add some hand stitching at this point for added depth.
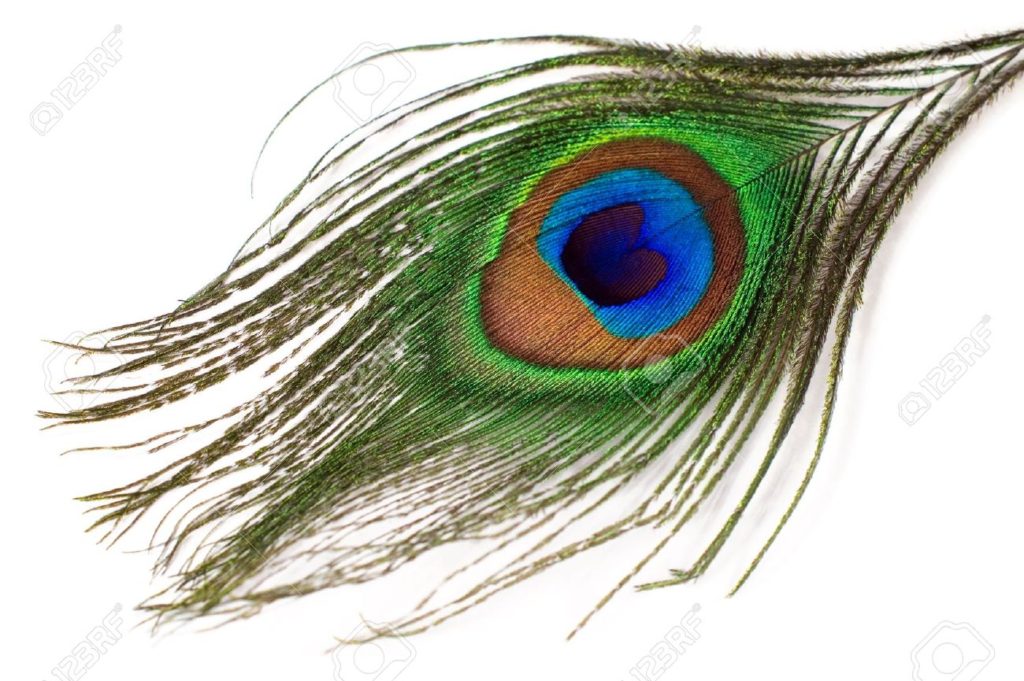
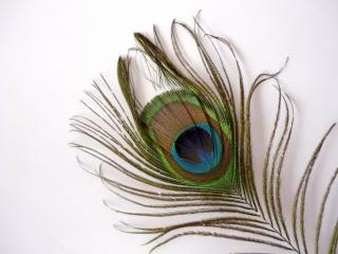
Decorate your base fabric with a peacock feather design by cutting out shapes of the eye of the feather in decreasing sizes.
Place the larges piece on your base fabric and free motion stitch into place and then the next piece repeating until you have used all your layers.
Then decoratively free motion stitch thinking about the textures and movement of the feathers
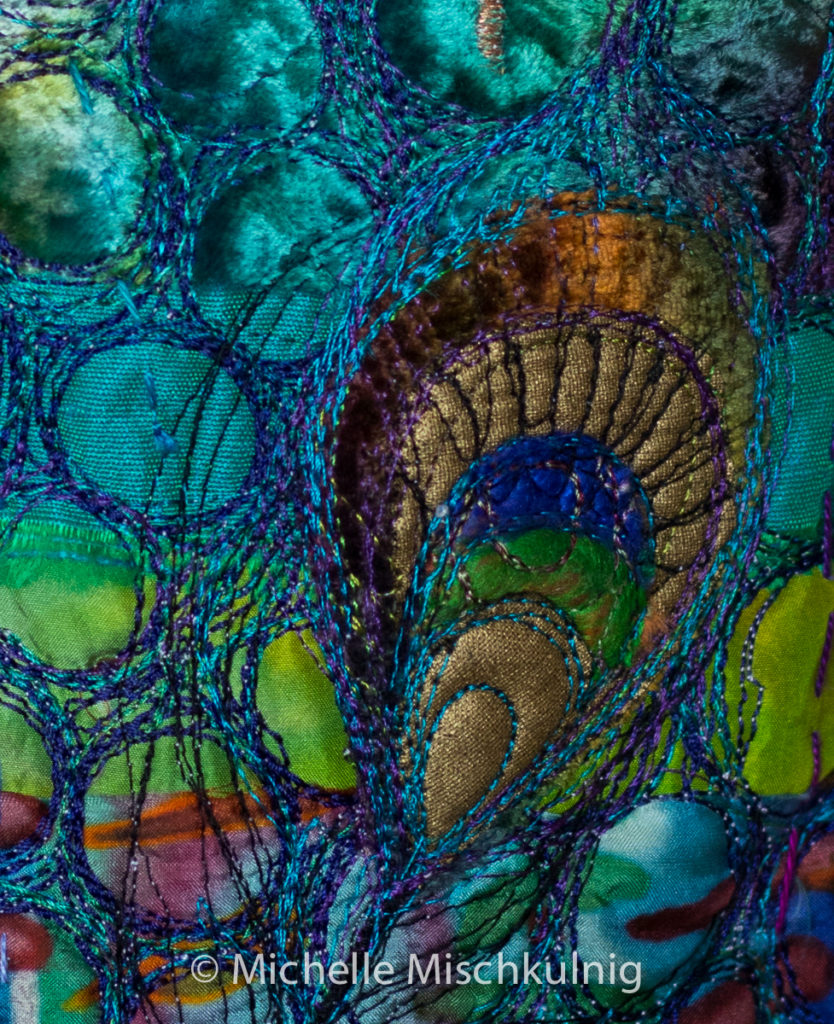
Repeat these instructions for both sides of your bag neither side has to be exactly same as you may notice mine are different.
Lining your bag
Set your machine back to normal stitch and change your foot
I am lining mine in a different manner to how you would normally line a bag and you can chose how you would like to line yours.
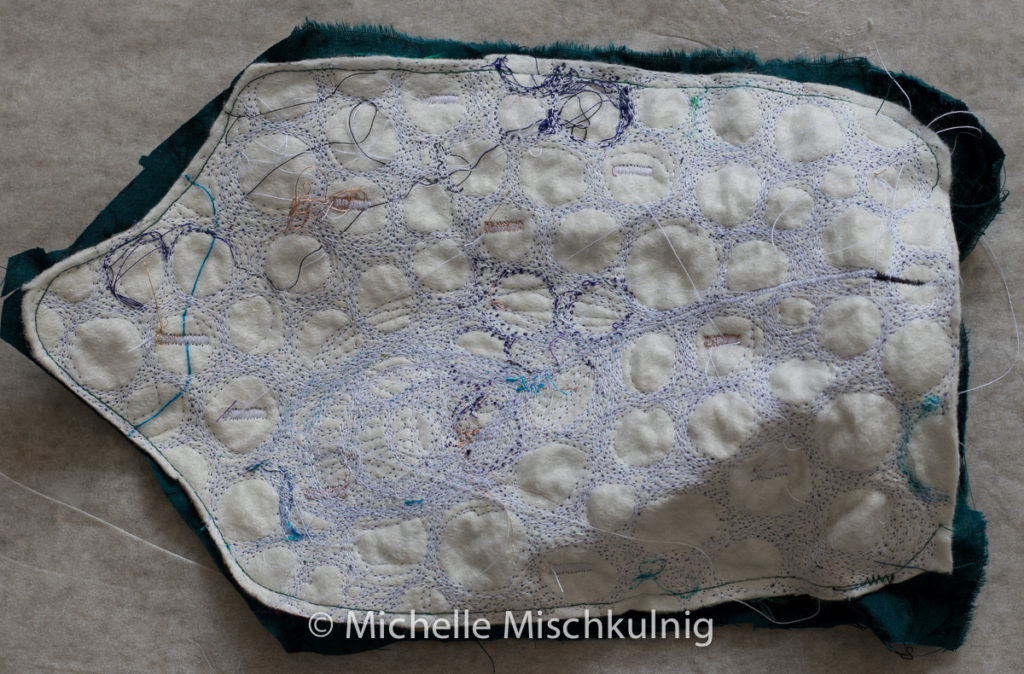
Place your completed stitched bag side upside down on your lining cloth and stitch a small seem approx 1/2 a cmon form the outside edge, leaving the bottom of the bag open to turn through.
I have used a bag magnet that is already sealed in silicone/plastic on this bag, but I also buy the magnets in larger amounts from a magnet shop and seal them into a pouch of fabric with stitch before using them this a much cheaper option and you can get a greater variety of sizes and strengths
Hand stitch your magnet into the top of your bag

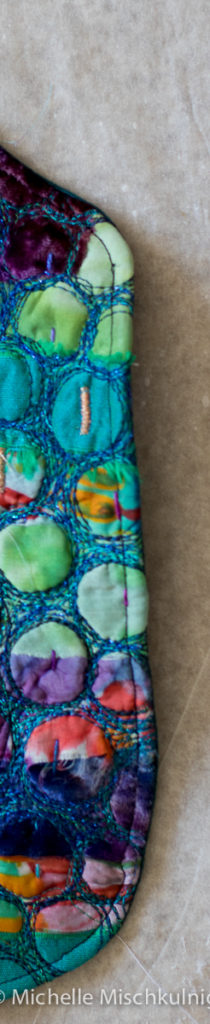
Turn through your bag to reveal the right sides and all the lovely stitching. hand stitch the open bottom edge .Lightly press and then stitch a 1/2 cm top stitch edge as seen below.
Repeat for the other side of your bag
Then place your two sides together stitch with the decorative side facing out and stitch from the top. Beginning at the bottom edge of the top curve and then down the side the bottom curves and back up the side finishing at the beginning of the curve on the opossum side, so both beginning and end of stitch lines are level leaving a opening to insert your goodies please make sure the opening is big enough for all that you hope to fit in. Then used a decorative stitch on the out side edged to hold these 2 edges
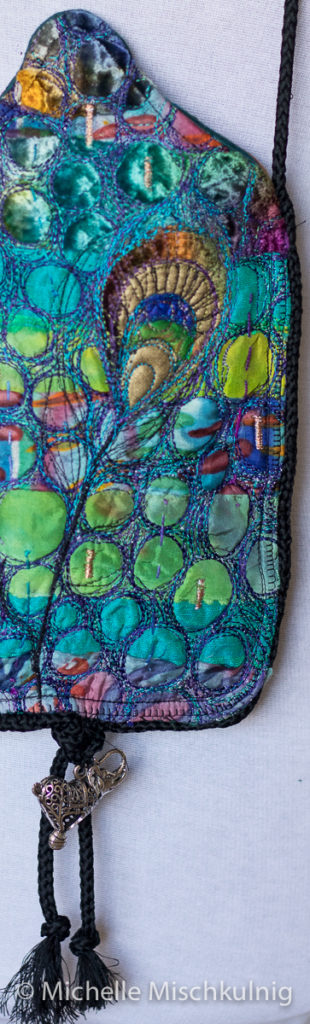
Hand stitch the black chord which you have cut to your desired length. Start the chord in the centre bottom with a little extra length for tassel affect and hand stitch to the edges to the start of curve.
It will then loop around the length of the shoulder strap and back down to the other side starting the hand stitching at the correlating position on the other side.
I have added some decorative bling to the tassel.
![]()
Now it is all done and ready to bedazzle your world with.
Please remember what I give you is a possibility for you to own in your own designs and colours make it yours and love the creative process and best of all show off your “just a little bit special” bag.


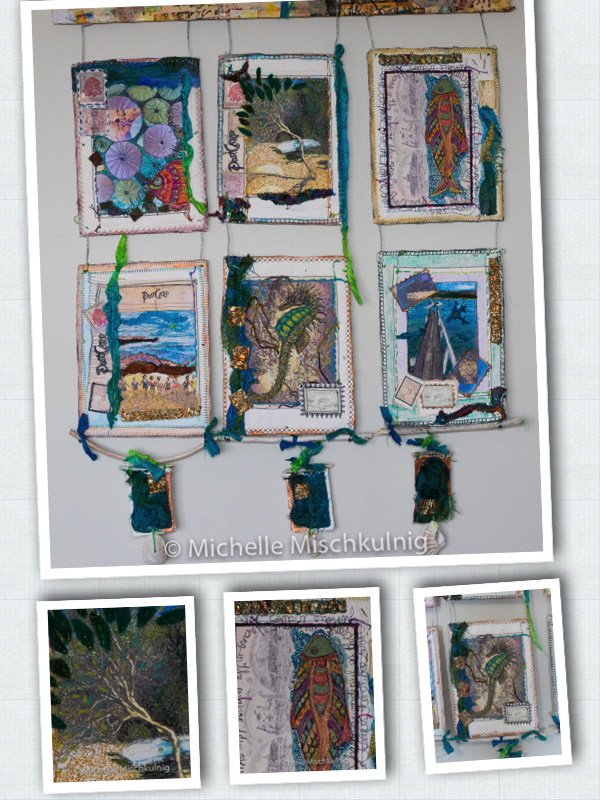
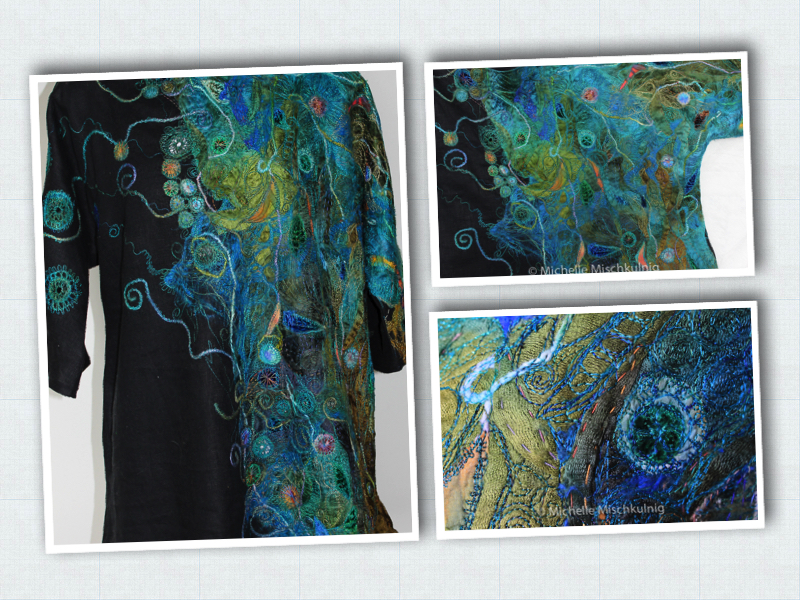
Upcoming workshops with open registrations
leaves workshop- http://threadsandtangles.com.au/shop/classes/michelle-mischkulnig-chelle-textiles-9th-10th-september-2017/
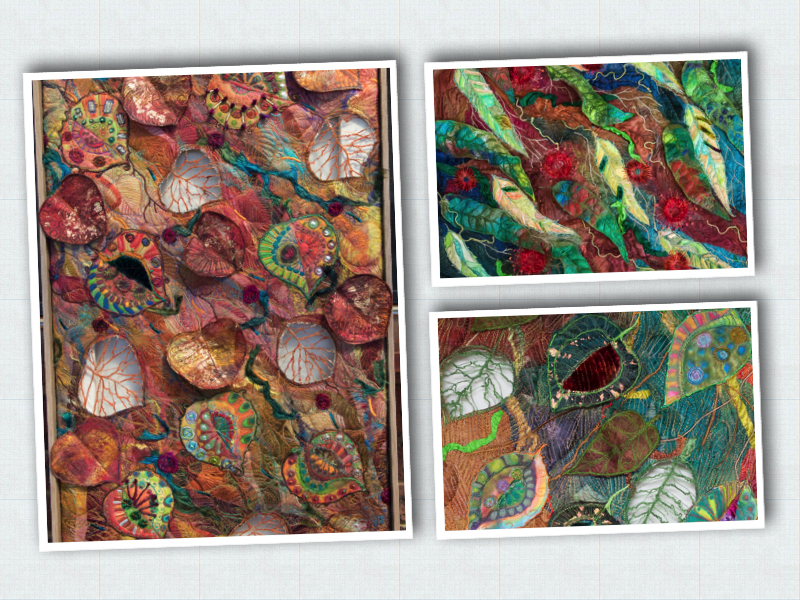
Tunic – http://www.berryquiltingretreat.com.au/michelle-mischkulnig-29-30-aug-2017.html
Postcards – http://www.berryquiltingretreat.com.au/michelle-mischkulnig-26-27-aug-2017.html