Rich jewels
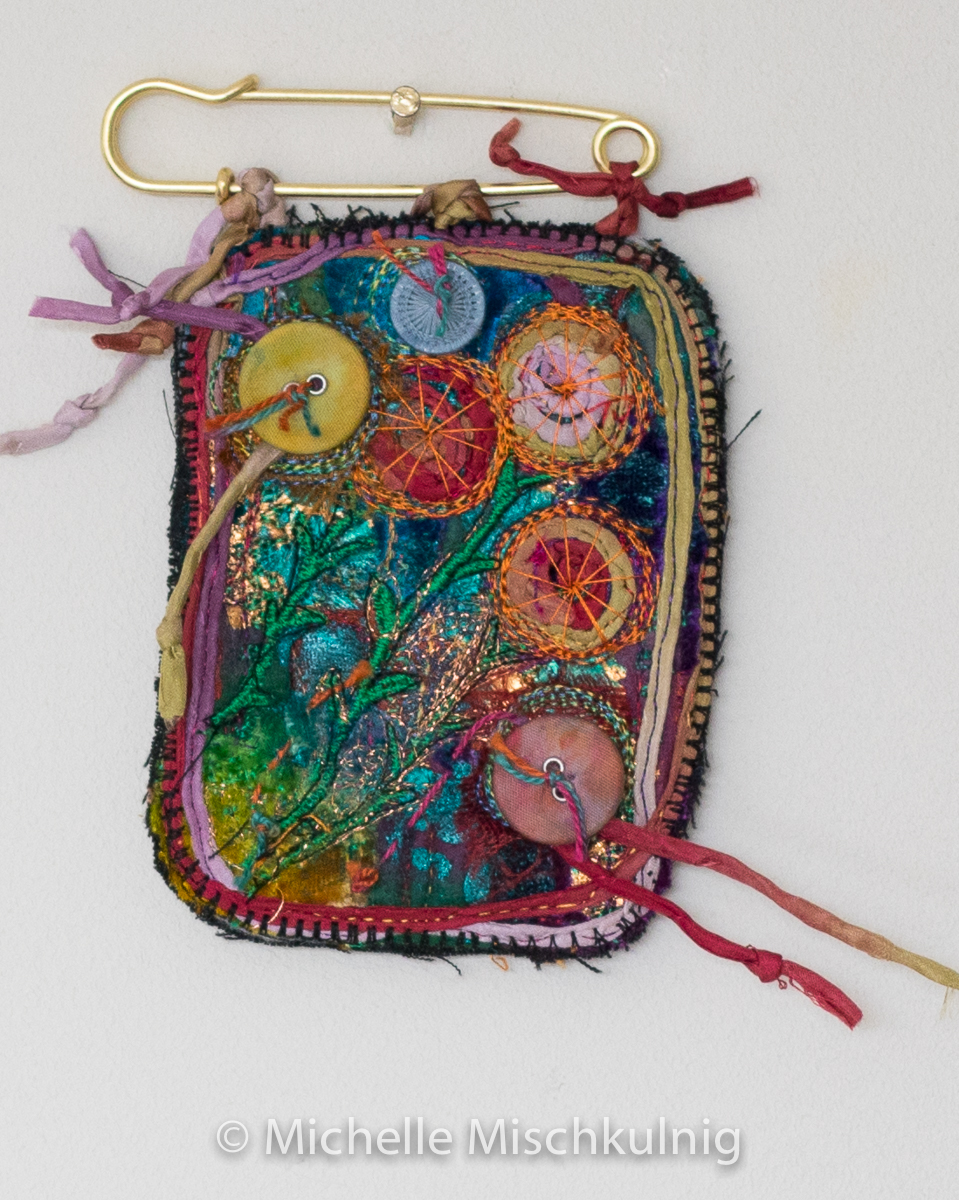
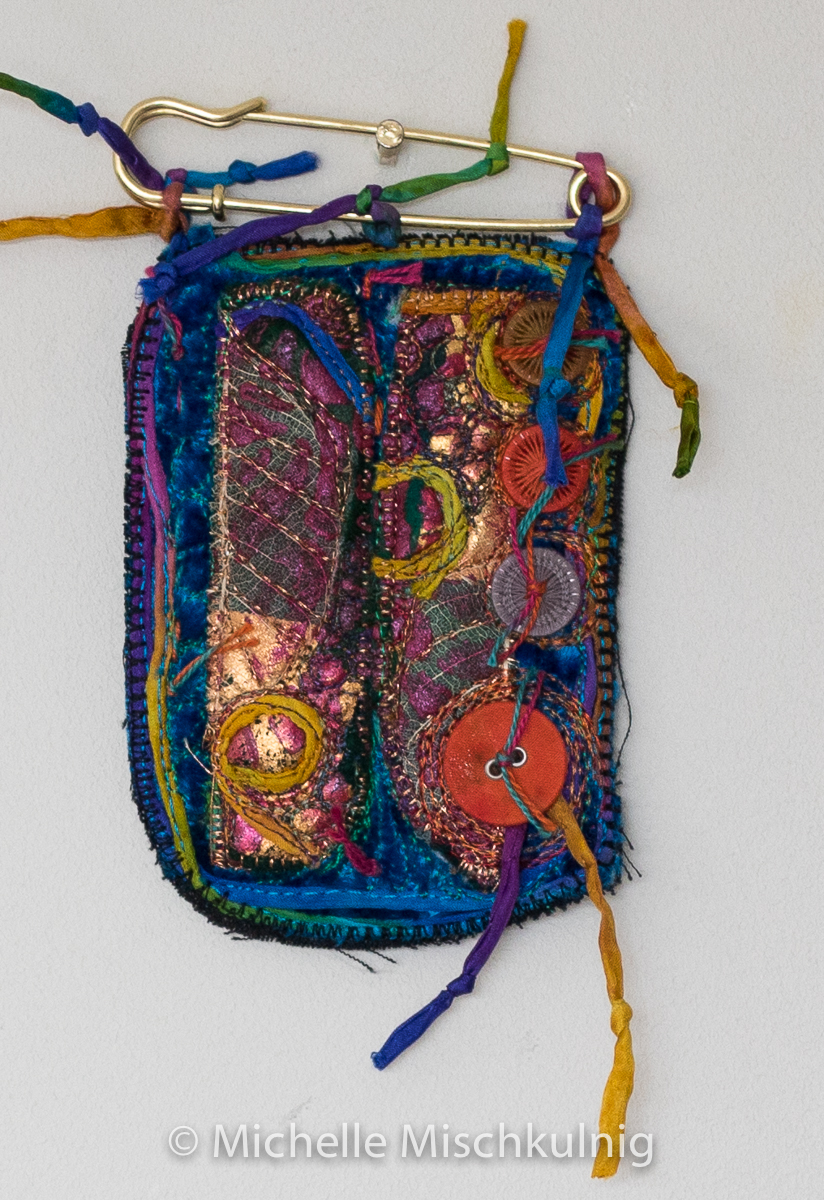
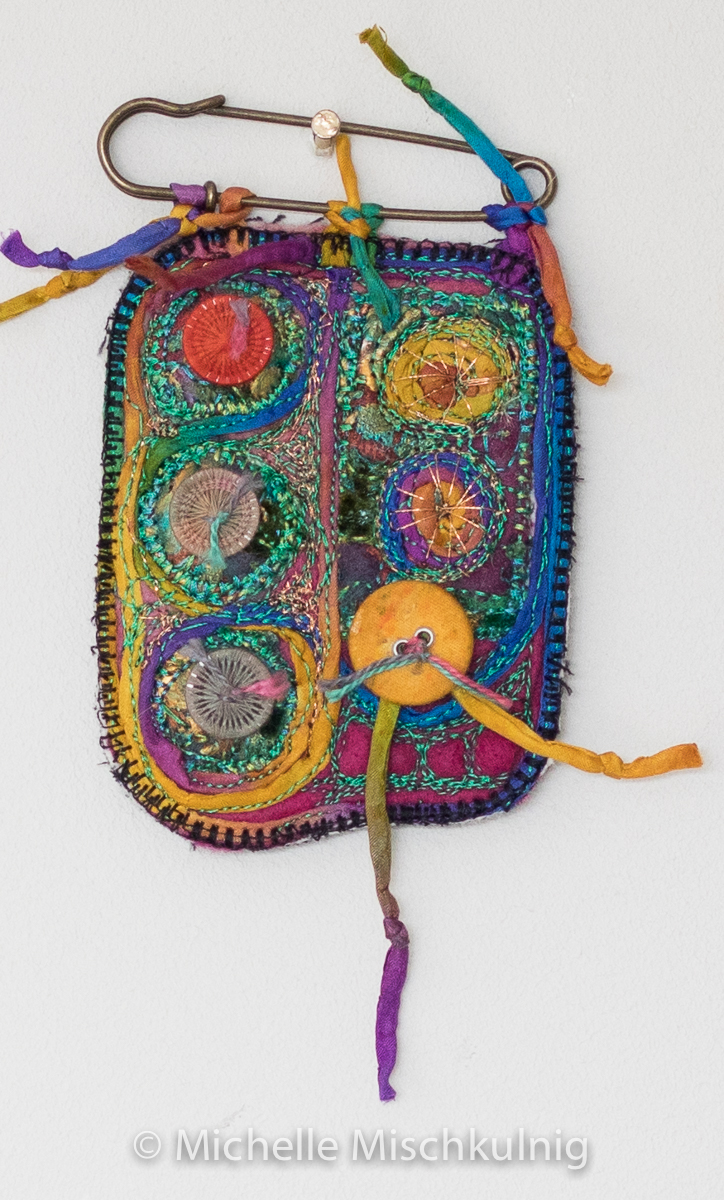
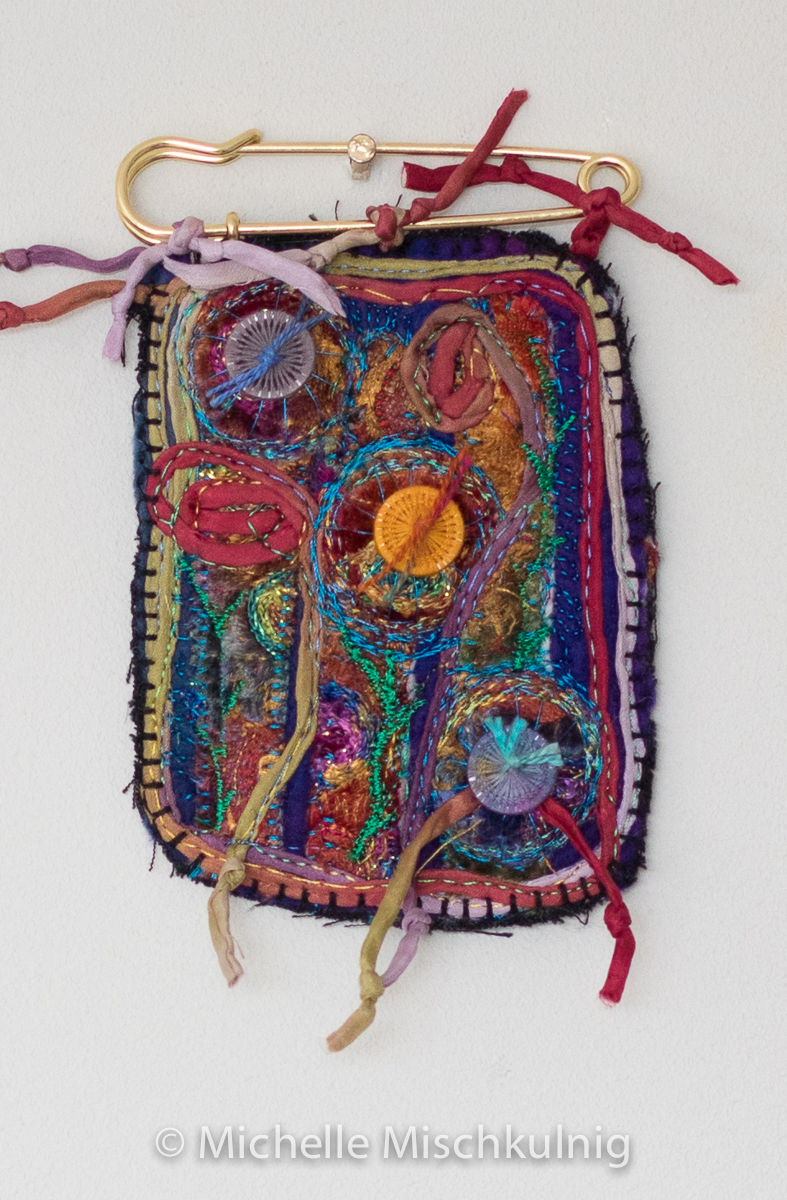
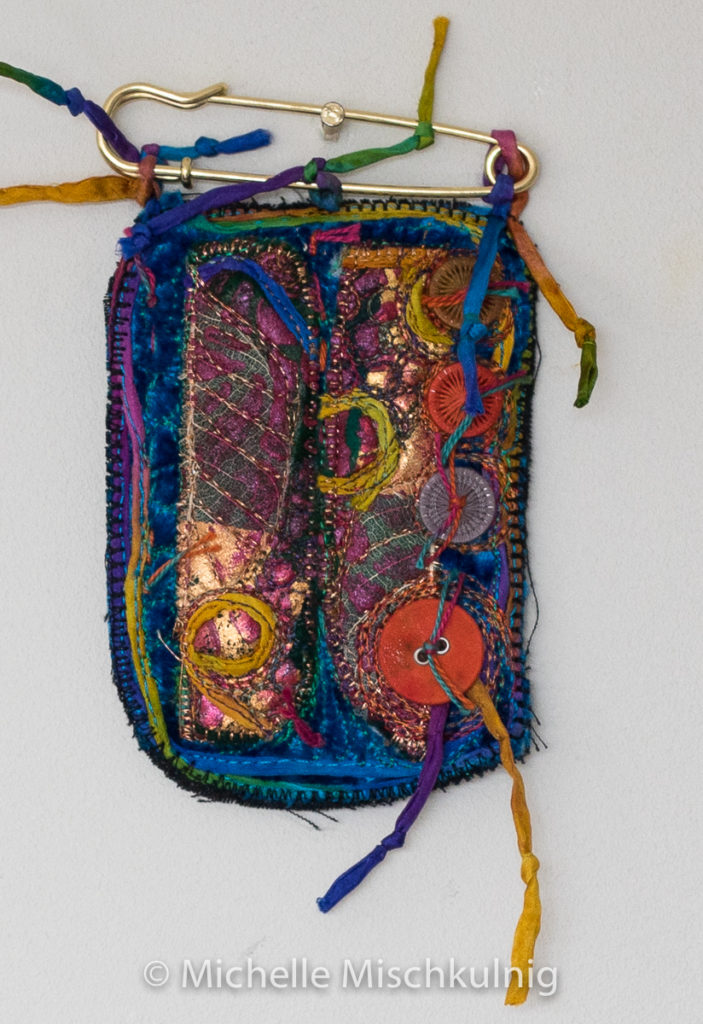
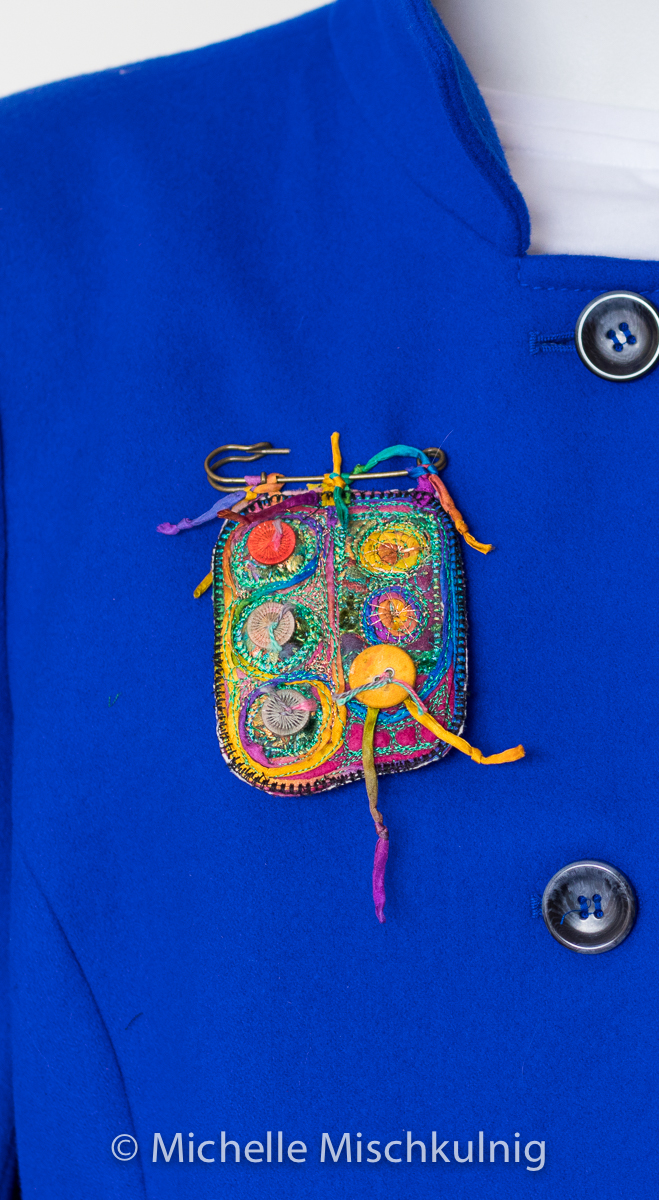
These jewels can be bright and sunny brooches on a winter coat, can be grouped together to fill a frame or individual treasures to gift an hang on the wall or wear.
. “The creative is the place where no one else has ever been. You have to leave the city of your comfort and go into the wilderness of your intuition. What you’ll discover will be wonderful. What you’ll discover is yourself.” — Alan Alda
Hi everyone I have been absent from my blog for a little while so overwhelmed filling my creative obligations, no disappointment there :-) . Today I am giving you the gift of a little play, new materials and a doable project with endless possibilities. The materials I have used are the trickiest bit of the project so you may need to substitute or if there is enough interest I can put together some kits that would make 2 of these for AUD $50 but to do this I would like to have total orders of 10 kits ( not each but individual orders that come up to 10) and it may take a couple of weeks. Let me know if you are interested. Isn’t the year flying by in a blink another day is gone .
Don’t forget to visit my teaching events on my website under events, some are linked below.
http://www.berryquiltingretreat.com.au/michelle-mischkulnig-26-27-aug-2017.html
http://www.berryquiltingretreat.com.au/michelle-mischkulnig-29-30-aug-2017.html
http://www.textileartworkshopsonline.com/uluru-2018/#contact
Materials
These materials can be substituted and bought of any retailer I am supplying the links to where I get my things from.
Hand dyed silk velvet or similar for one jewel approx. 9cm x 12cm. http://www.thethreadstudio.com/catalogue/fab/fab5.htm
Hand dyed pre felt or felt approx. size for one jewel 9cm x 12cm. http://www.thethreadstudio.com/catalogue/fab/fab2.htm
Fine fabric such as silk mesh or similar.
Hand dyed linen buttons two sizes approx 2cm and 1cm http://www.thethreadstudio.com/catalogue/embellish/notions6.htm
Machine embroidery threads I use rayon but it is your choice.
Very small amount of fusible web approx 9cm x12cm http://www.embroiderysource.com.au/index.php/catalogsearch/result/?q=Vliesofix
Very small amount of gold metallic foil http://www.thethreadstudio.com/catalogue/exp/metals.htm
Stencil of any design it is just to add some more texture if you don’t have a stencil you could just dab some paint over the surface of your embroidery http://www.thethreadstudio.com/catalogue/exp/stencils.htm
Metallic fabric paint such as the brand Opulence.
Skeleton leaves http://www.kmart.com.au/product/leaf-embellishments—pack-of-20/1145328
Backing Fabric.
Kilt pins
Now to get down to it have fun!
First jewel
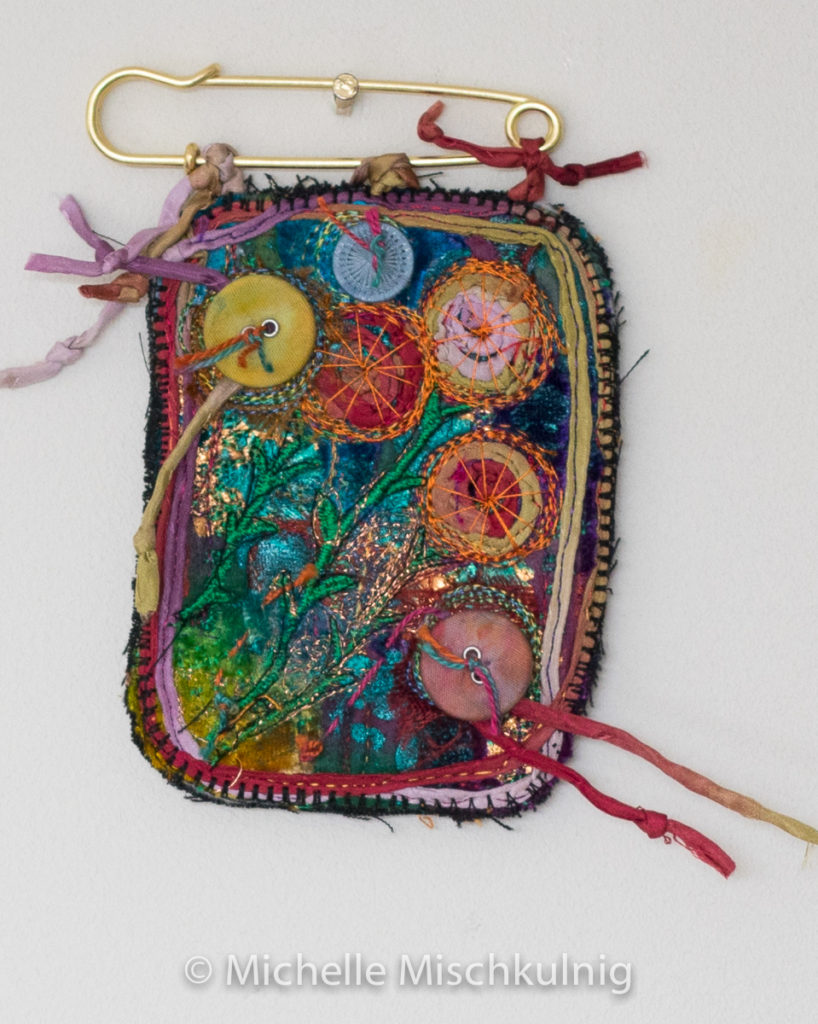
Cut your velvet approx. size 9cm x 12 cm or a size that is suitable for you
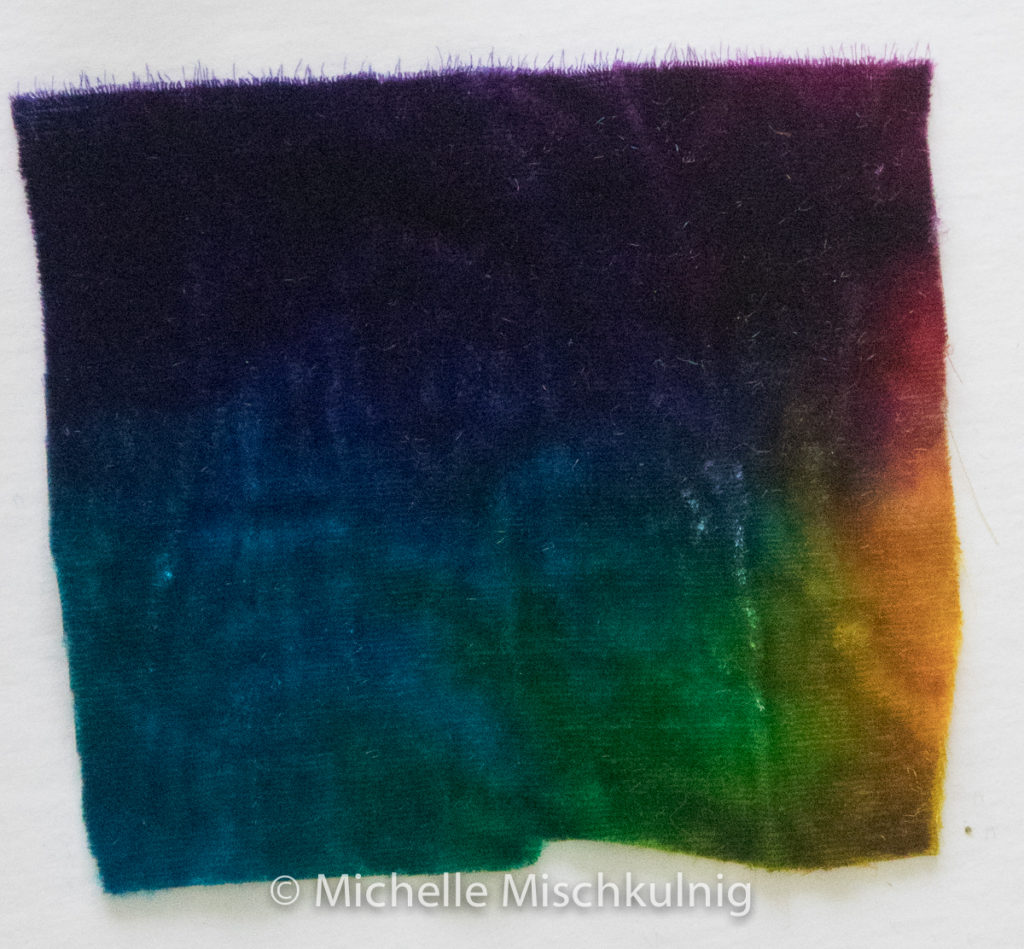
Cut small slits around 2cm apart a long the length of your velvet, weave through a fabric with a contrasting texture or shine. I used felt but a wool or cotton would look good .
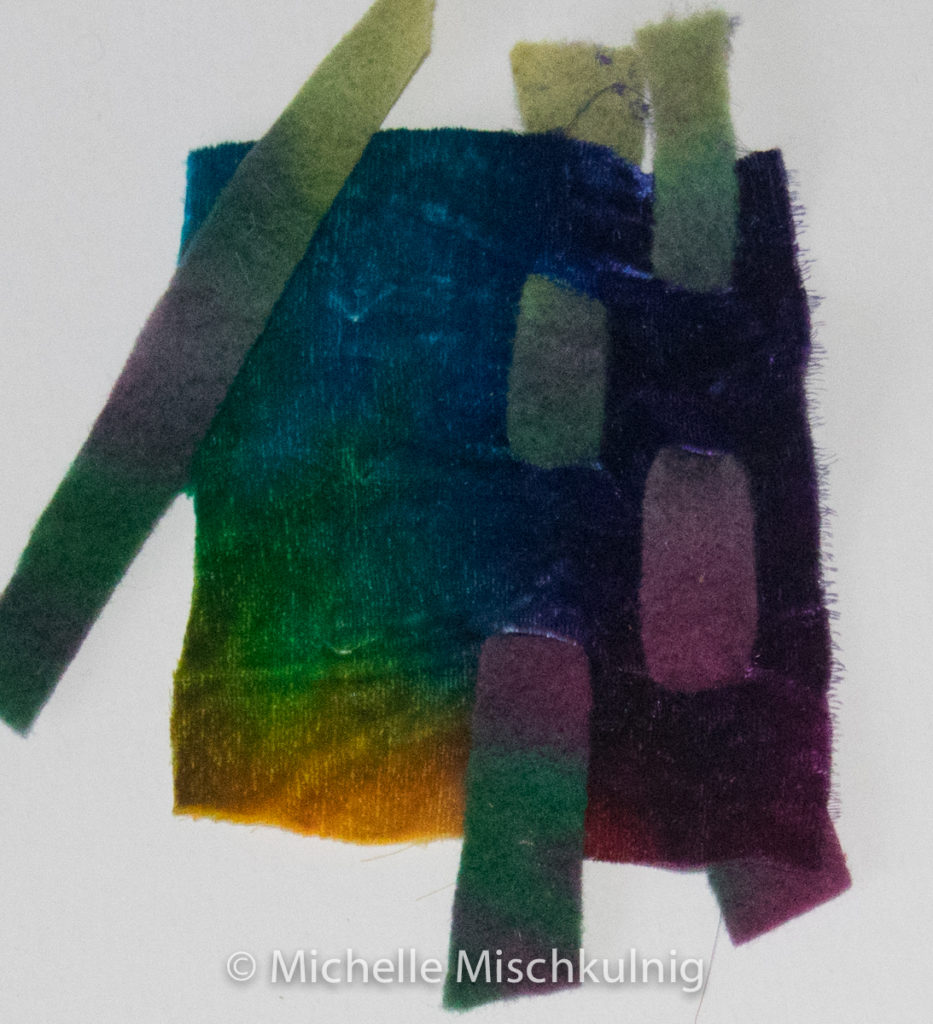
Then weave back through the woven felt strips with the another fabric of interesting texture and colour I have used a silk mesh.you are building up base fabric with lots of texture and interest.
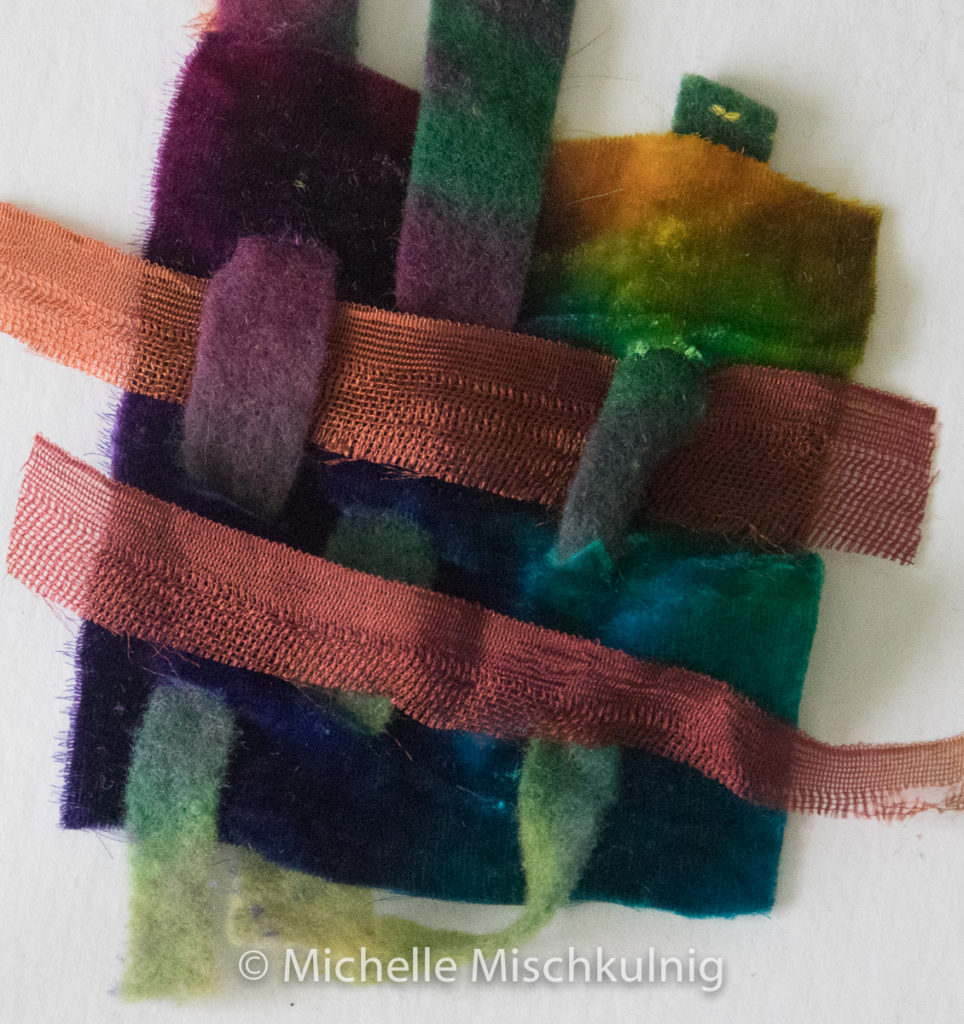
Applying the gold foil
To apply the gold foil, place some small amounts of fusible web on the top surface of your woven velvet. The metallic side of the foil with the gold etc colour should face upwards .
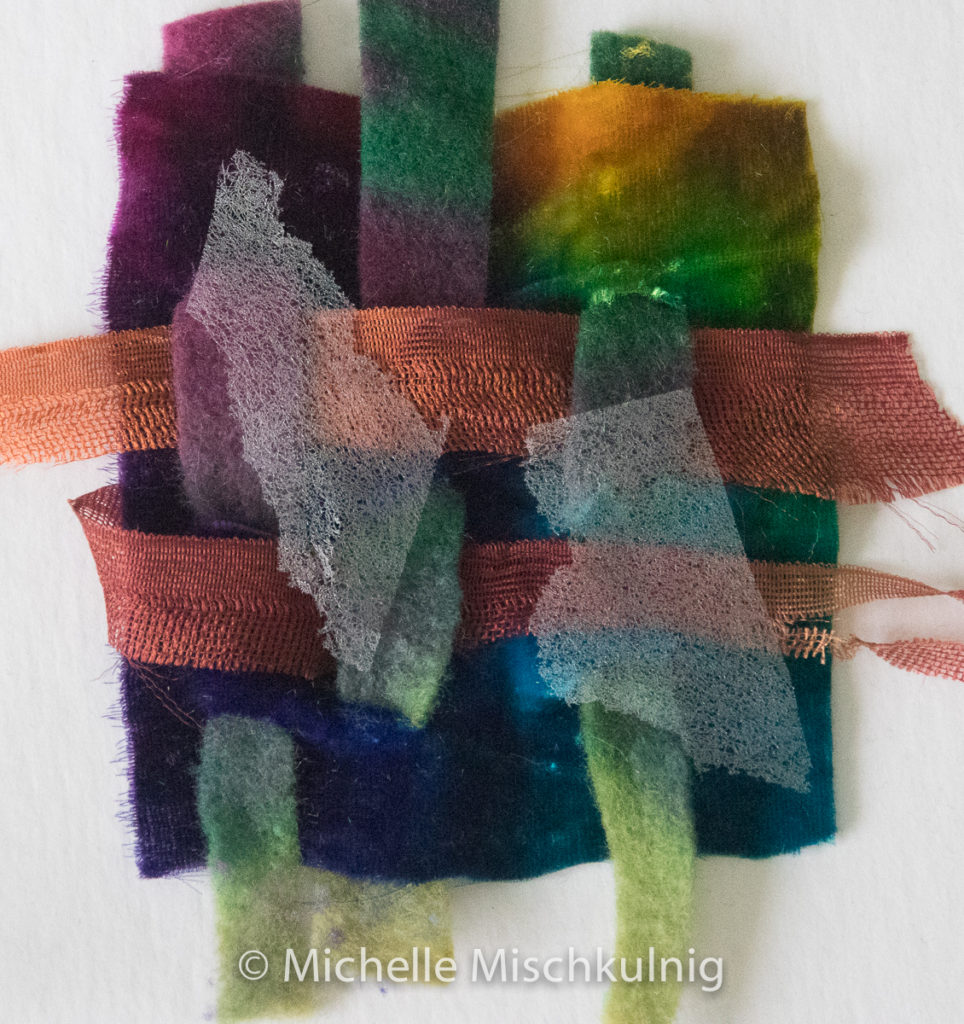
Place small pieces of gold foil on each fusible web patch .
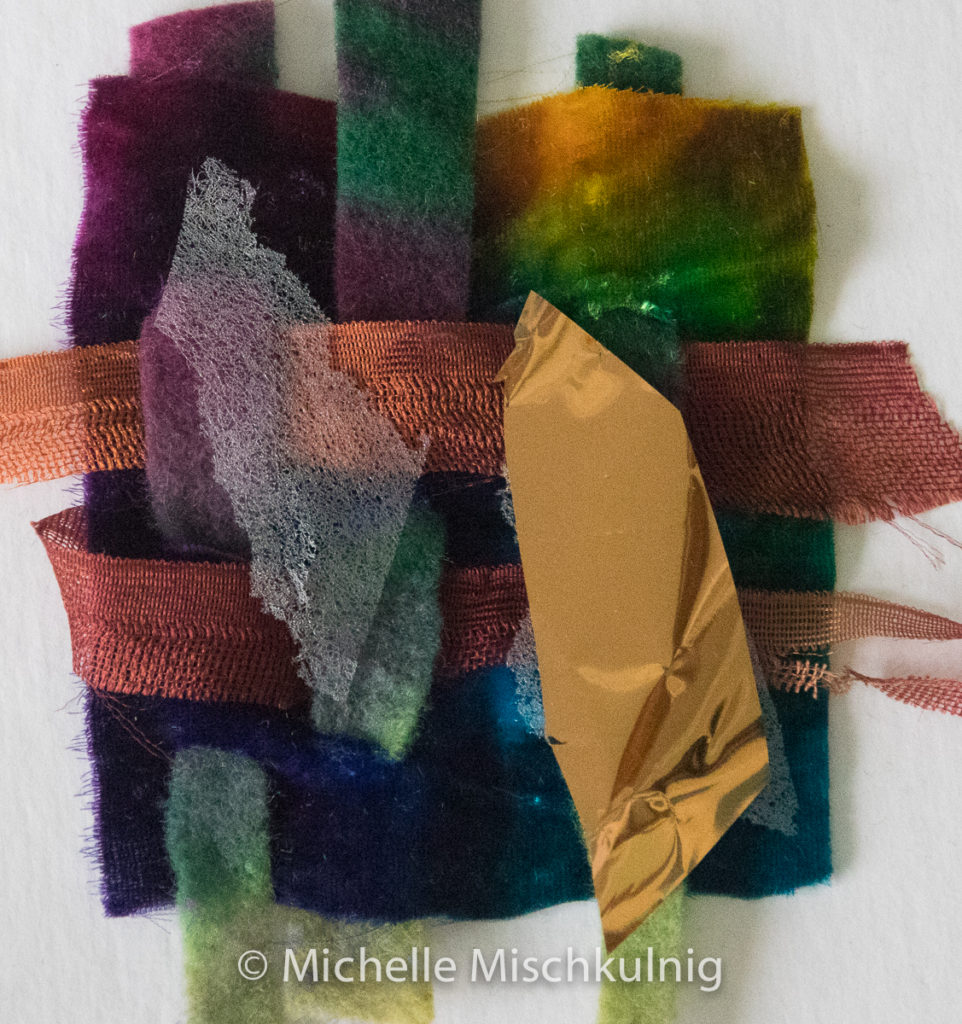
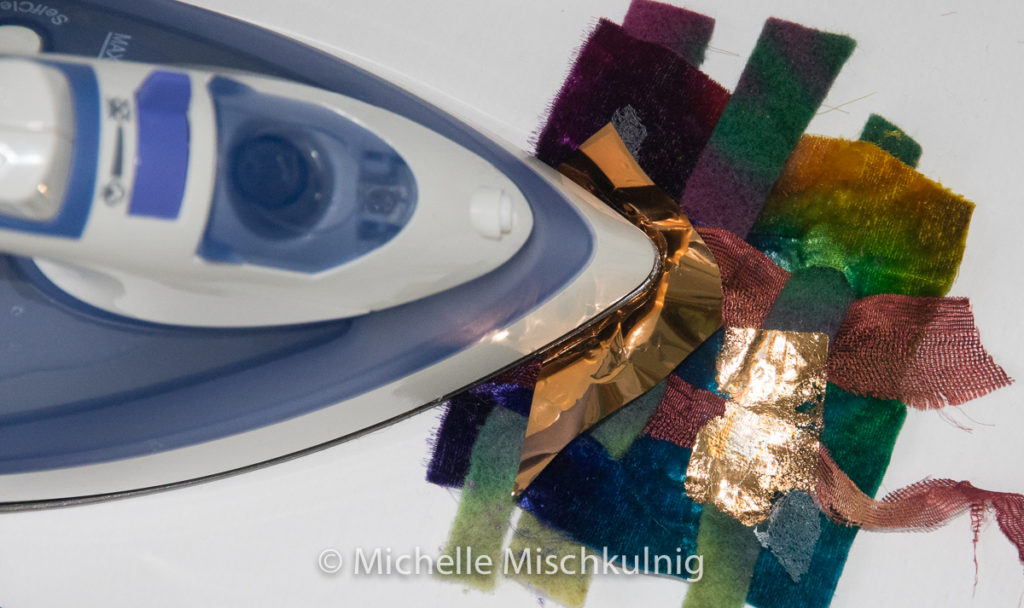
Run an old or work iron over the surface, you will see it start melt, lift the iron and peel off the plastic from the foil which will leave you with golf foil on your fabric. Repeat this step wherever you would like the gold . This will leave a sticky residue on the iron.
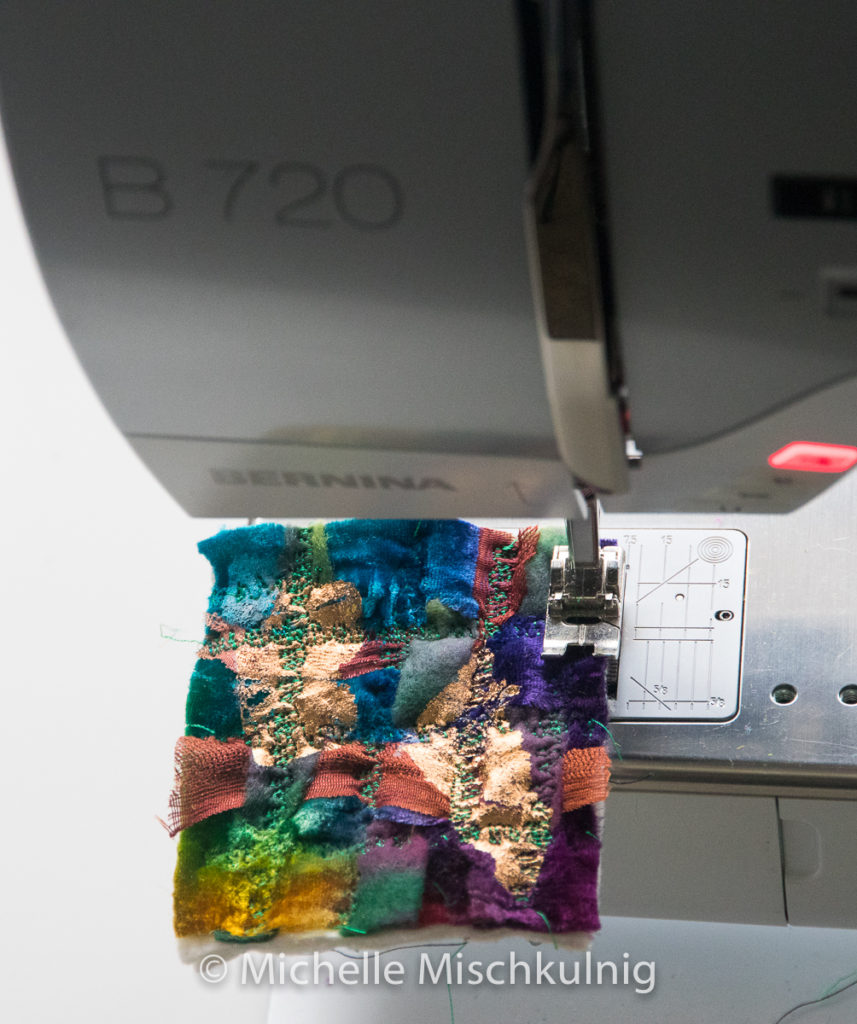
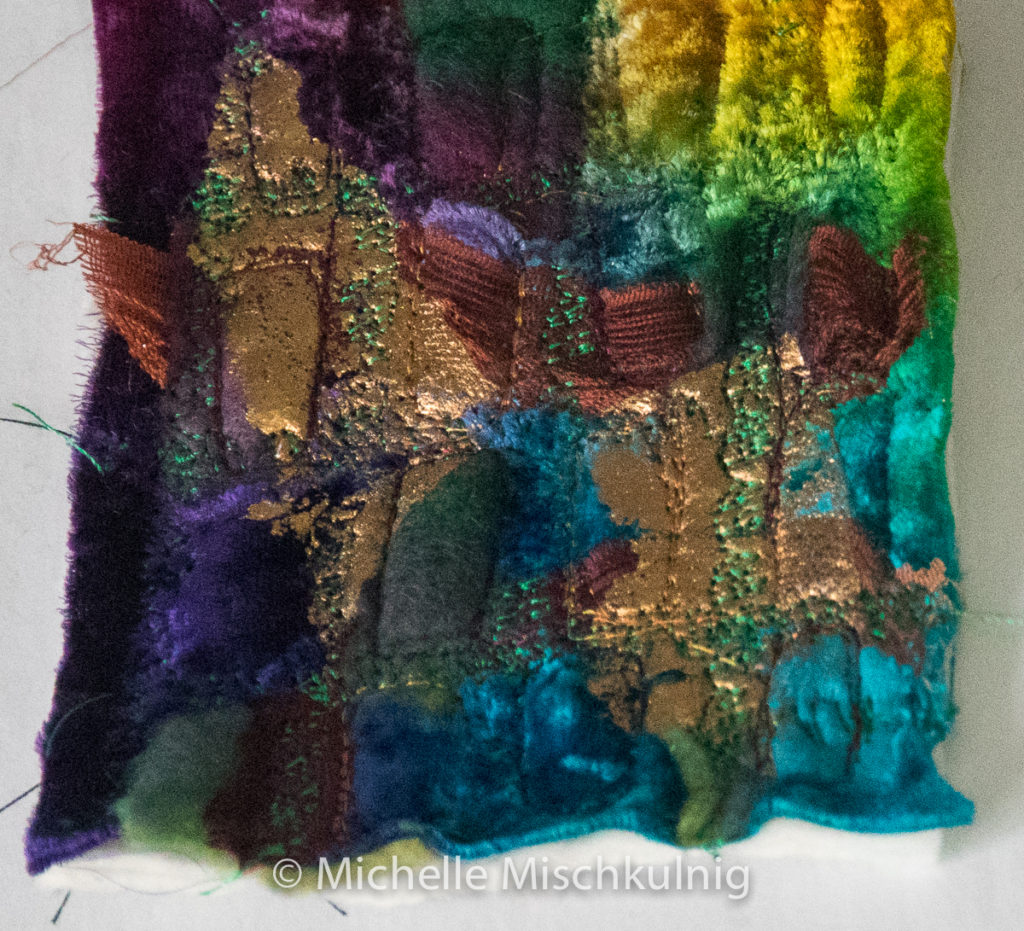
Then back your fabric with a sized piece of batting and stitch a design. I have stitched a grid with a pre programmed pattern stitch but you could do a zig zag or whatever your heart desires.
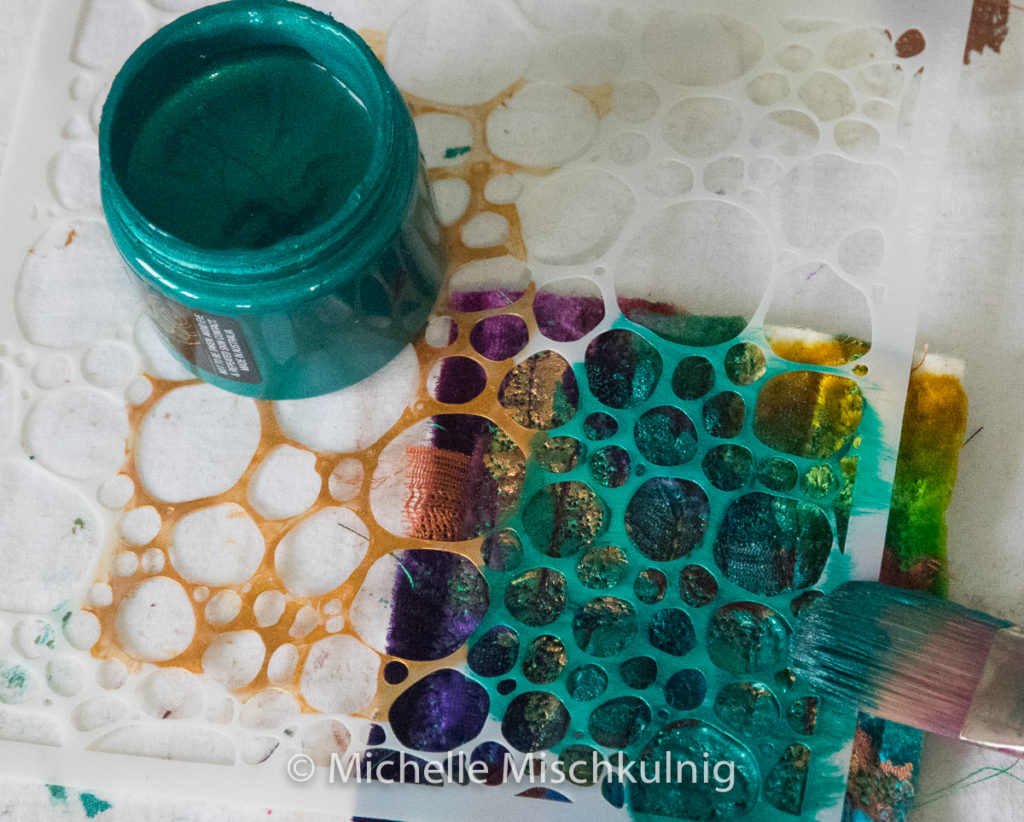
Use a stencil and some metallic paint to create a surface texture .
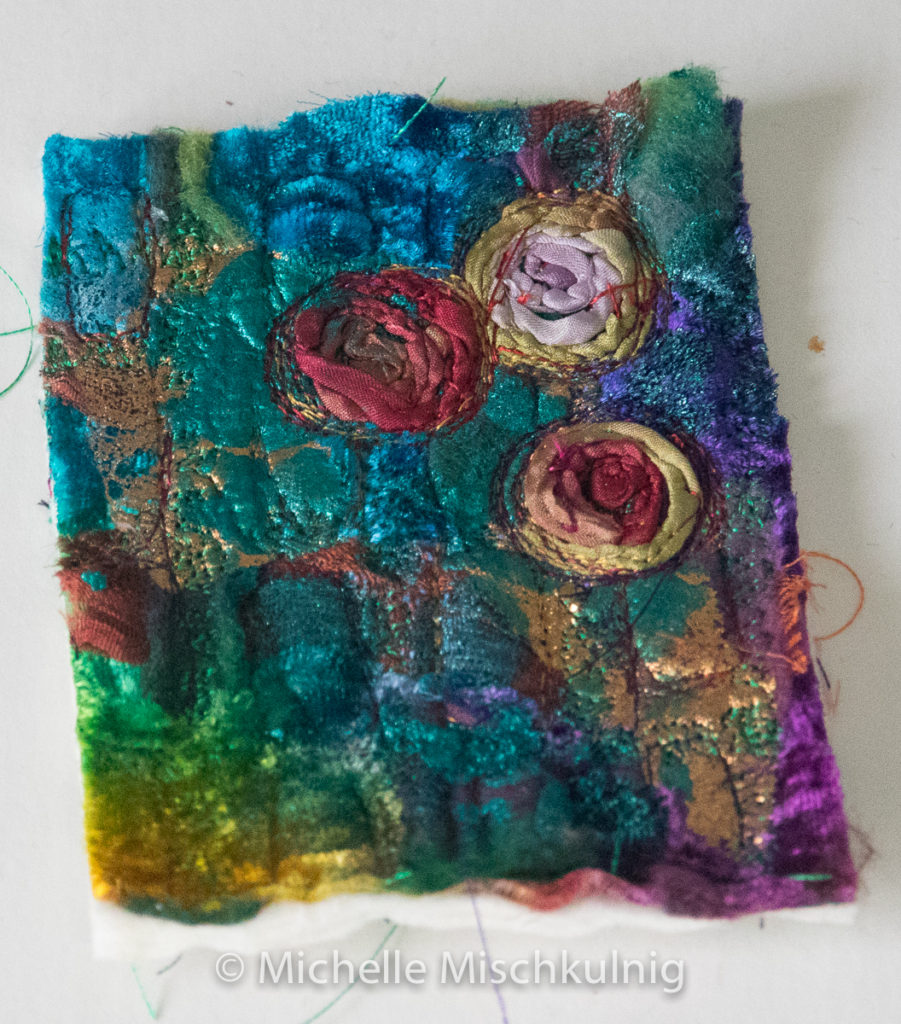
When your fabric paint is dry set your sewing machine for free motion embroidery. Using a free motion foot and rayon embroidery thread ( or threads of your choice )start to embellish
I have used hand dyed silk chord because I love its textures and colours. Try twirling the chord into a spiral/ lollipop shape then free motion stitching onto the background, extending the stitching around the outer edge of the lollipops to make them pop from the back ground.
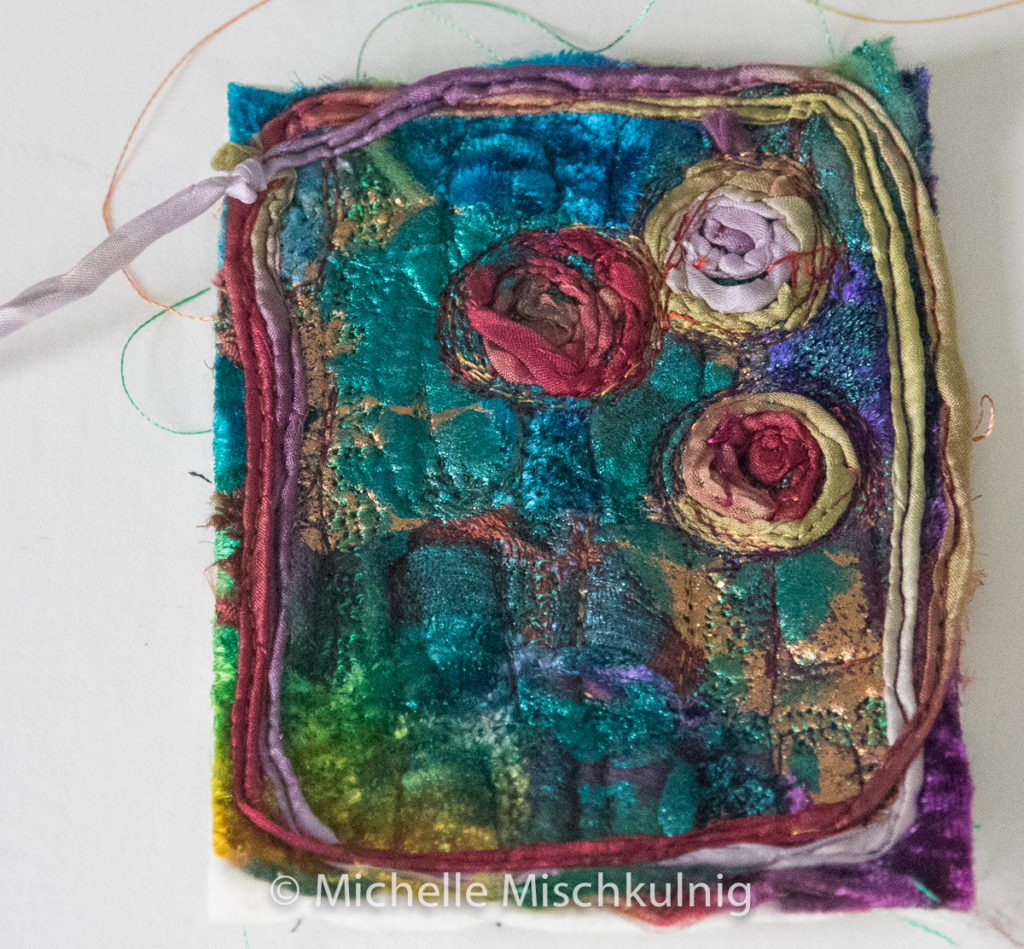
Using the same silk chord I have free motion stitched the around the out side edge of your jewel. This is a very organic process and the chord tells its own story as you go around the edge. I free motion stitch the chord around the edge two rows.
Think about how you can add some more stitch and embellishments. I have stitched little pieces of silk mesh in a circular shape and then added free motion zig zag as stitched stems.
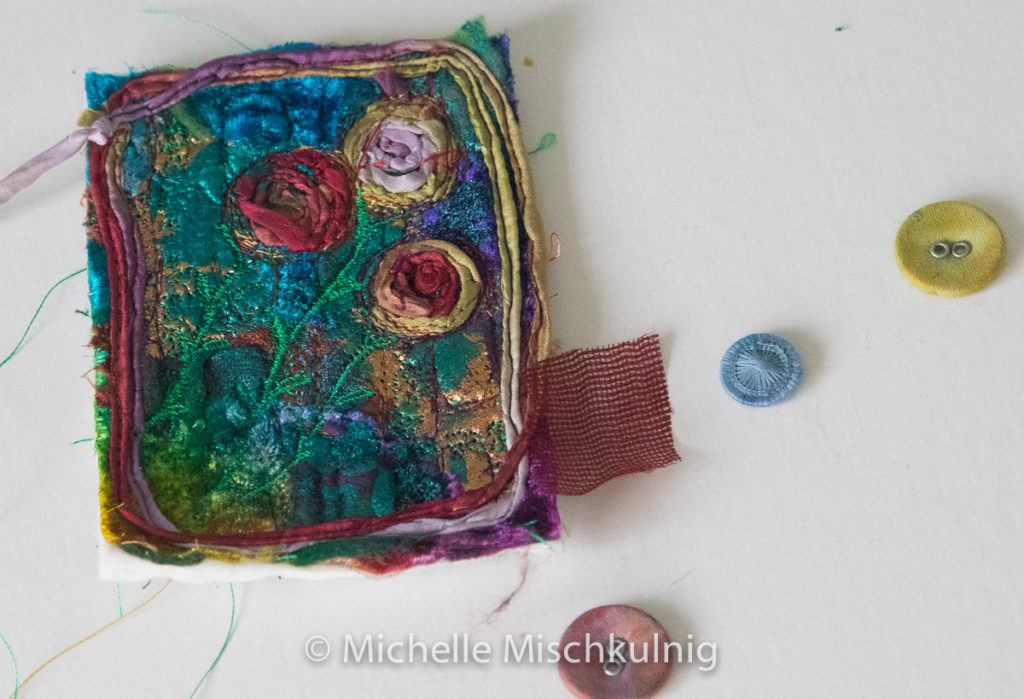
I have also used a dragging stitch from the centre of the flower heads to the edge. It depends on your sewing machine on how best to make this stitch so experiment and see what suits yours. This is how I make the stitch, make sure the tension is loose, do a couple of stitches in the centre of the flower head and then lift the foot drag it to the out side edge of the flower head, drop the foot and another couple of stitches, move the foot a little bit around the circumference of the flower head and drag the stitch back into the centre and repeat this to fill your lollipop.
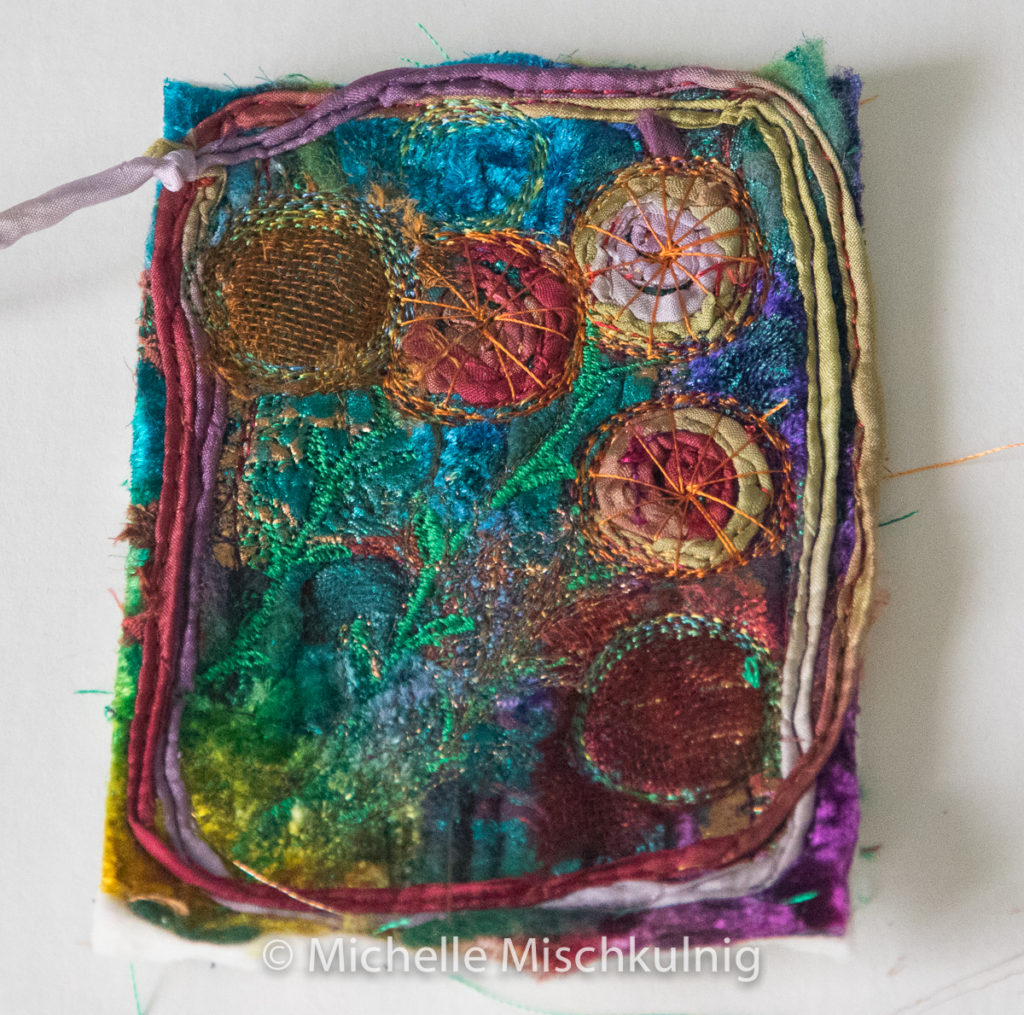
Stitch your beautiful hand dyed buttons or similar and other embellishemnet wanted. Trim the embroidery back to the edge of the silk chord and cut a backing piece a little larger.I have used a black calico.
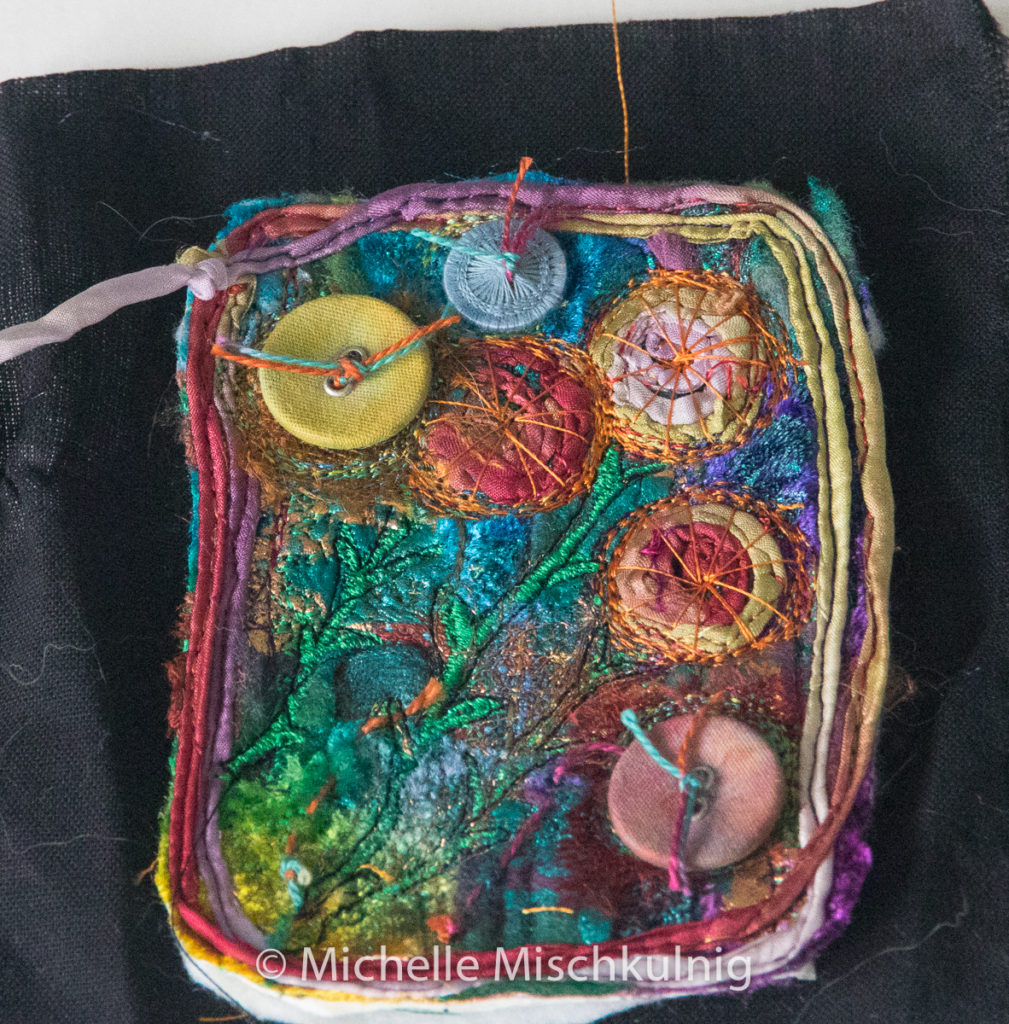
Then stitch around the outside edge to hold your back and front together, I have used a decorative blanket stitch that sealed and covered the edges, then trim the backing fabric to stitch line. I have then added some extra little ties of the silk chord because I love the way it looks .
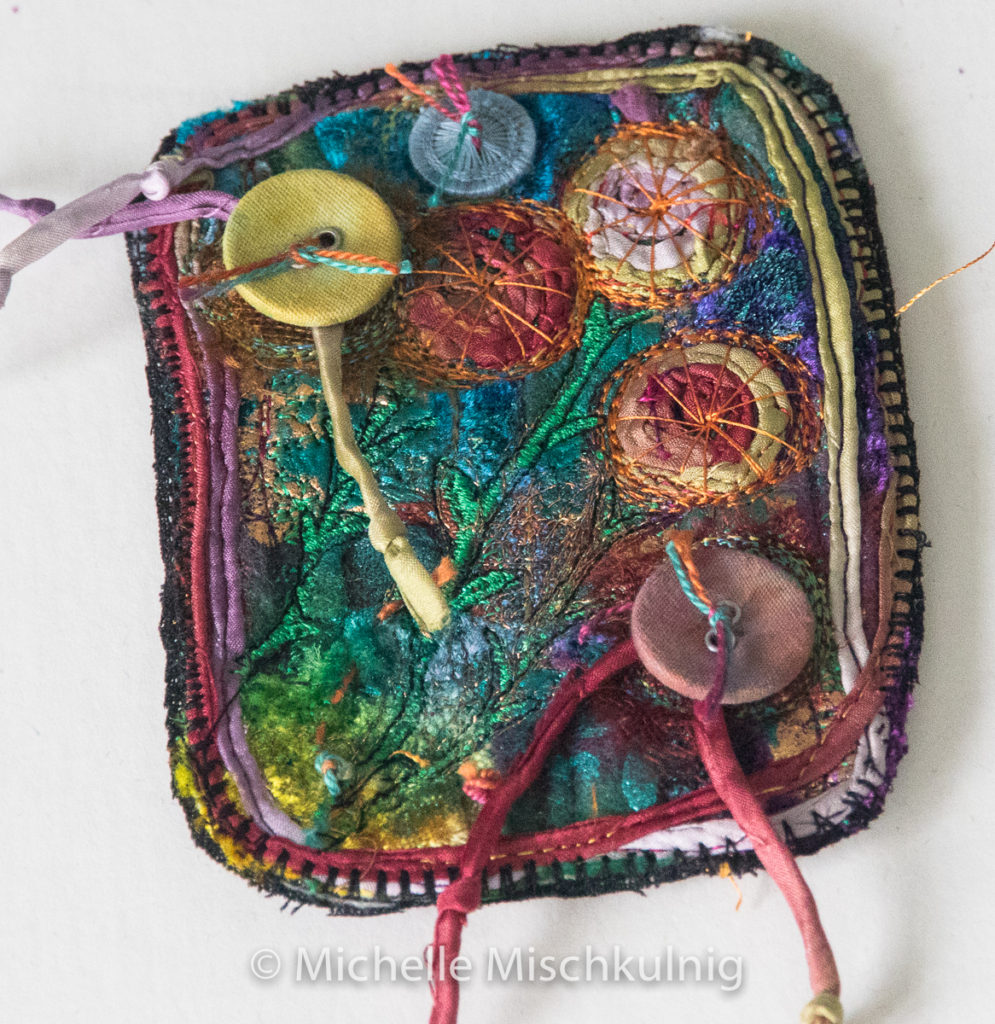
Final step attach to a kilt pin using the silk chord and some hand stitching
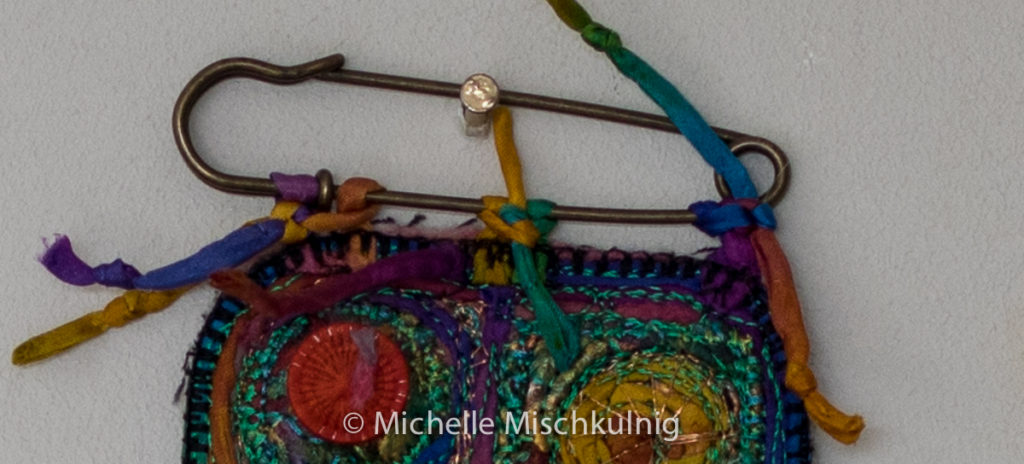
Second jewel
Cut a piece of hand dyed felt or similar approx. size 9cm x12cm and apply the gold foil
To apply the gold foil, place some small amounts of fusible web on the top surface of your felt. The 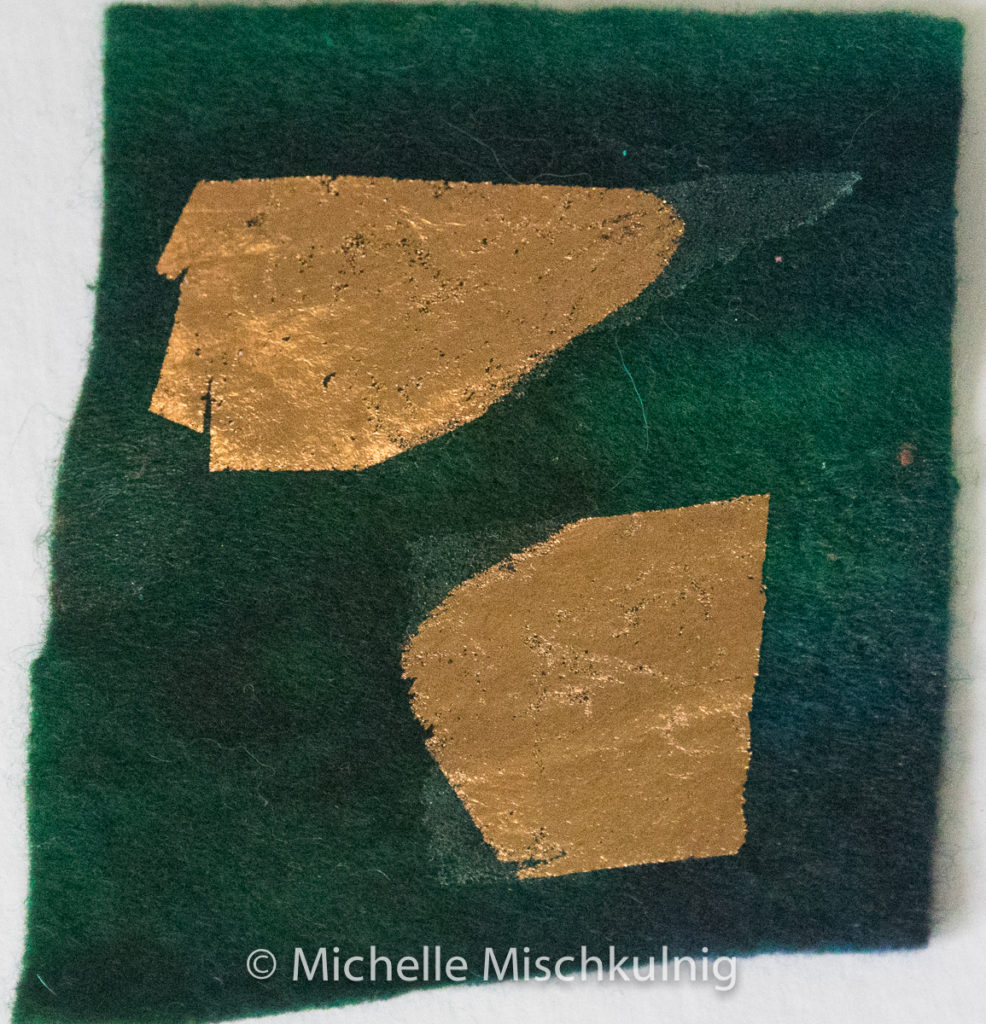 metallic side of the foil with your gold etc colour on should face upwards.
Place small pieces of gold foil on each fusible web patch .
Run an old or work iron over the surface, you will see it start melt lift the iron and peel off the plastic part of the foil which will leave you with golf foil on your fabric. Repeat this step wherever you would like the gold .
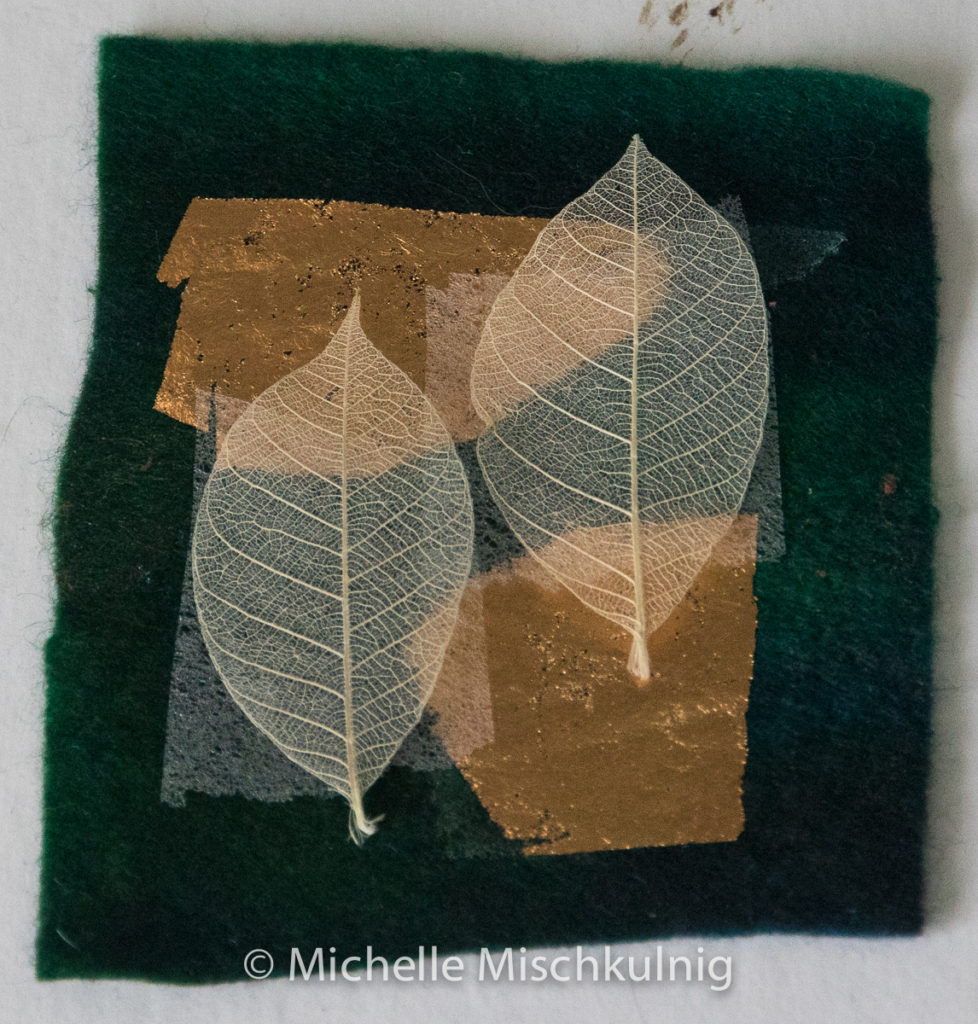
Attach skeleton leaves with a fusible web.
To do this place a small amount of fusible web peeled of its backing paper underneath the leaves, place the leaves on the top of the felt and gold, cover with baking paper to protect surface of iron and felt, fuse with a dry hot iron.
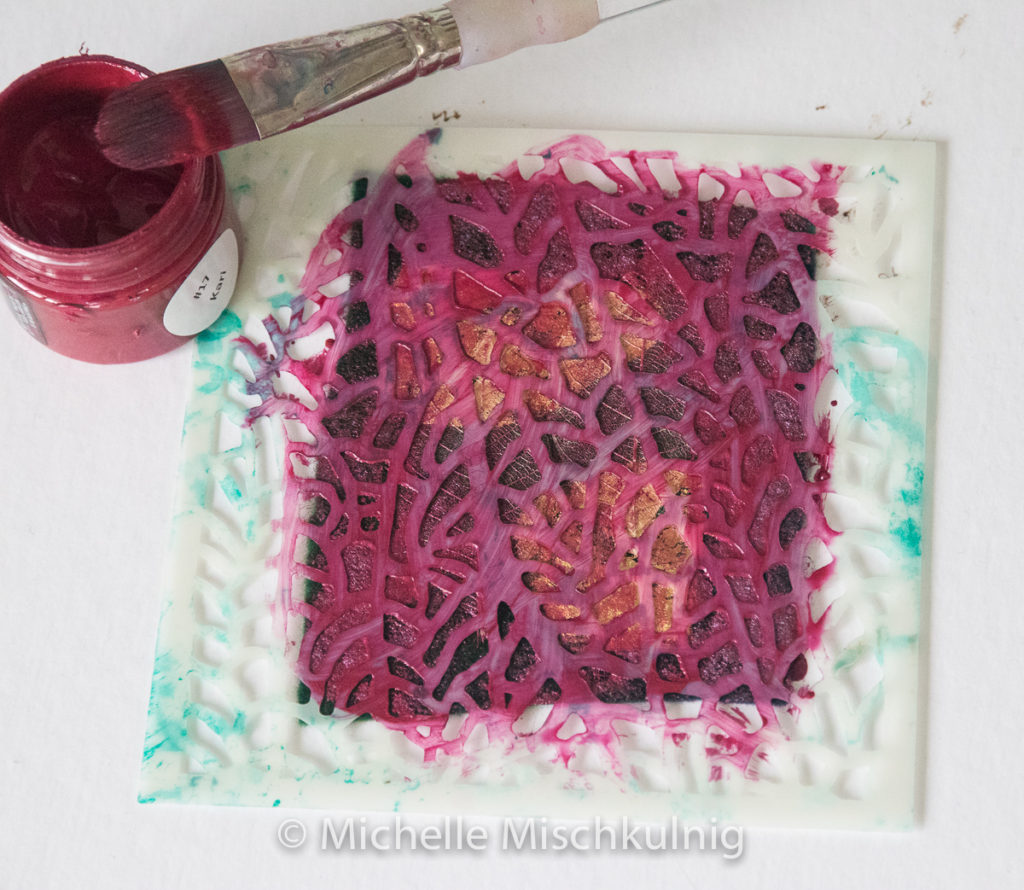
Stencil the fabric to add depth and texture .
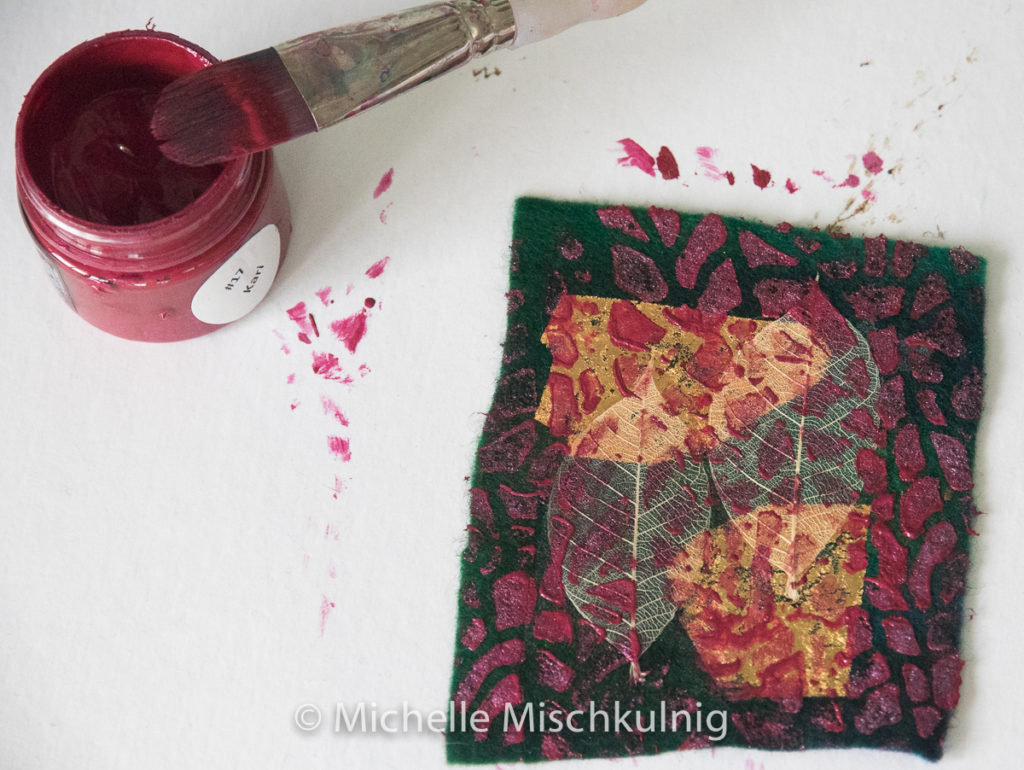
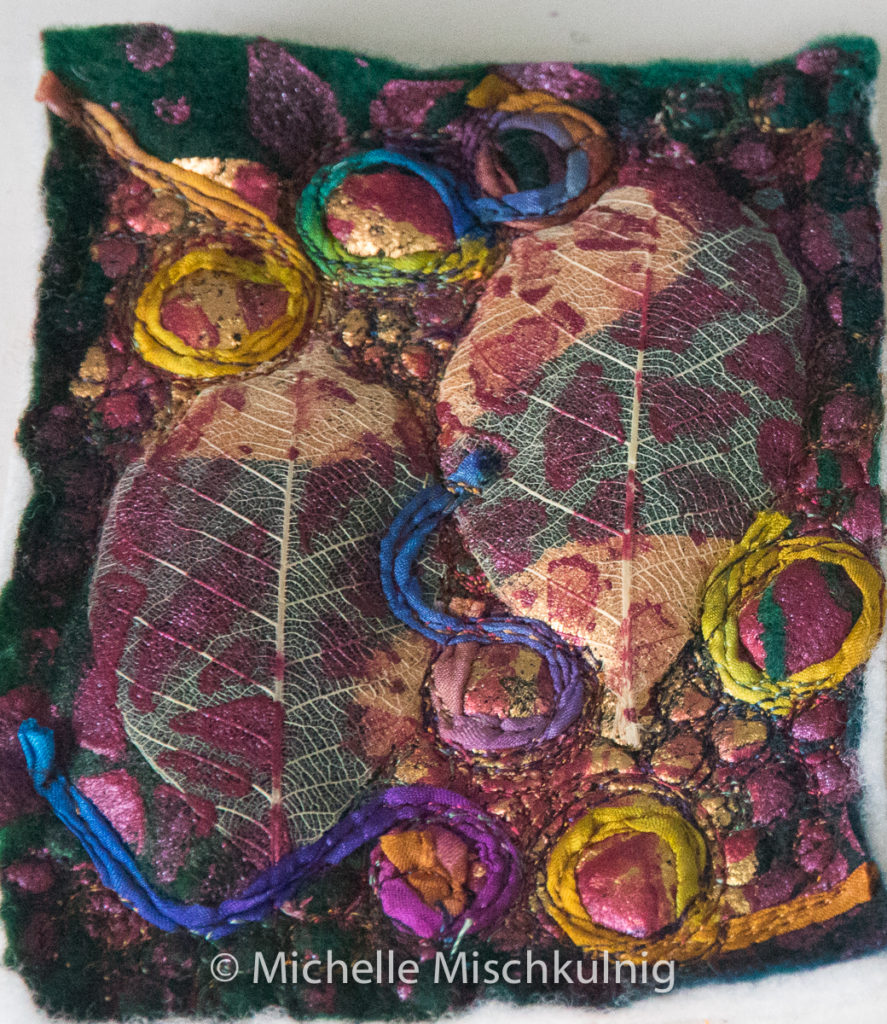
Back your felt with batting and I have used the hand dyed silk chord and free motion embroidery in a circular motion to build up a textured surface .
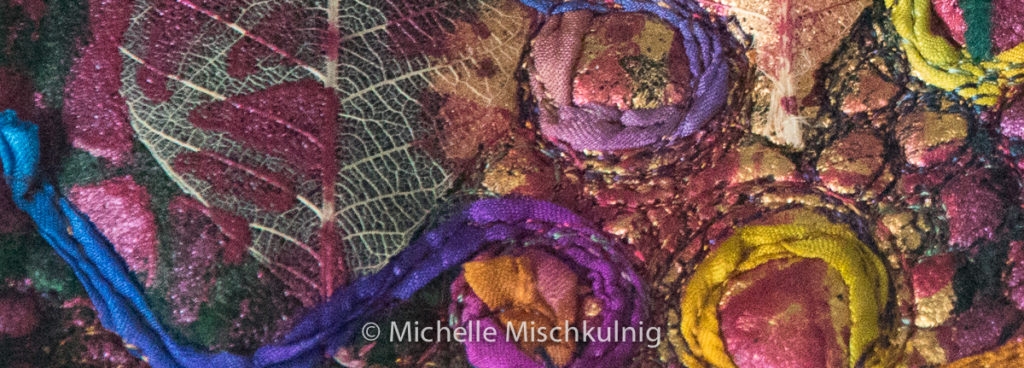
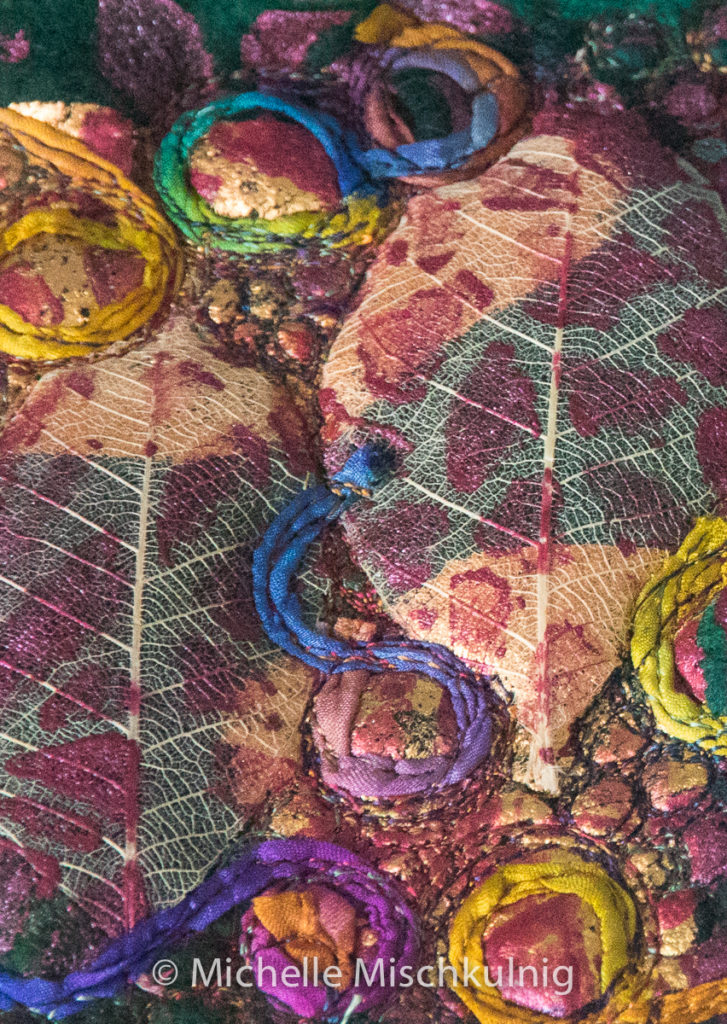
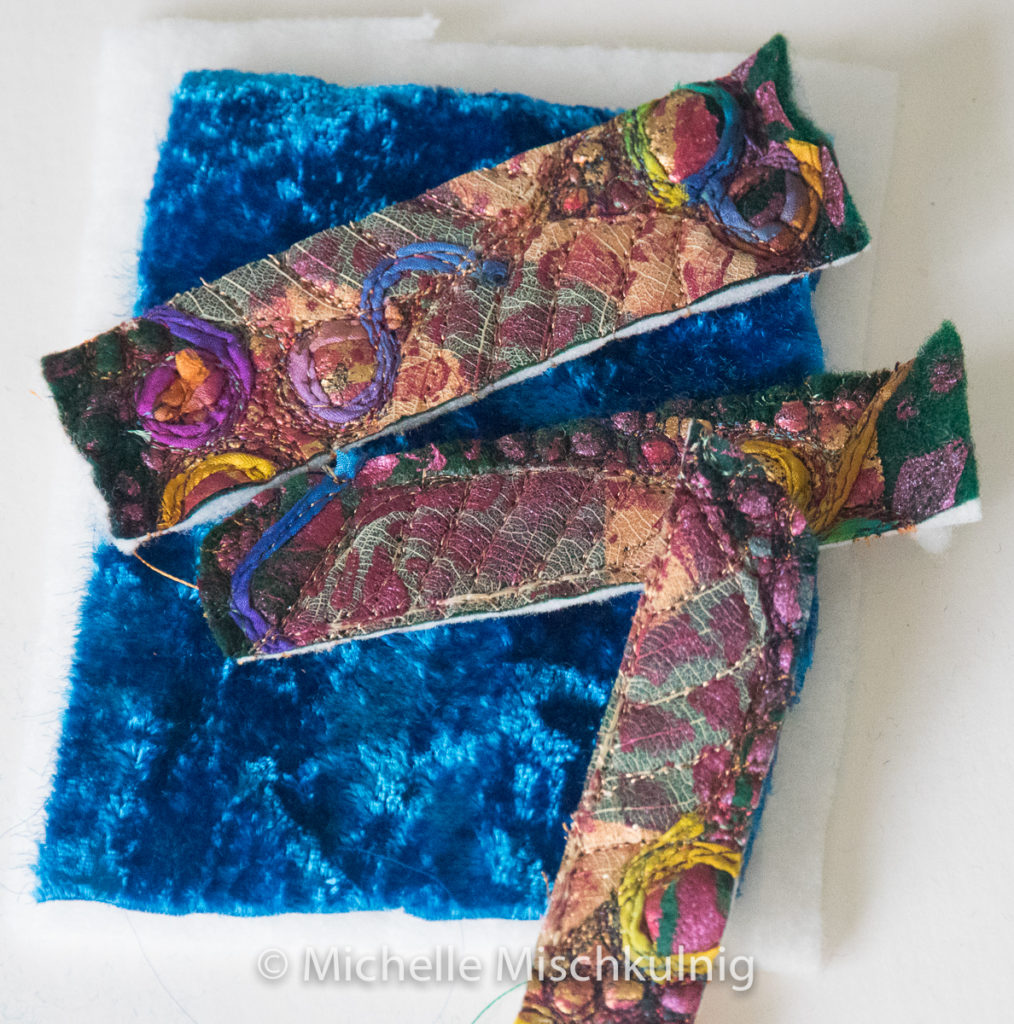
Bravely slice into your embroidery :-) making 3 strips.
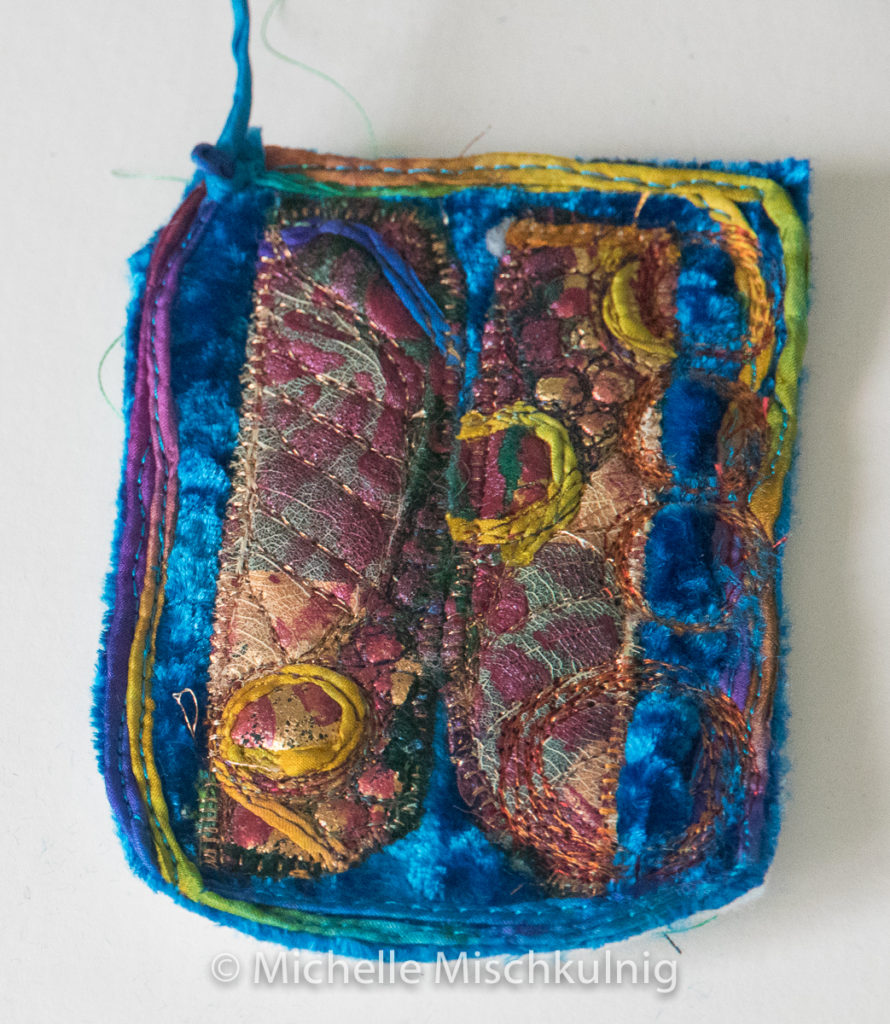
I have stitched 2 of the cut strips onto some blue velvet which is cut to approx. 9cm x 12cm and I have used a decorative blanket stitch around the out side edge of the felt embroidered strips. Then edge the whole velvet shape organically with two rows of hand dyed silk chord .
Free motion embroider your velvet, using small circular shapes
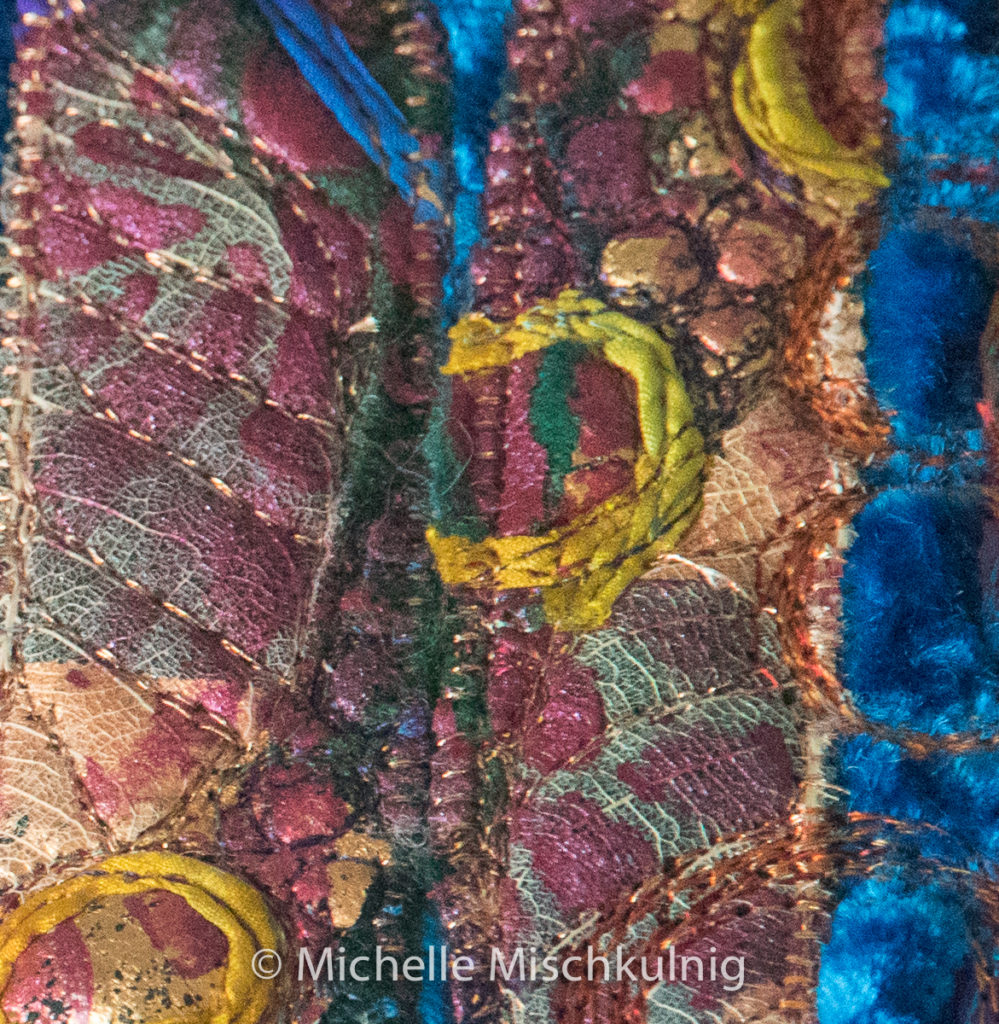
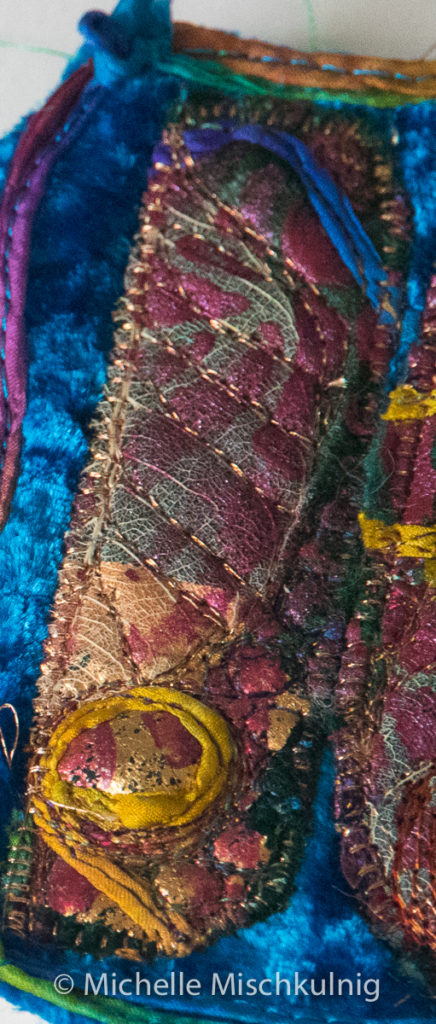
Hand stitch your buttons onto one of the attached strips and add extra silk chord if desired.
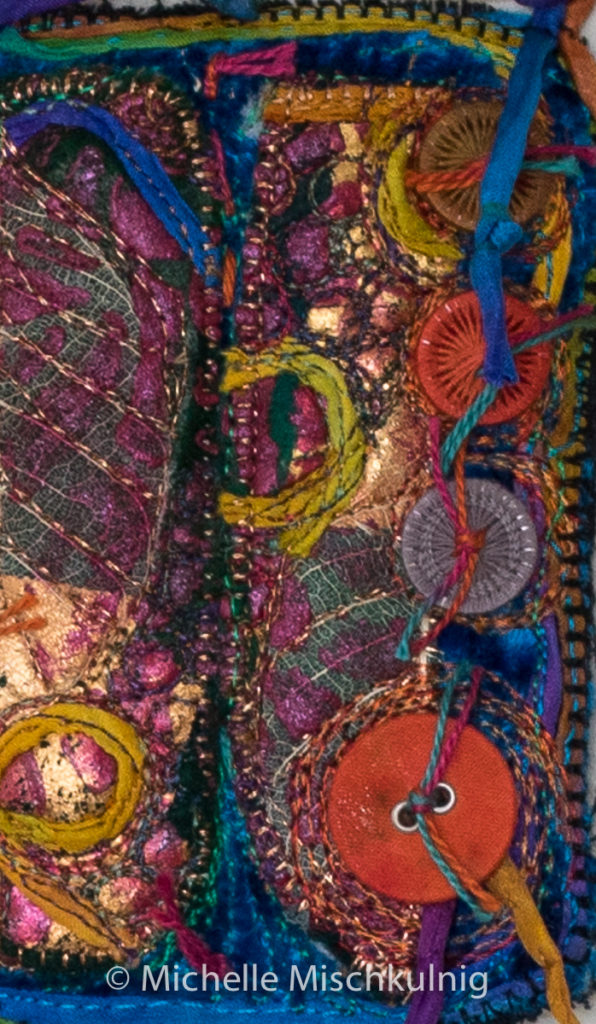
Follow the above step for jewel one on how to back the velvet and attach to a kilt pin with hand dyed silk chord.

Jewel three
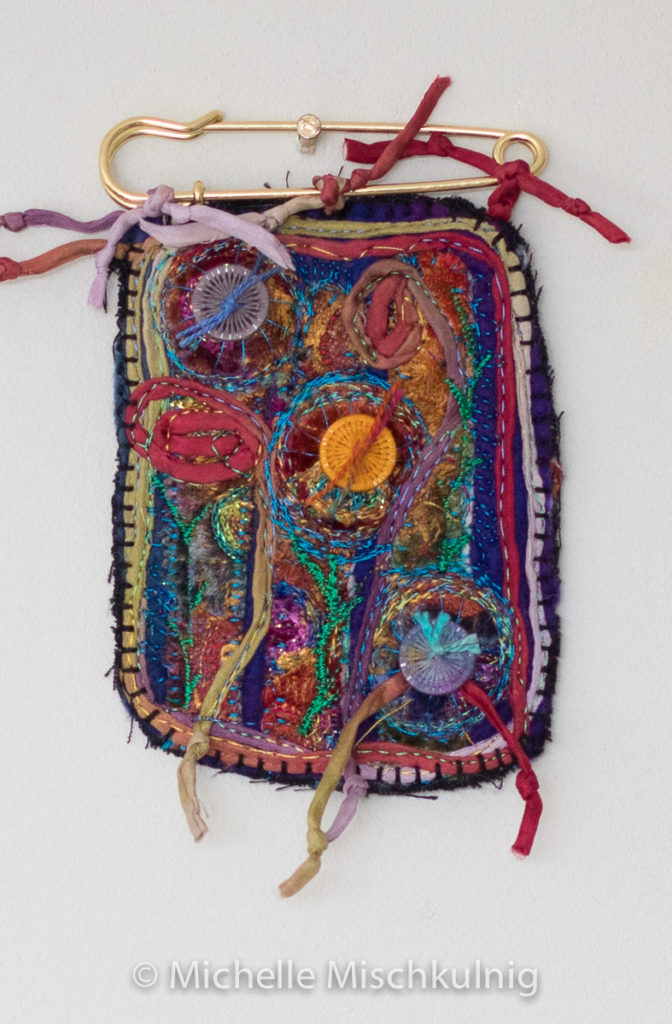
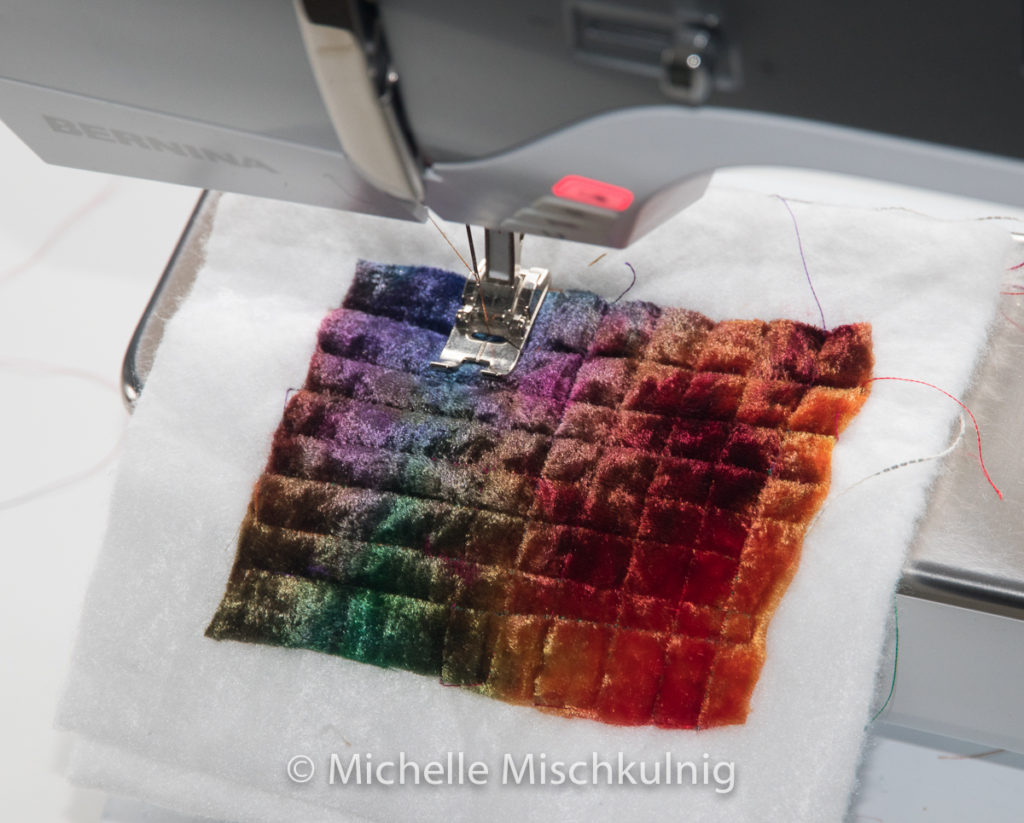
Using a luscious piece of hand dyed silk velvet backed with batting approx. 9cm x 12cm stitch a grid .
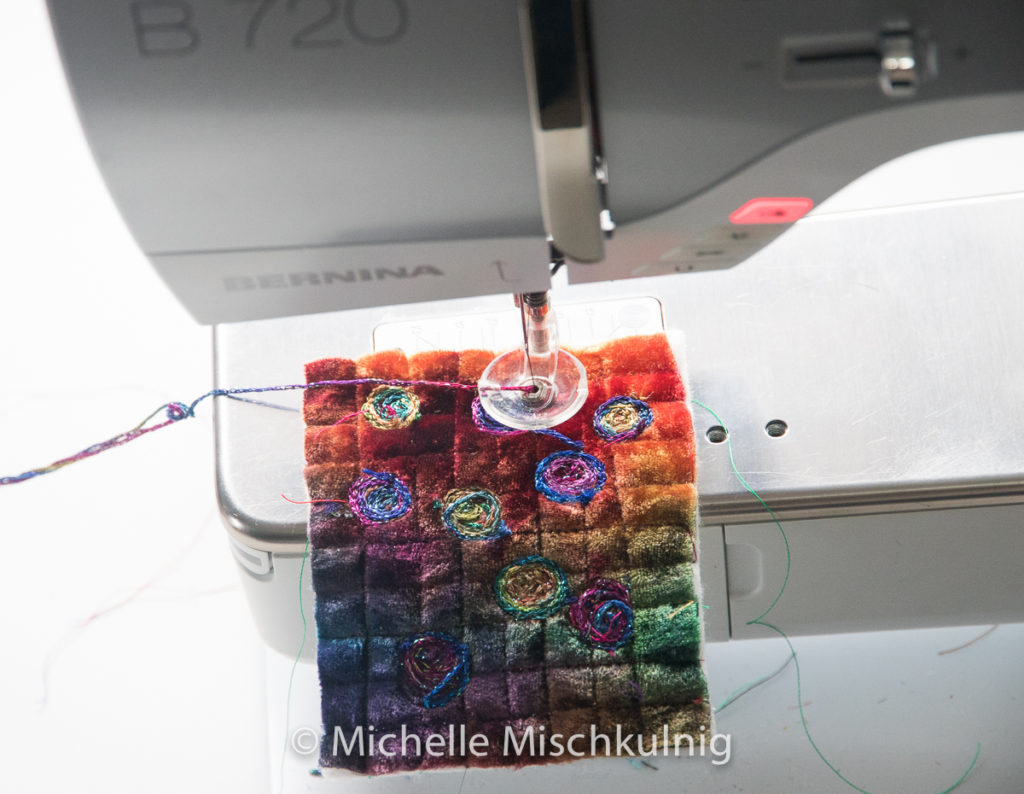
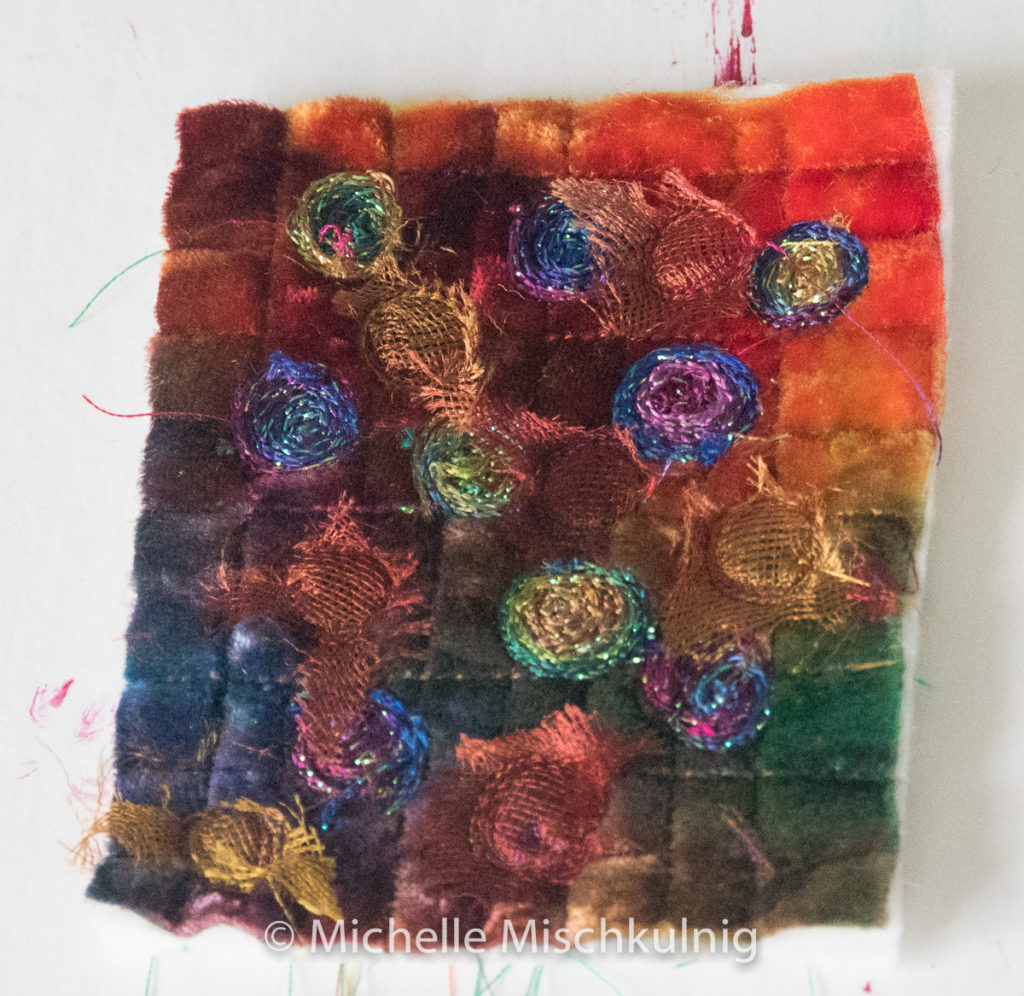
If you have a free motion chording foot you can attach your lollipops by using this foot and a lovely yarn or chord. I am using a sparkly chord made out of a gorgeous fibre or you can free motion stitch it.
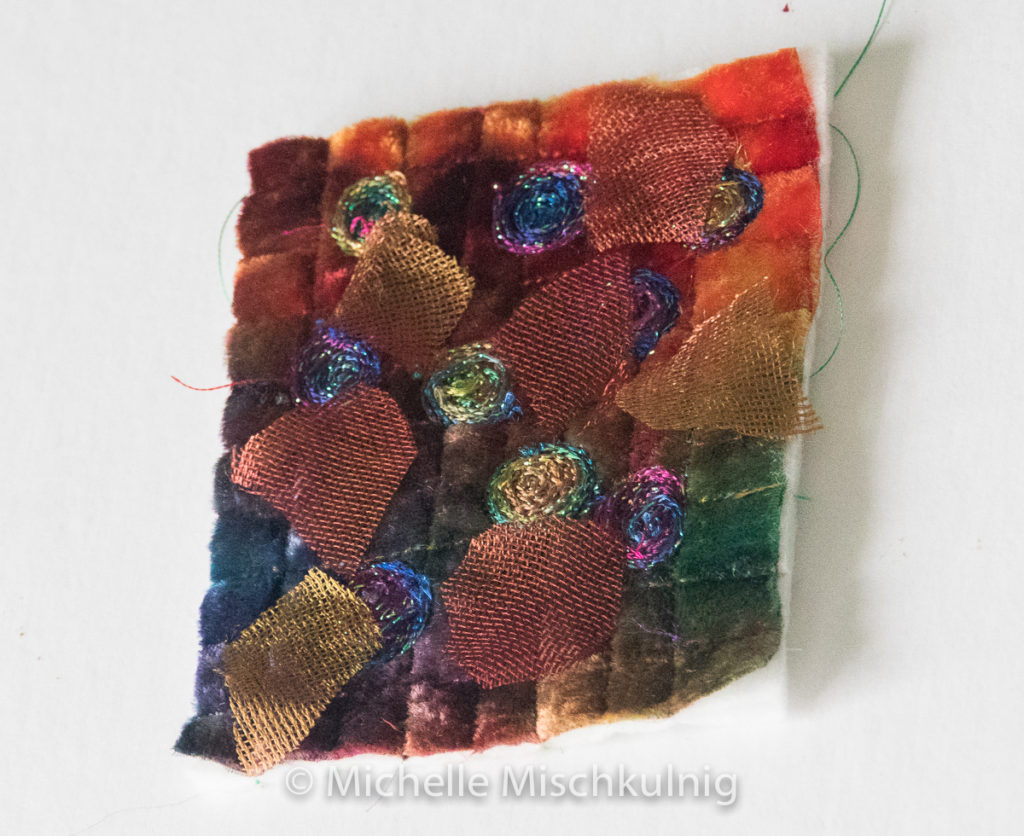
Adding another layer of texture using tiny pieces of silk mesh I like the texture and contrast of the silk mesh against the velvet.
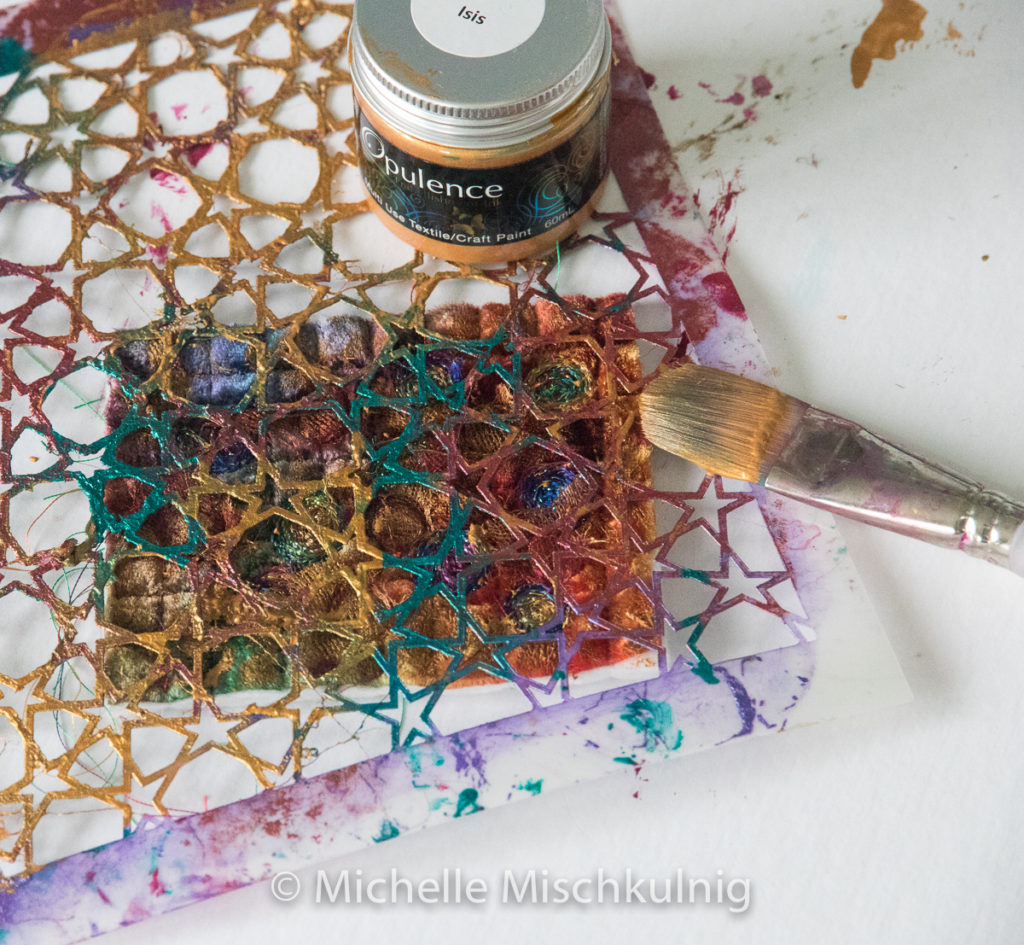
lots of lovely texture and richness is applied by using a stencil and metallic paint.If you don have a stencil just brush a little bit of metallic paint on the surface.
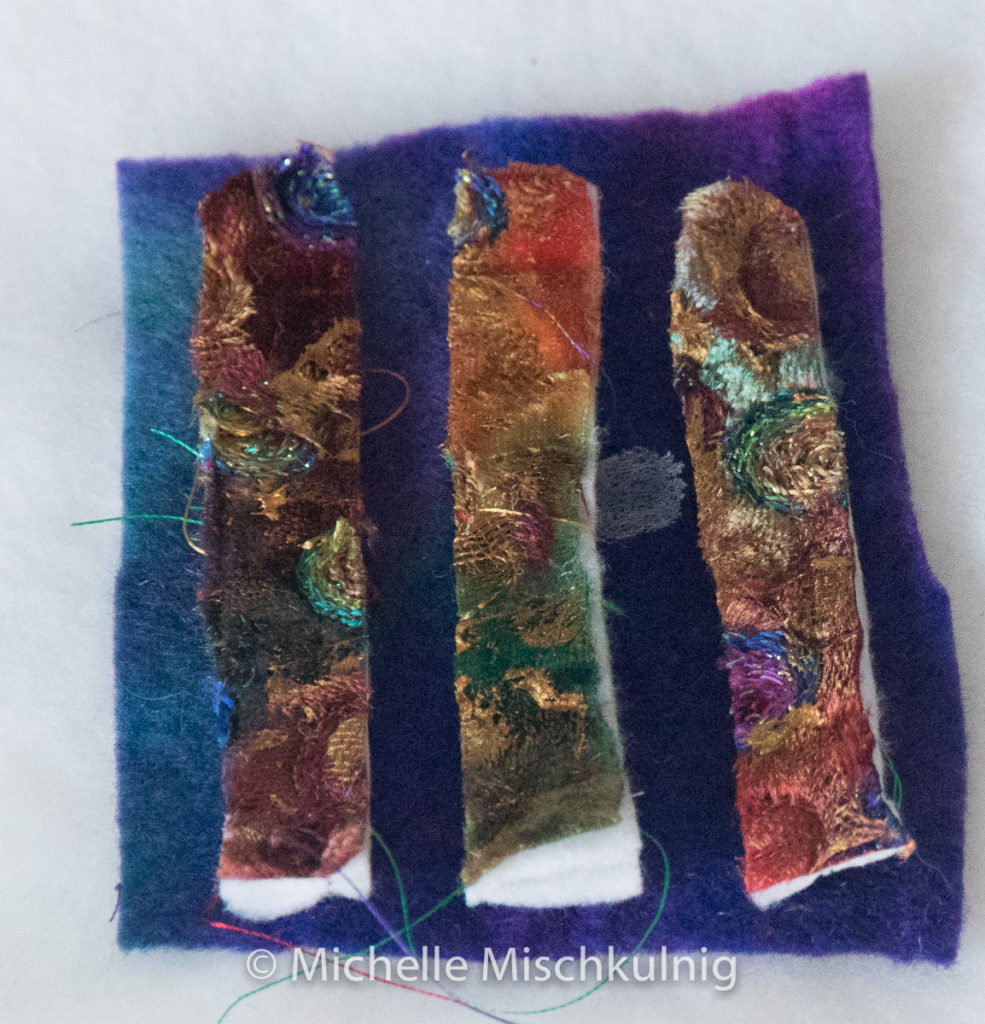
Cut a piece of hand dyed felt or similar and then once again be brave, have an adventure and cut the embroidered pieces into strips. I stitched these to the felt fabric by using a decorative blanket stitch, you could use zig zag. back the felt with batting.
I have cut circles out of the left over embroidered fabrics and stitched onto top of the strips using free motion, continue the rows of stitching around the outside edge of the circles which makes them pop from the background. Then using the silk chord to add some more embellishment.
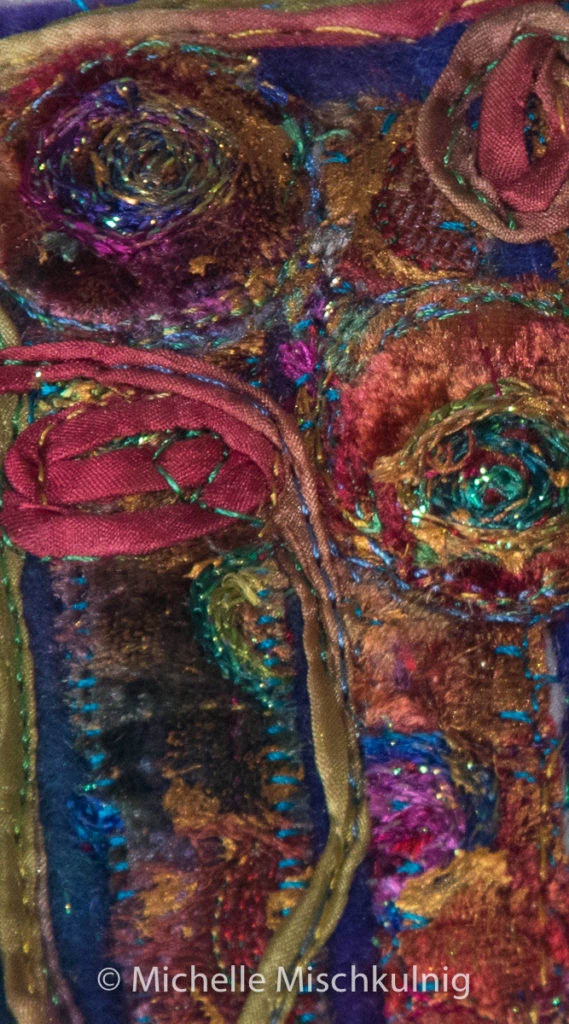
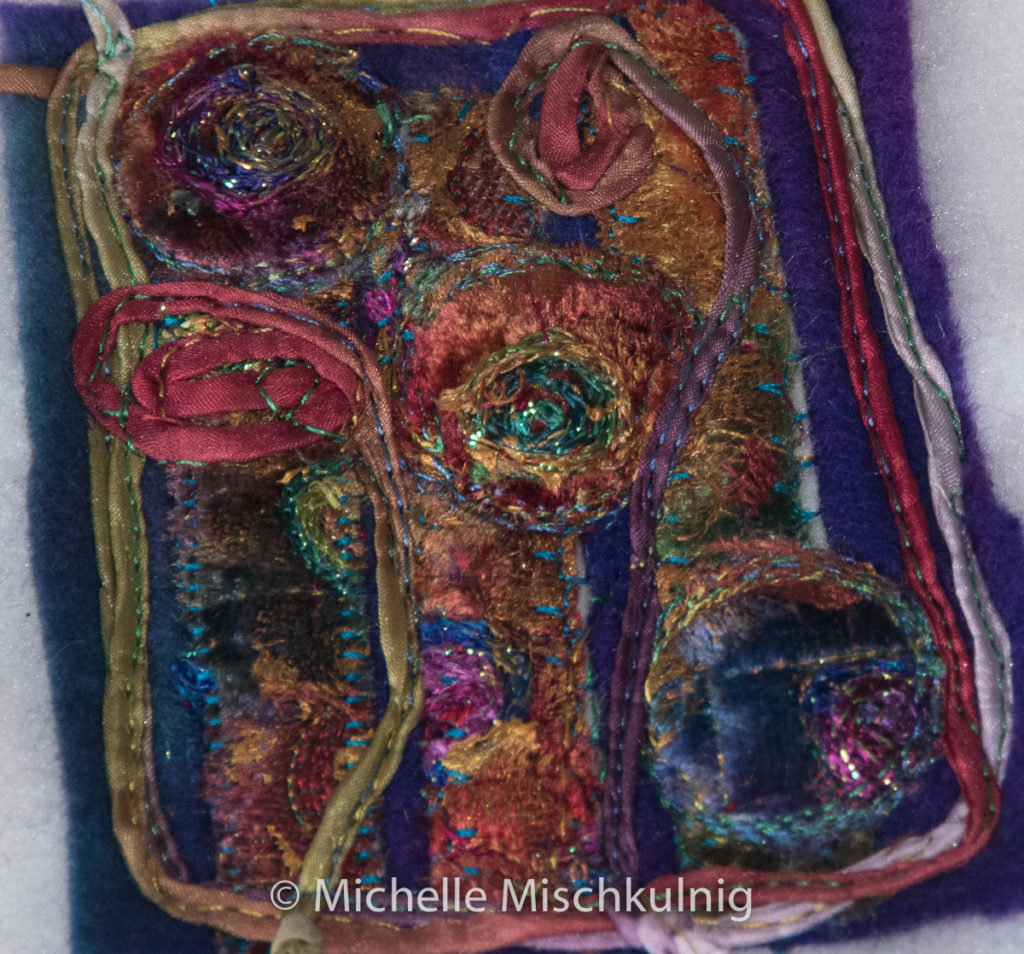
I have used the silk chord to embellish the surface. As with the other two I have run two rows of the hand dyed silk chord around the outside of the embroidery.
Add your buttons and extra silk chord ties.
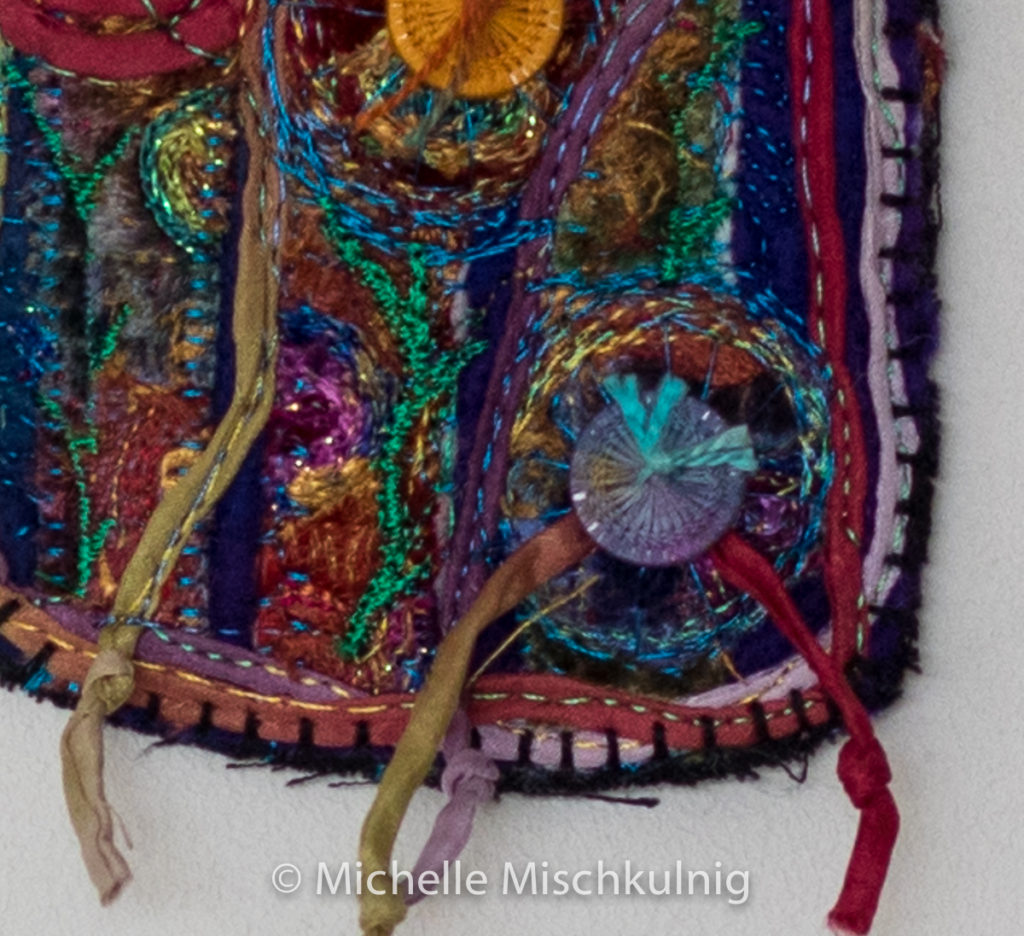
Follow the information written for jewel one about how to back the finished piece and then attach to kilt pin with silk chord.
All done have loads of fun with these ideas and see where they lead you.

Hi Debbie I really appreciate your message. My blogs take me quite a long time to prepare and write and it mean alot to me to receive such a lovely message of appreciation.Dont wait to long before you try creating something it is good for the soul.
Your little “jewels” are so beautiful, unique, and have a mixed media, organic look about them,,,love all three designs.
Yes, it’s been awhile since you have posted on your blog, but creating is way more rewarding than blogging about the “items” you are currently having fun with,,,I would imagine. Even though I have not tried to create any of my own items, using your instructions, I have saved every post and review and look at the creations and hope to find time, someday to make my own.
Thank you for sharing the photos and process of ALL of your lovely pieces of “sewn art”.