A textural journey/journal to share
Enjoy the view
“Creativity is not the finding of a thing, but the making something out of it after it is found.”
— James Russell Lowell (1819-1891)
In this blog I will continue the journey into textures, these textures will add some more pages to your textural journal and some exciting play .Today I will be sharing page 5 and 6 playing with silk caps, light weight fimo and paper craft embellishments.
Since I last blogged much has happened I have run 2 workshops at the magnificent Berry Quilting Retreat http://www.berryquiltingretreat.com.au. The classes were wonderful I was welcomed warmly by very creative group women who adventured confidently into making “Old City Doors ” ( the results can be seen on my face book https://www.facebook.com/Chelle.Textiles/ In my second work shop I shared my techniques of making lace work and silk flimsies scarves, the scarves/ wraps were stunning with so much colour and joy.
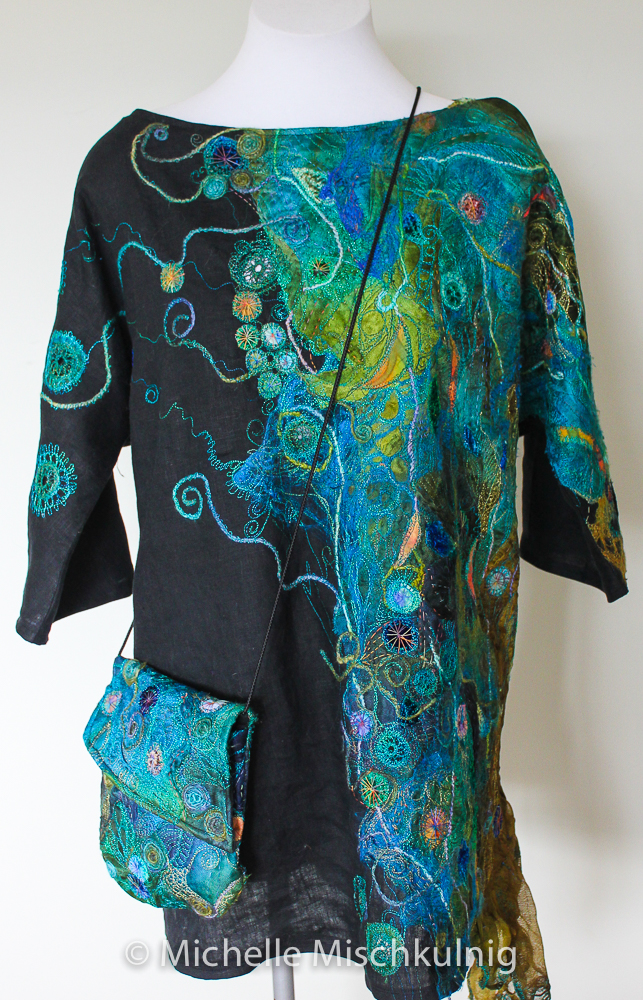
I am very excited to share that I have been asked to teach at a special event in 2018 and I hope to be back at Berry 2017 but more to come on that. I have included an image of a wearable art project that I have been working on this week this is a sample I plan to teach at the 2018 event. I am very pleased with this wearable art garment and it looks great on :-) .The image is at the bottom of the blog.
Pages 5 and 6 in your journal
Materials
*Silk hankies ( can use coloured tissue paper )-Hand Dyed Silk Hankies
The hankies are made from degummed cocoons that have been stretched over a square frame, forming a square of approx 22cm x 22cm, from which cobweb thin layers of fibre can be peeled off. Beautiful to look at, and great fun for experimenting with. Try trapping things inside the layers. Very versatile. http://www.thethreadstudio.com/catalogue/fibre/fibre1.htm
*Paper craft embellishments You can find interesting cardboard embellishments in scrapbooking and craft shops.
*Cotton rag paper.
*Your existing cotton rag journal pages.
*Hand stitch threads and sewing needle.
*Sewing machine
*free motion machine foot.
*Machine embroidery threads
*PVA glue .
*Paint brushes.
*Derwent inktense or acrylic paints.
*Gold and metallic wax buffs.
*Other enhancements such as yarns and chords.
*Fimo light weight air dry modelling clay
*A mould to press into clay, I used a wooden printing block
*Fine metallic net or similar.
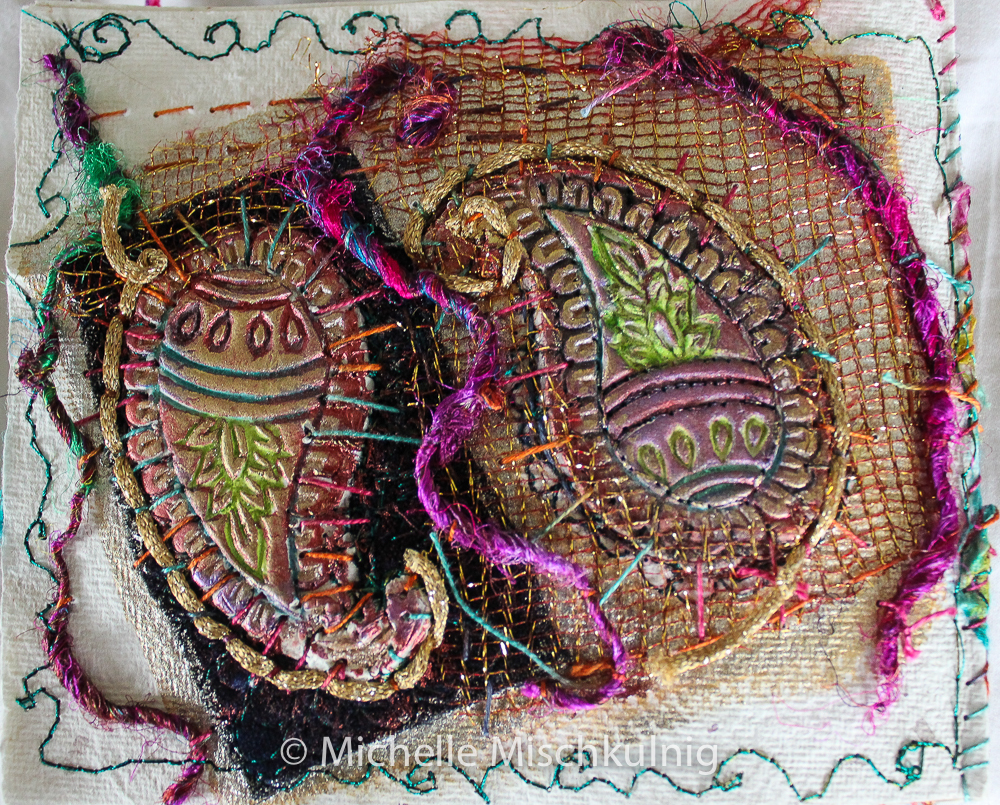
Air dry modelling clay embellishment
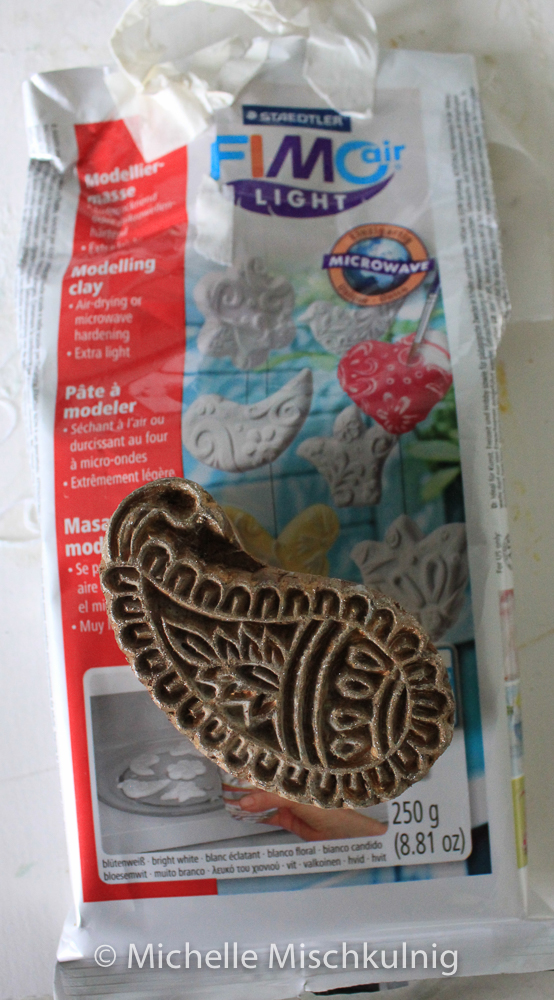
To start preparing the elements for the fist page, rollout your Fimo light air dry clay to approx. 4ml press your decorative mould into the clay and gently lift the mould of the surface.If the mould doesn’t work just re roll and try again.I used a small wooden printing block as my mould, leave the clay to dry over night.
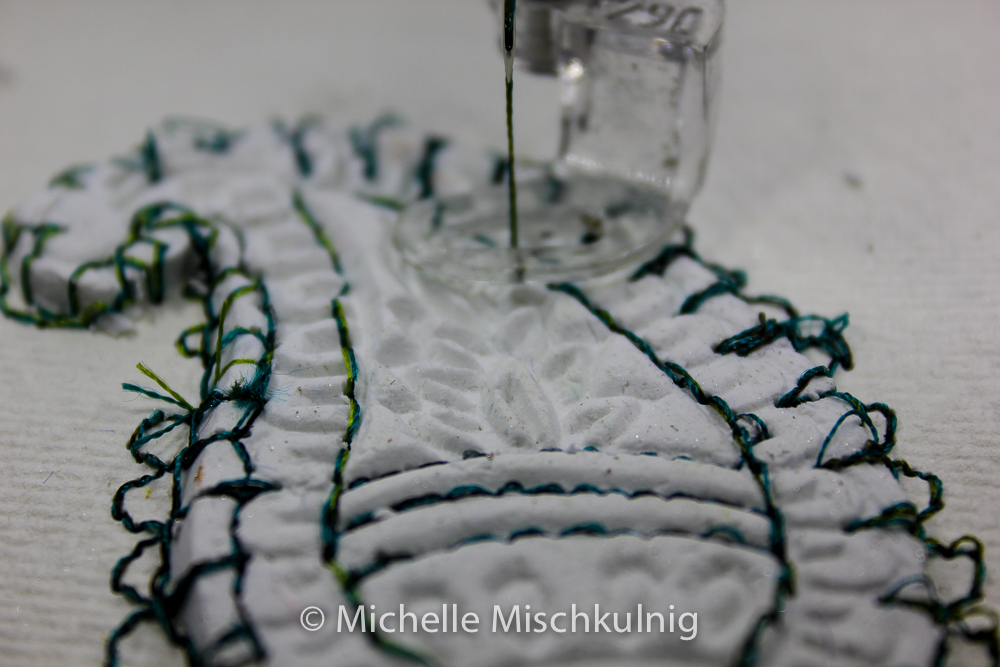
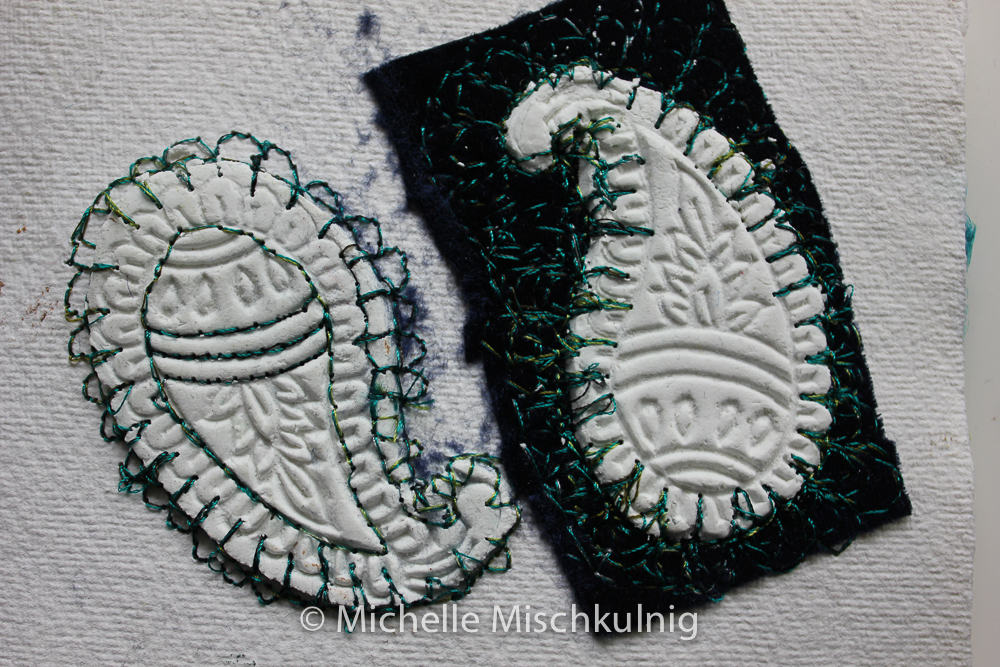
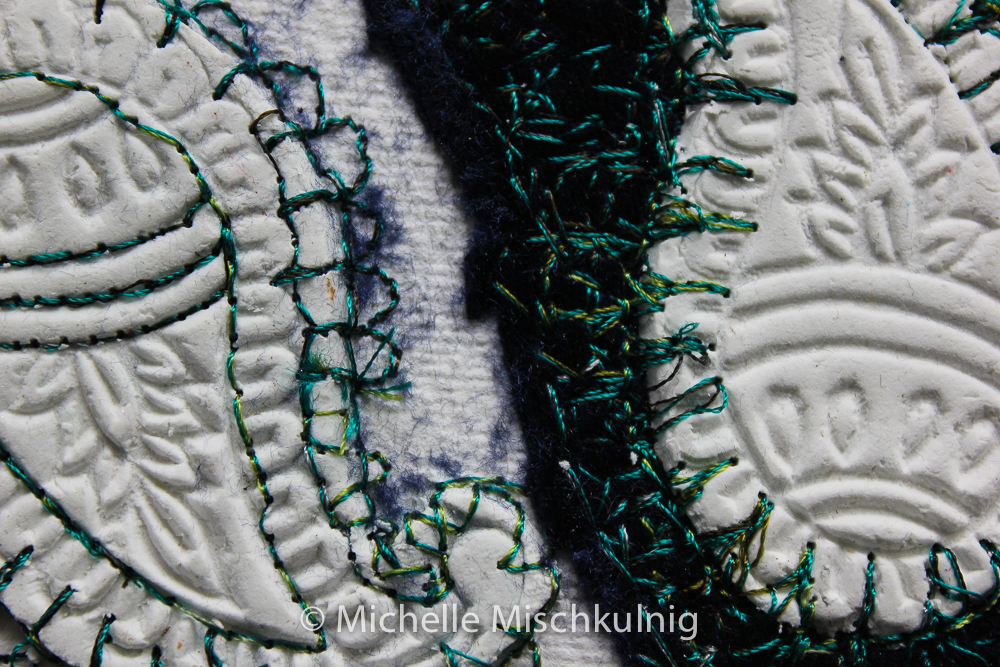
When your clay has dried place one of the clay embellishment on the surface of some cotton rag paper leaving enough space for a 2nd one and use your free motion foot to sew the clay both for decoration and to attach. Stitch very carefully and slowly around your clay shape. You may need to change your tension on the sewing machine and make sure you move slowly the stitches should not be too close together.
I placed the second clay embellishment on a patch of velvet ( you can use any fabric you wish) I used the velvet as an experiment, I wanted see how the different textures would develop.I free motion stitched around the embellishment and the velvet.
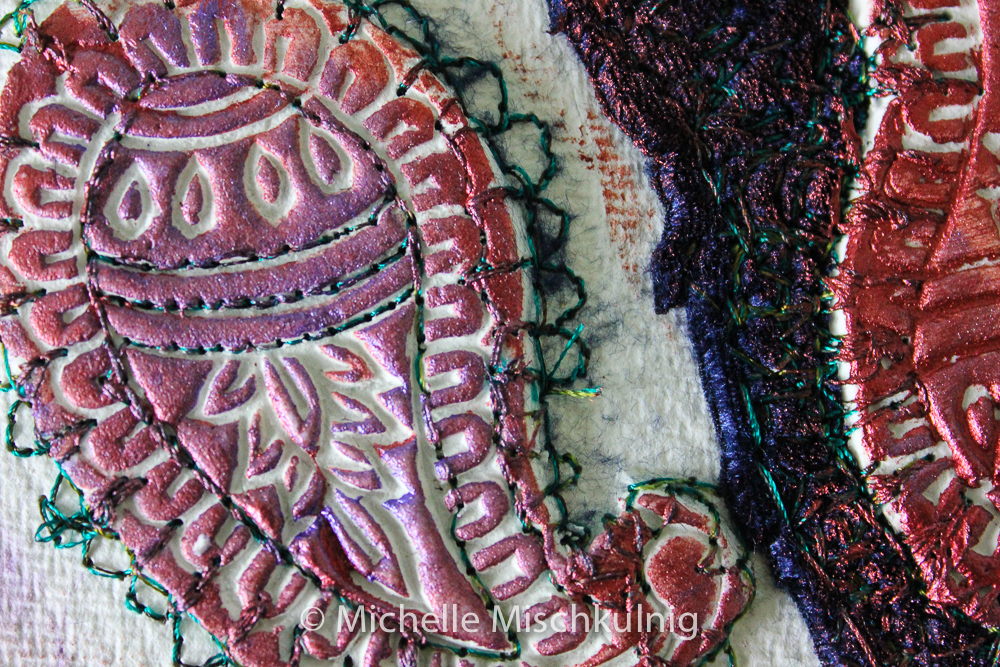
I like to use gilding wax metallics to pick up the surface decoration I have used it on these clay shapes. I used purple and pink gilding wax applying it with my finger tip to the surface of the clay and the velvet.If you don’t have any gilding wax just use your paints to colour the clay embellishment, I used my derwent inktense pencils and blocks.
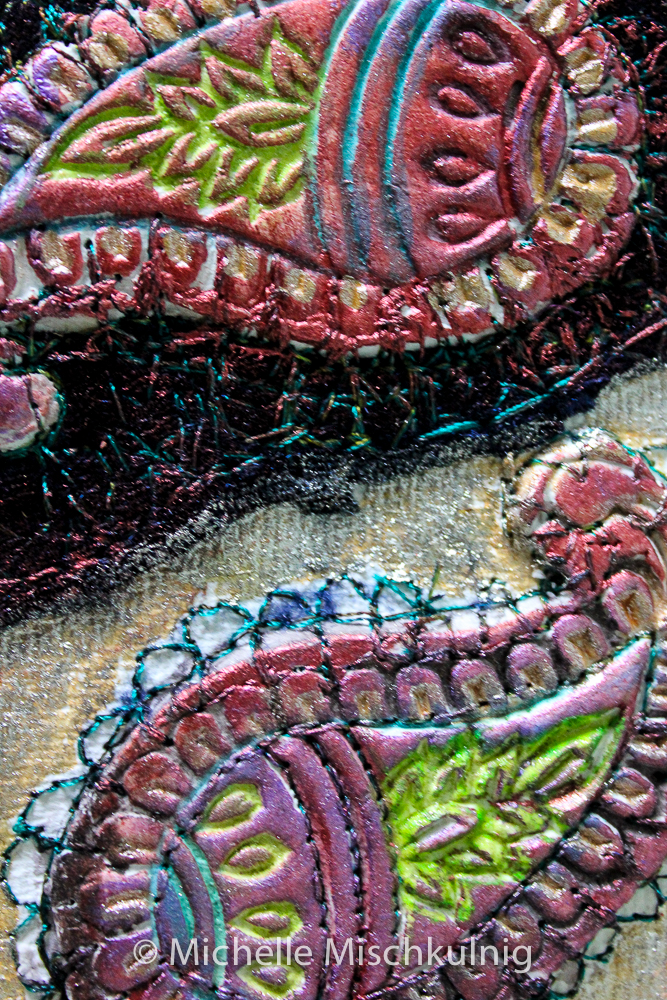
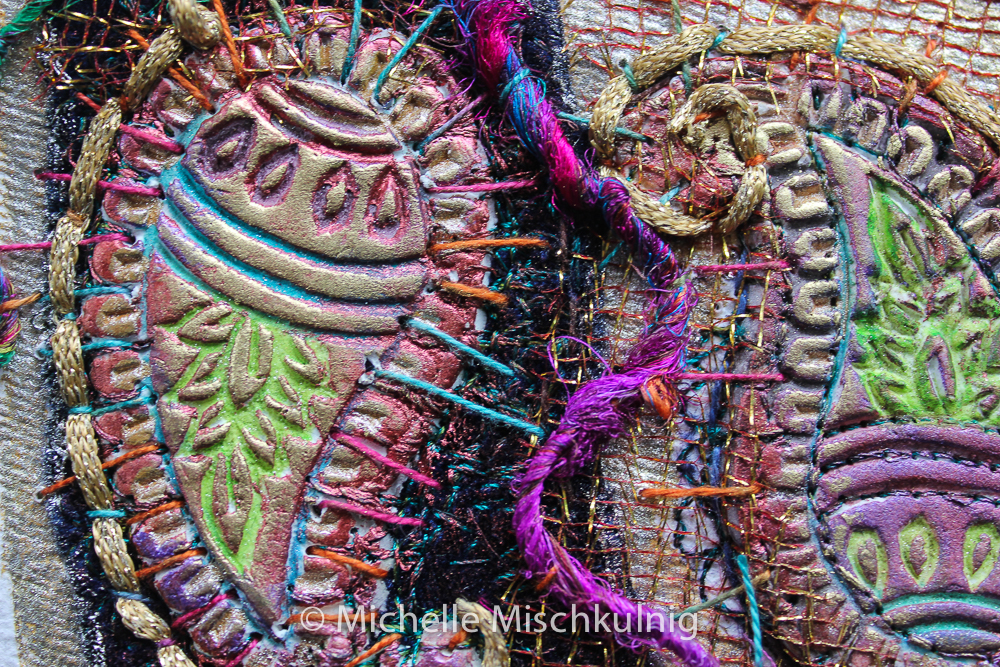
A little hand stitching and a layer of fine metallic net.I cover the whole clay shape with the net and then hand stitch close to the edge.Once it is all secure I cut back the mesh to reveal the embellishment.
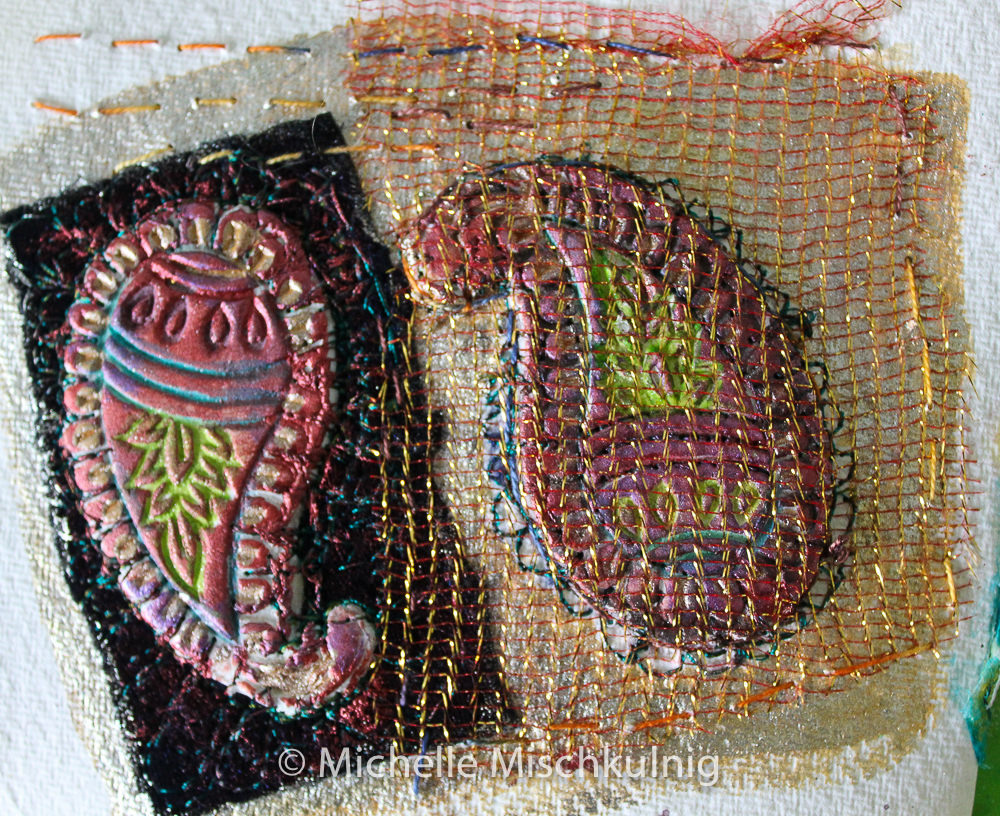
After I have revealed the clay shape from the mesh I hand stitch back into the edge of the clay embellishment as seen below and I have added some silk yarn to pick up the colours .
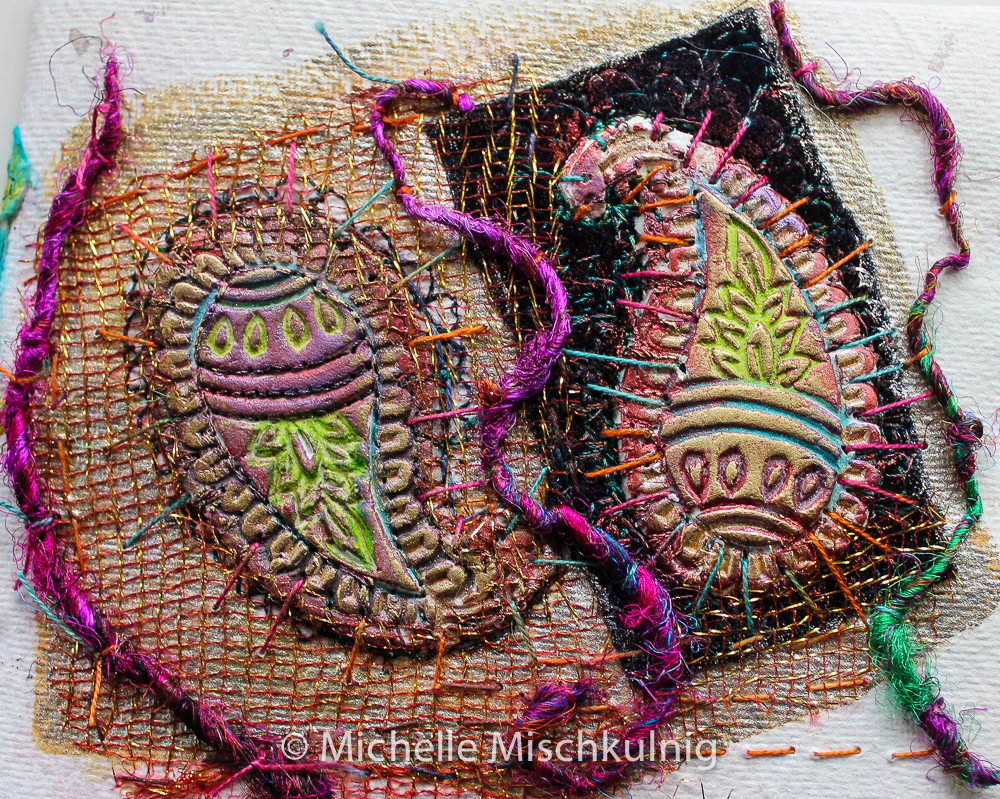
To finish the texture I have stitched some gold chord and added some more gold gliding wax highlights onto the clay I can see there is many possibilities with this play and look forward to extending the idea.
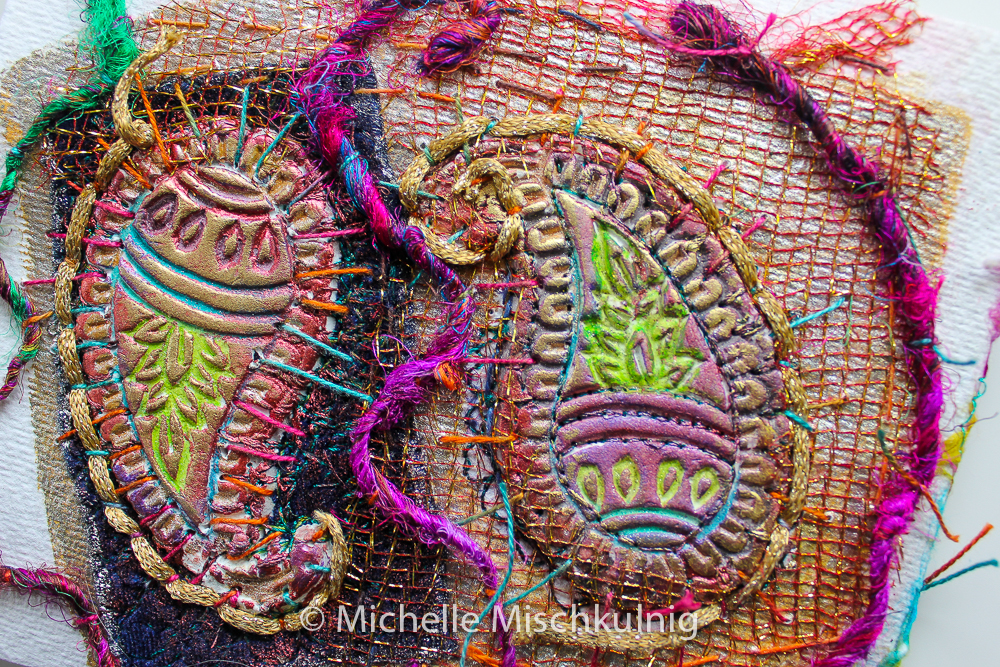
The finished page
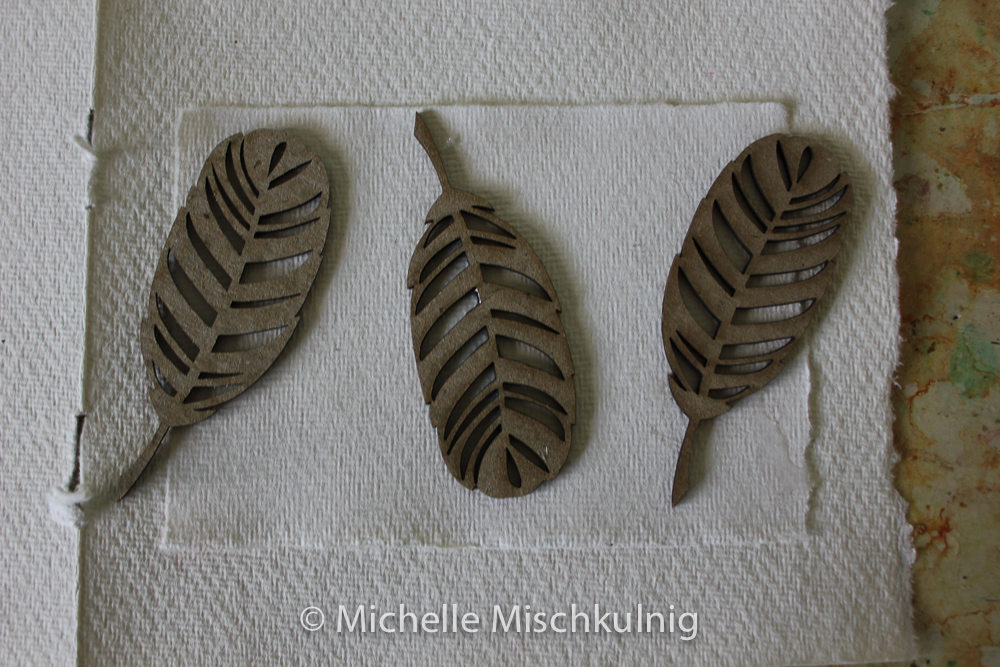
Paper craft embellishment
Using your cotton rag album pages place a smaller piece of cotton rag paper on the top and then the paper embellishments, secure the embellishment with a little craft glue.
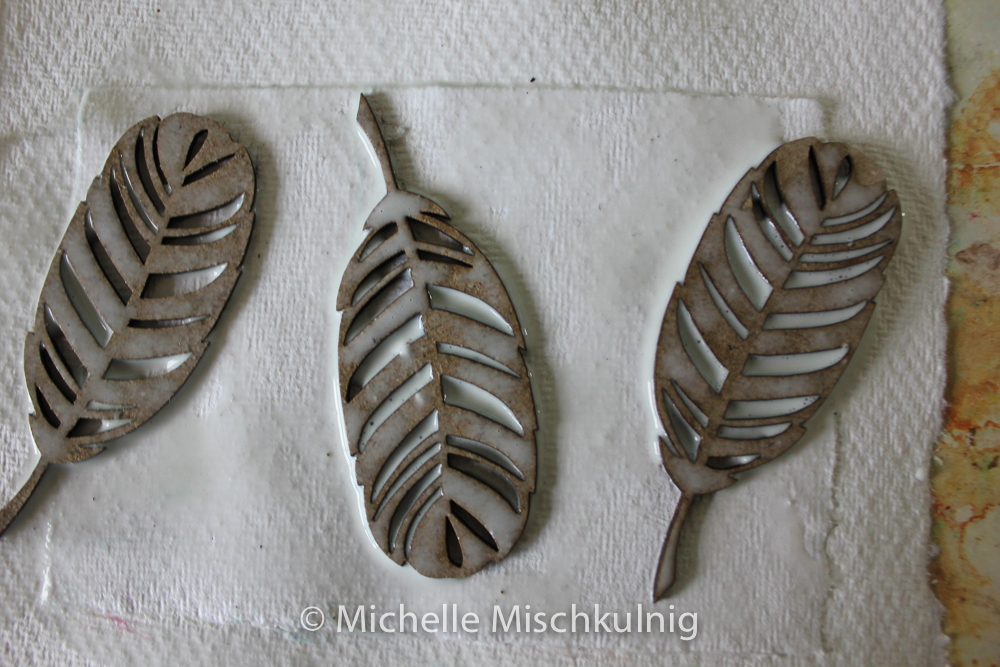
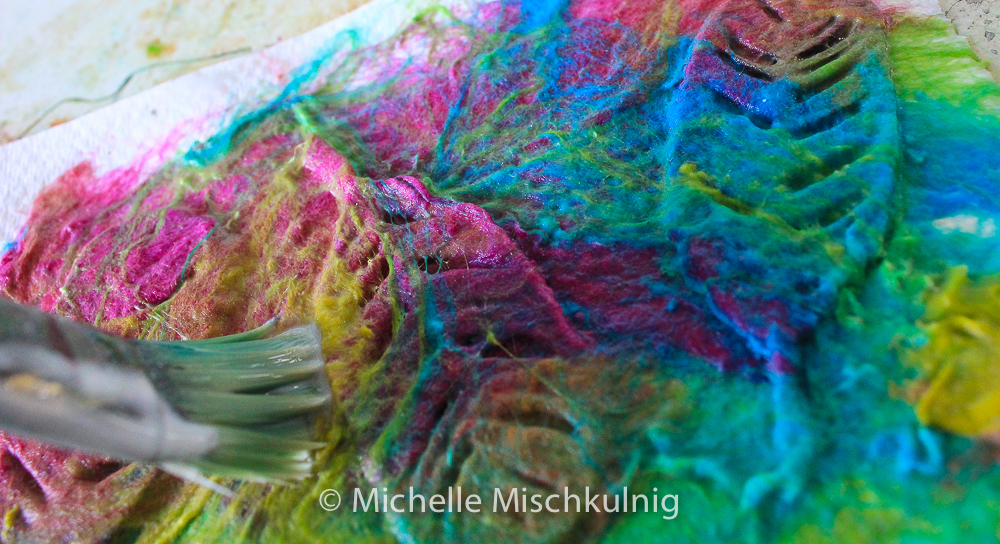
Mix some PVA glue about 30 -20 with some water, paint all over the embellishment and cotton rag paper
Peel fine layers of silk hankie /caps and lay over the rag paper and paper embellishments.Then paint more of the glue mixture an another layer of silk hankie /cap until you have the colours you wish.
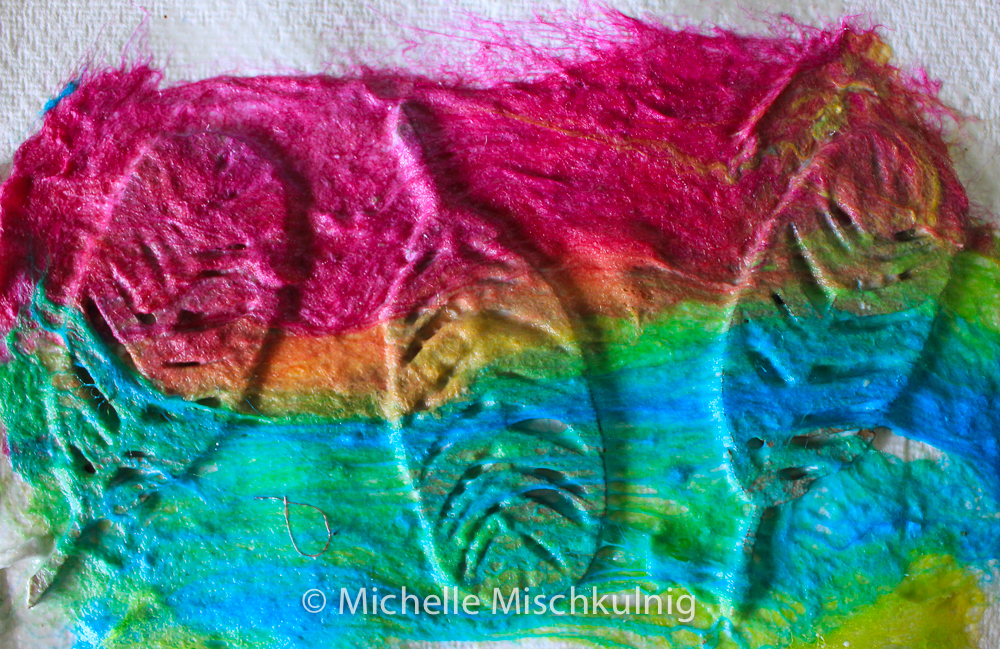
Make sure you paint the glue tight against the edges and into the shapes.
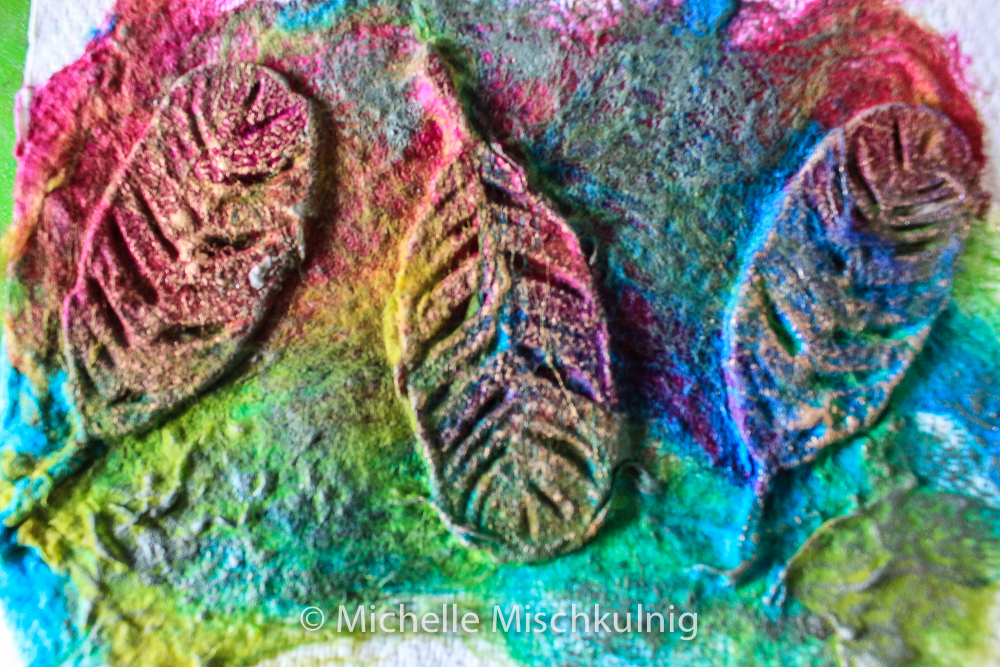
When the glue and paper are dry I use some gold wax gild to enhance the shapes.
It will take some time for the paper to dry but when it is all dry start some free motion stitching around the edges and silk cap background of the embellishment.
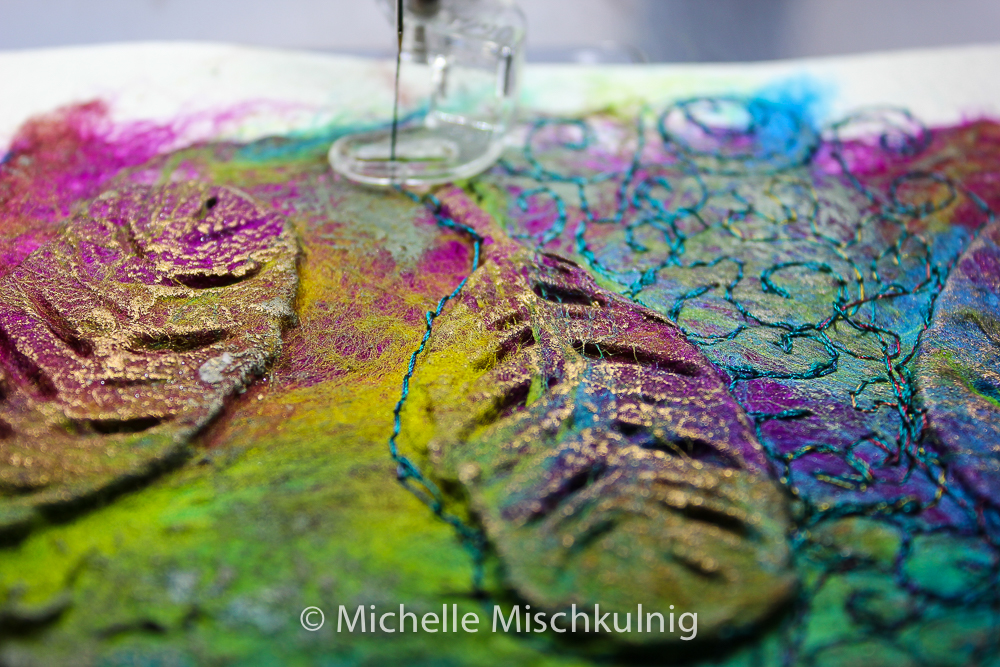
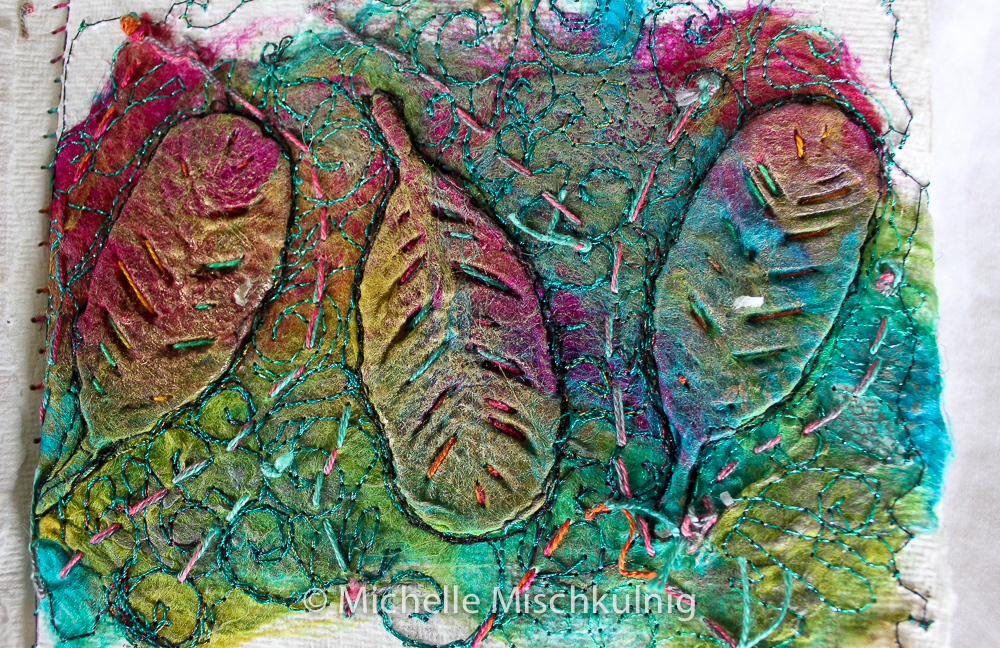
I use black thread to outline the leaves and lift them from the back ground
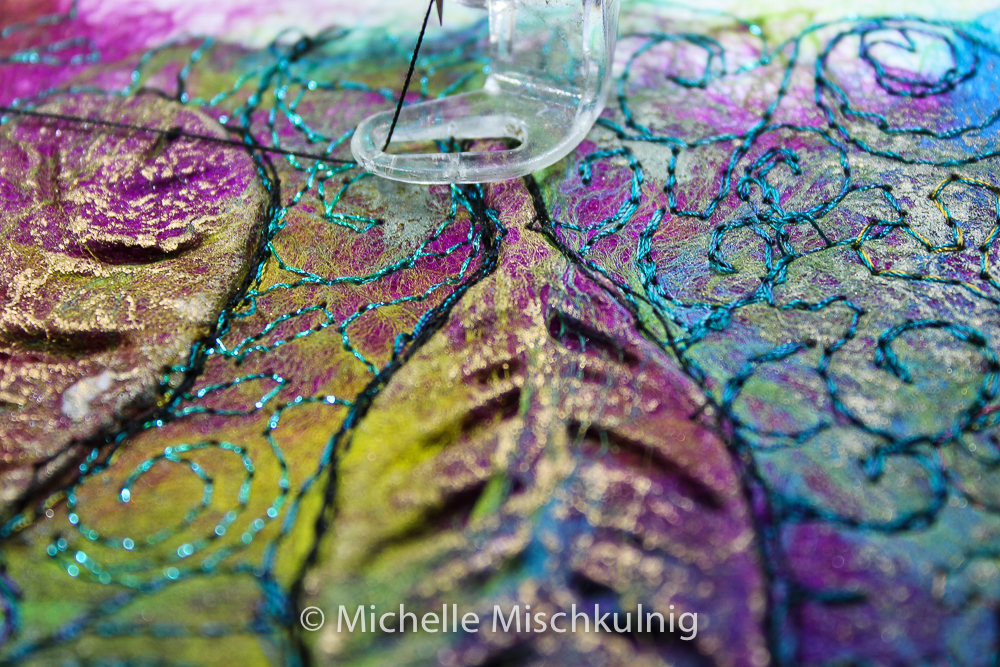
I have added hand stitching to pick up on the details and enhance.
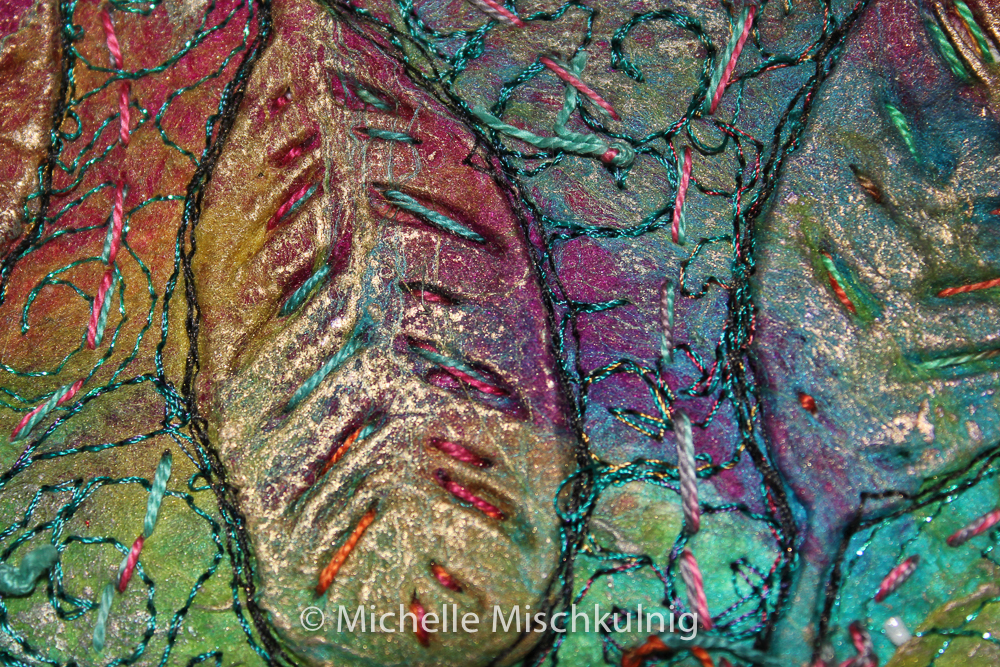
The finished page.
The linen and silk tunic below is a sample for a special teaching event in 2018.In the workshop I am planning the project hope be the top and bag.Dates and registration are not open yet when information is available I will post it on FB and my web site under events. It looks lovely on and there will be more images posted on Saturday the 17th of September on my Facebook page https://www.facebook.com/Chelle.Textiles/

Thats so exciting take it away with your own style and flair nothing would is more exciting than the beginning of a journey :-)
Received my Khardi paper yesterday all ready to play today. Some elements will be different all depends what I find in my stash.
Thanks Linda yes i love the tunic and bag to I will post better images on FB on the weekend I just cant get the light right for the photos.
Lovely blog again. The tunic and bag are spectacular
Thanks Irene I hope you have fun. I love the Tunic and need to take some better images which I plan to do tomorrow looking forward to teaching it in 2018 sounds a long way off but its a specail event which will be very beautiful.I will post better images on FB of tunic over the weekend so stop by an have a look.
Lots of great ideas here to try,love the tunic! Thank you.
That great to hear Marilyn I also write for the Bernina corporate blog which I am doing right now you will love the project on there I will publish it here in a week it ties in nicely with “Old city doors” techniques.So pleased you are enjoying the lacey scarves soon you will see endless possibilities.
Fantastic post Michelle, really looking forward to trying some of these techniques. I made another lacy scarf yesterday and today, really happy with it.