A gift from the heart and hand
In the last 4 weeks I have had a significant health scare in my closest of close family all is excellent now. During this time I was reminded of how important friends and family are. They are the ones who lift you up and carry you with their love, best wishes and support. With these thoughts I have been inspired to think about making special post cards which say thank you for all sorts of reasons. Making these postcards brings pleasure to both the maker and the receiver and I thought I would share this project with you, they don’t take long to create and are a joy to make.
I usually have a quote about creating but today it is about friendship.
This is for my friends that held me tight
Sometimes, when I say “Im okay”, I want someone to look me in the eyes, hug me tight and say ” I Know your not ”
and you all did thank you for true friendship .
The materials for the postcards
Cotton rag paper or alternative
Silk organza or alternative sheer fabric which doesn’t melt under a hot iron
Paper prints from google searches or whatever paper designs you have
Fusible web
Craft Glue
PVA glue (white craft glue)
Embellishments of your choice
Hand stitching threads and needles
Sewing machine and rayon machine embroidery threads
Gold rub on
Rubbing plate or similar with texture
Hand dyed silk velvet or similar
Scrap booking paper or similair
Free motion embroidery foot
Step 1
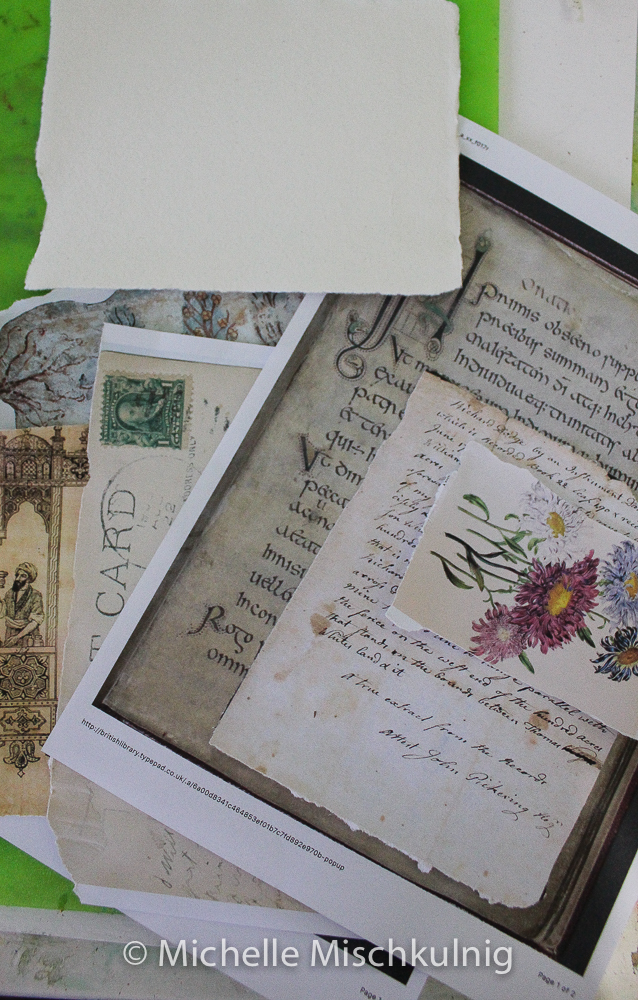
Go on good old “google” and find interesting papers to print out try ” historic documents”, ” coloured etchings” “historic gardening notes’ etc etc etc. Print out lots of interesting bibs and bobs to make your postcard .
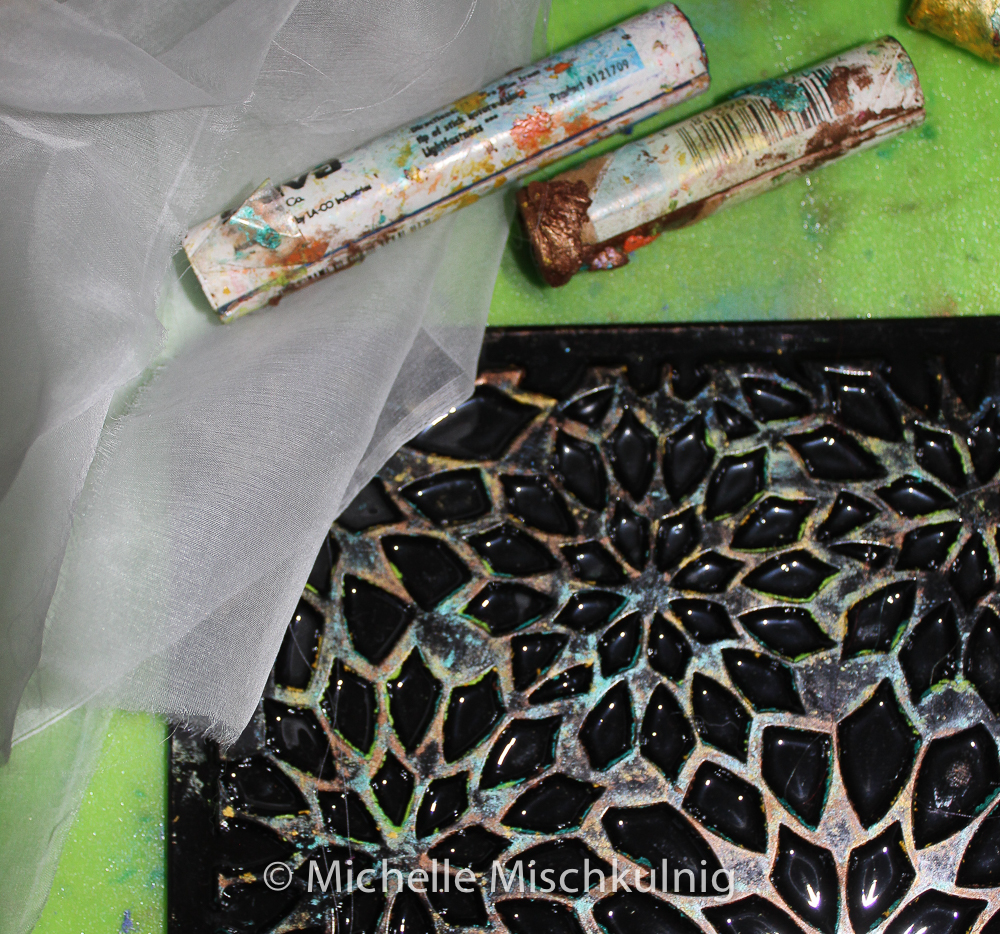
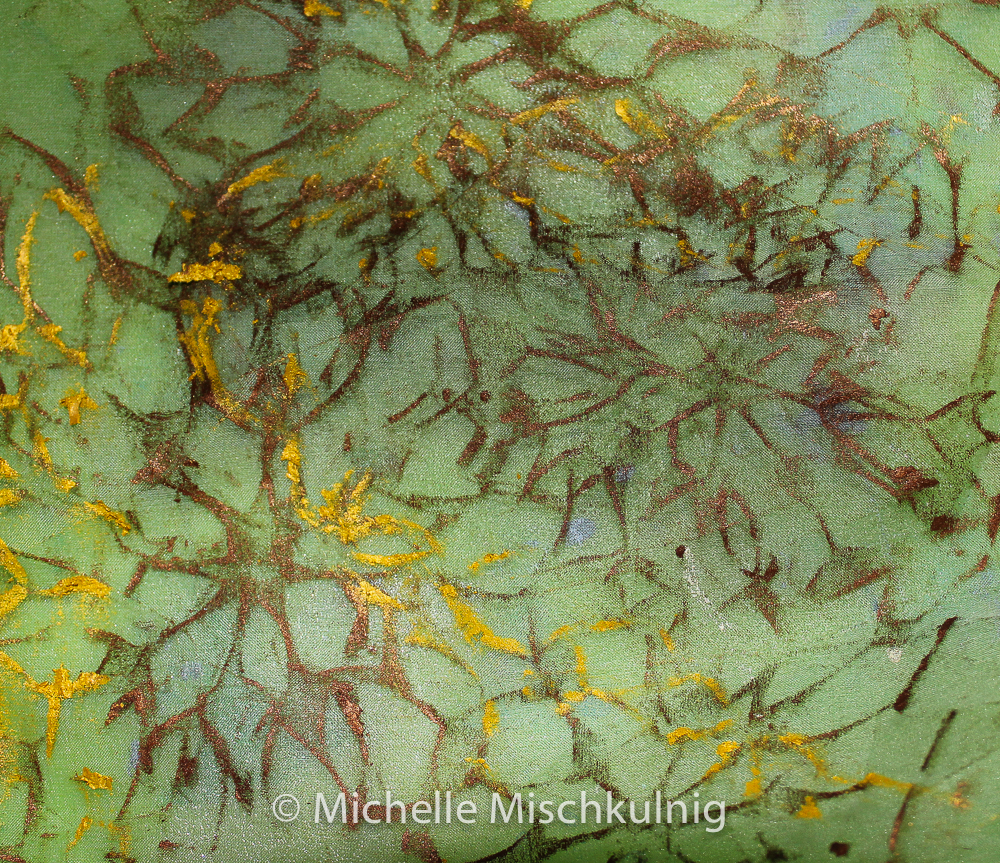
I love silks and use all sorts of silk in all my art works. I am using a rubbing plate and shiva sticks to make some interesting marks on the organza.The organza will be ripped into strips and used later in the project.
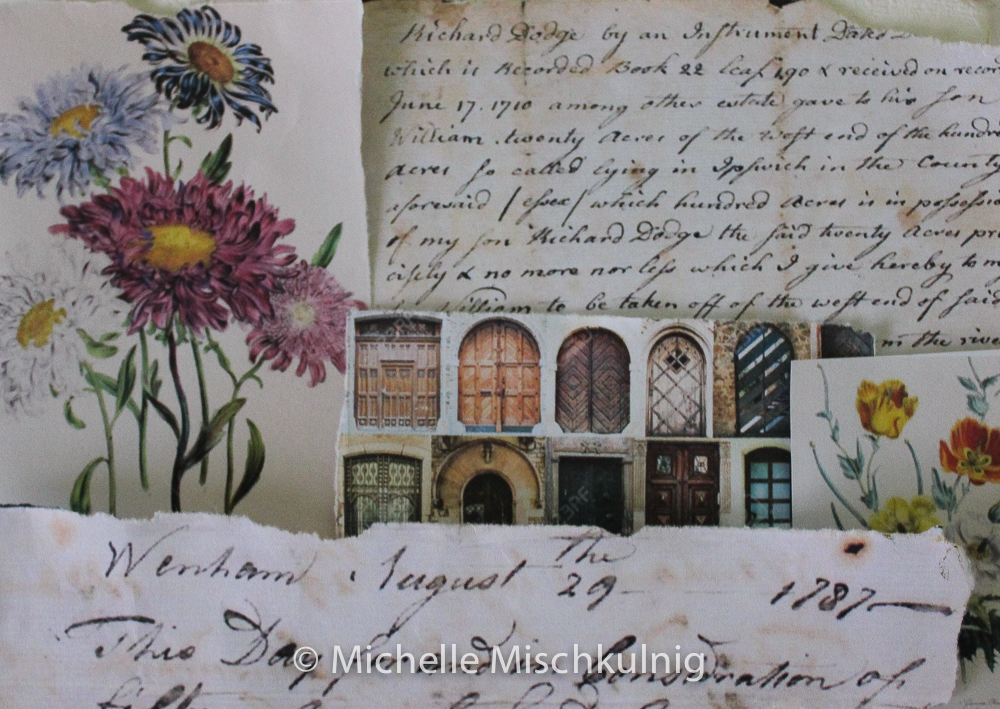
My base layer is cotton rag paper which I love to use, it is great for stitching and painting. I tear, cut and place the first layer of the printed paper on top of the cotton rag paper post card with a layer of fusible web in between. Each layer will be adhered together by using fusible web to hold in place, I use fusible web as it allows the project to remain flexible and easy to sew. Fusible web is set by ironing with a hot iron, in this project I peel layers of fusible web of the backing paper and use as a sandwich filler between layers.
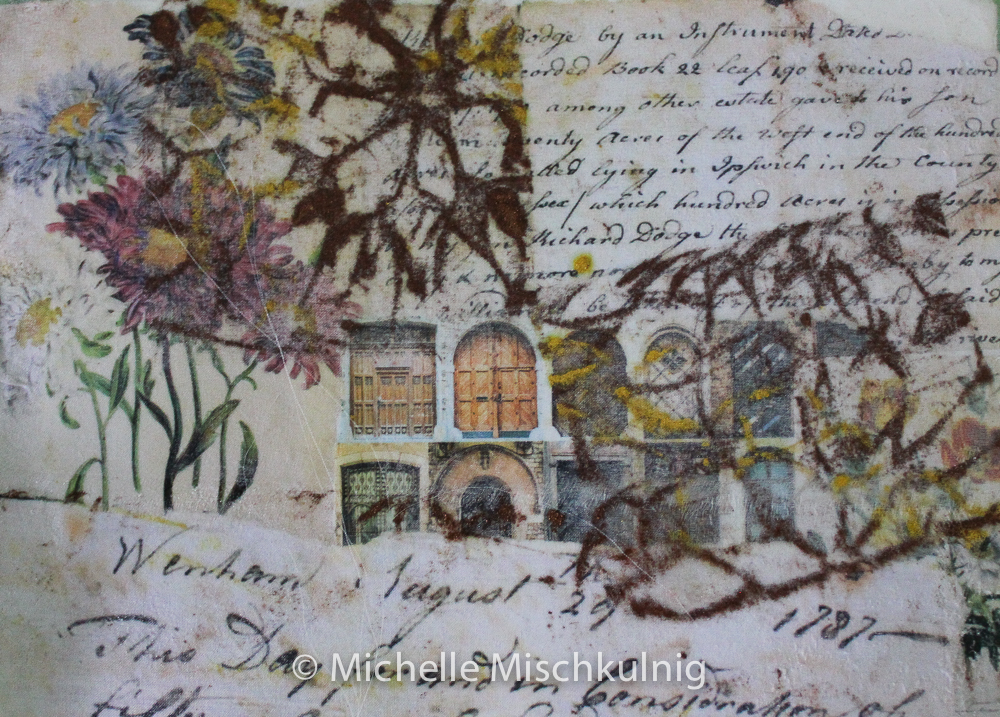
After fusing the first layer to the cotton rag I place another layer of fusible web on the top surface of the postcard and some strips of the patterned organza and then a piece of plain white organza covering the entire surface.I like the surface organza creates and it is beautiful and tactile. When all the layers have been fused I use some metallic machine threads and decorative stitches to enhance the post card surface.
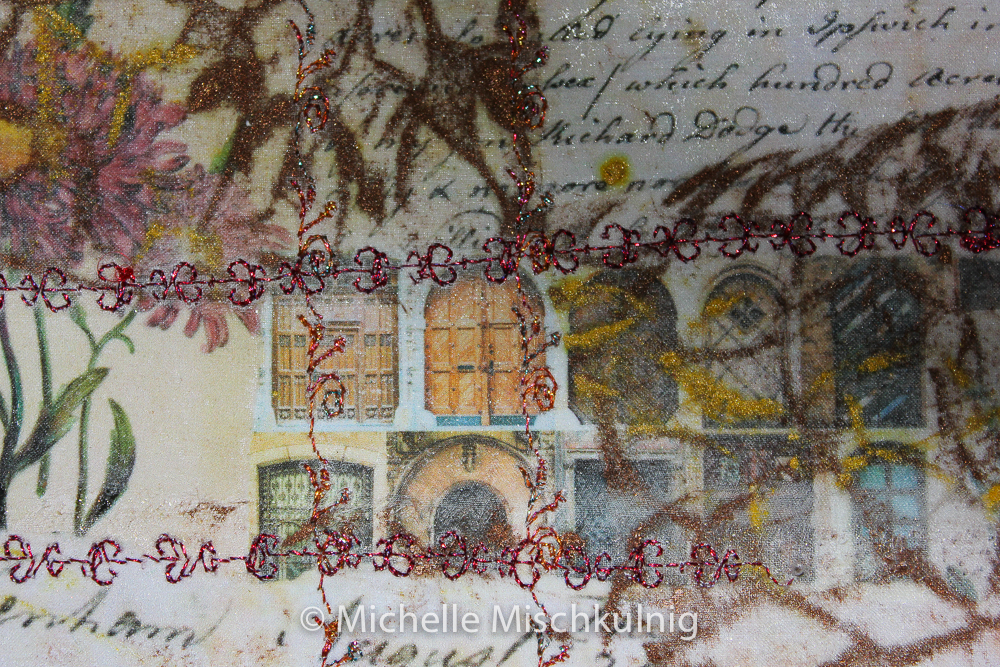
Layers of organza and some decorative stitching.
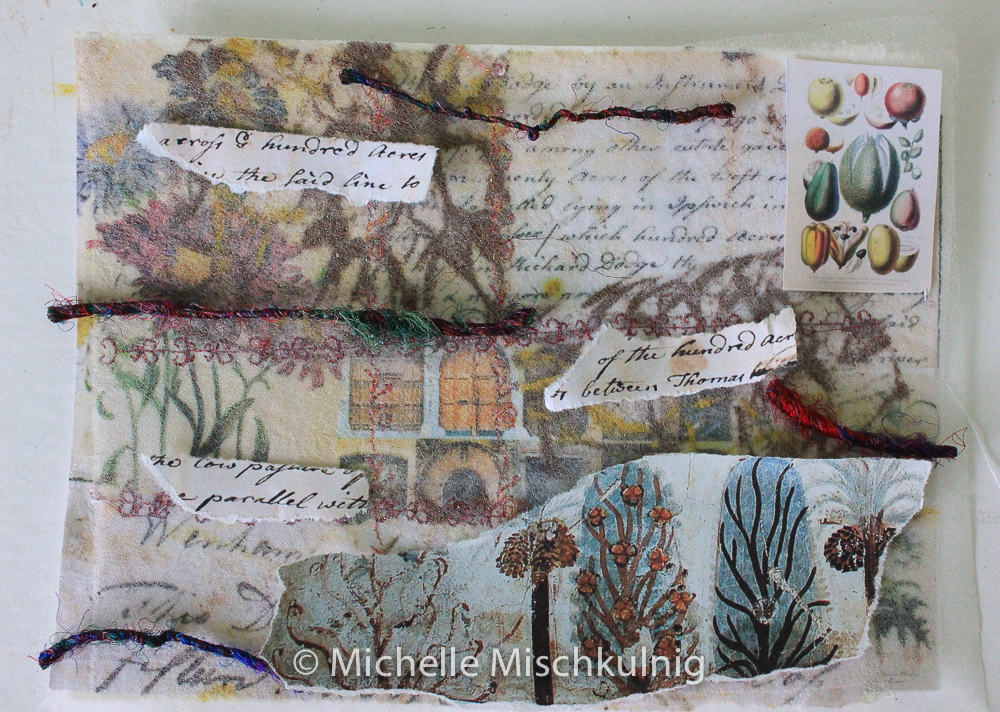
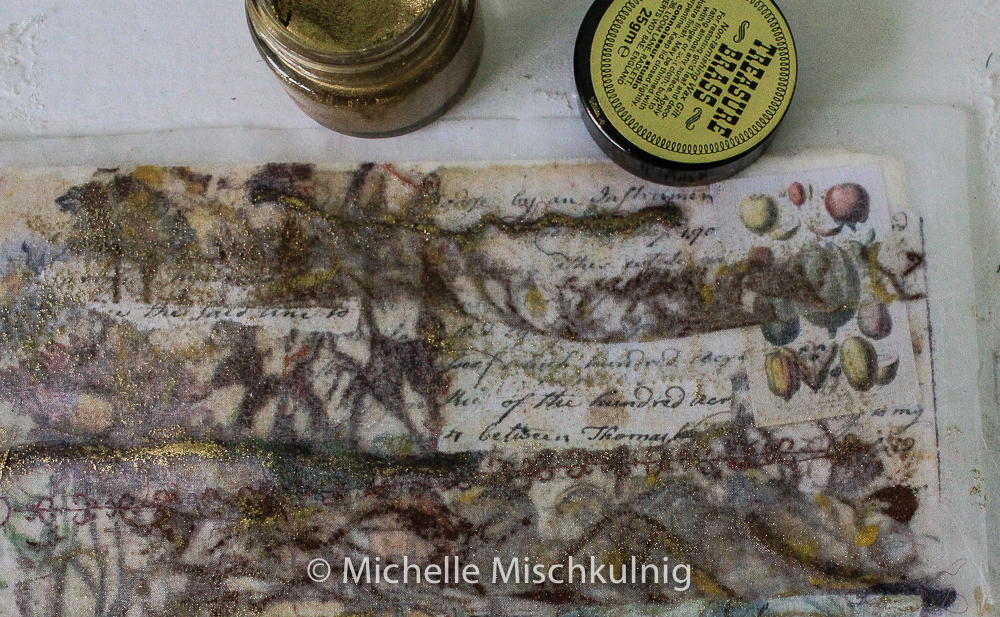
In this image I am adding another layer of printed paper and some silk yarn for texture this is placed on the top of a fusible web layer.Following the same technique another layer of organza covering the whole surface of the post card. To add a little glitz and aged look I rub over chosen areas of the surface with some brass metallic rub.
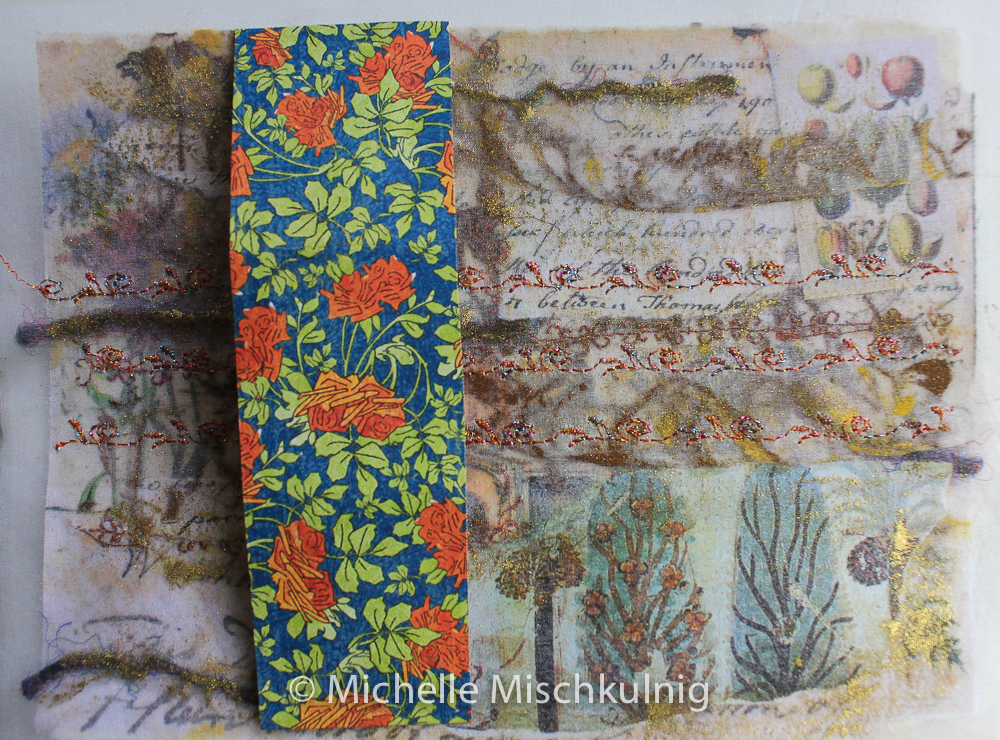
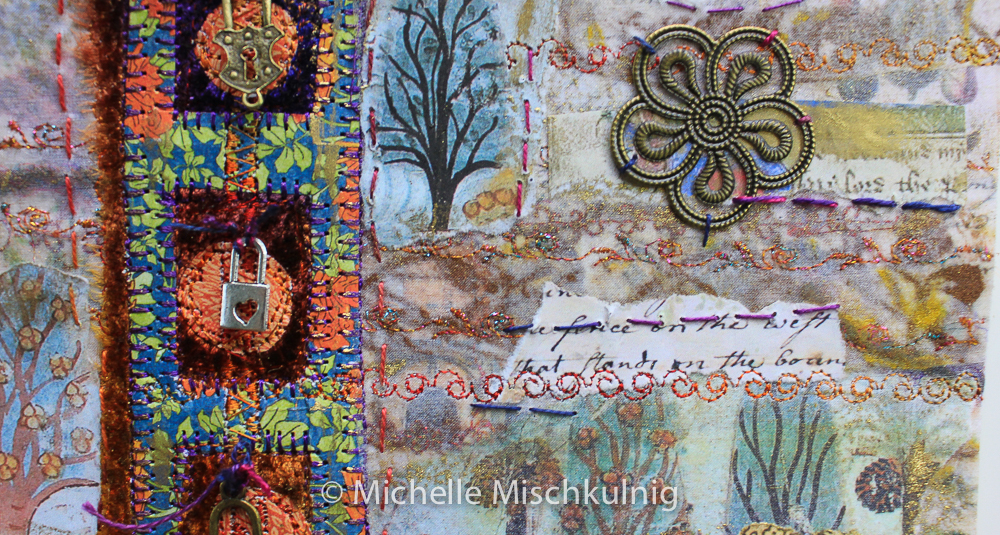
I stitch some more decorative stitching to the surface and add a new dimension with a panel of decorative scrap booking card. I use pre printed scrap booking card because it is quite strong to stitch on.
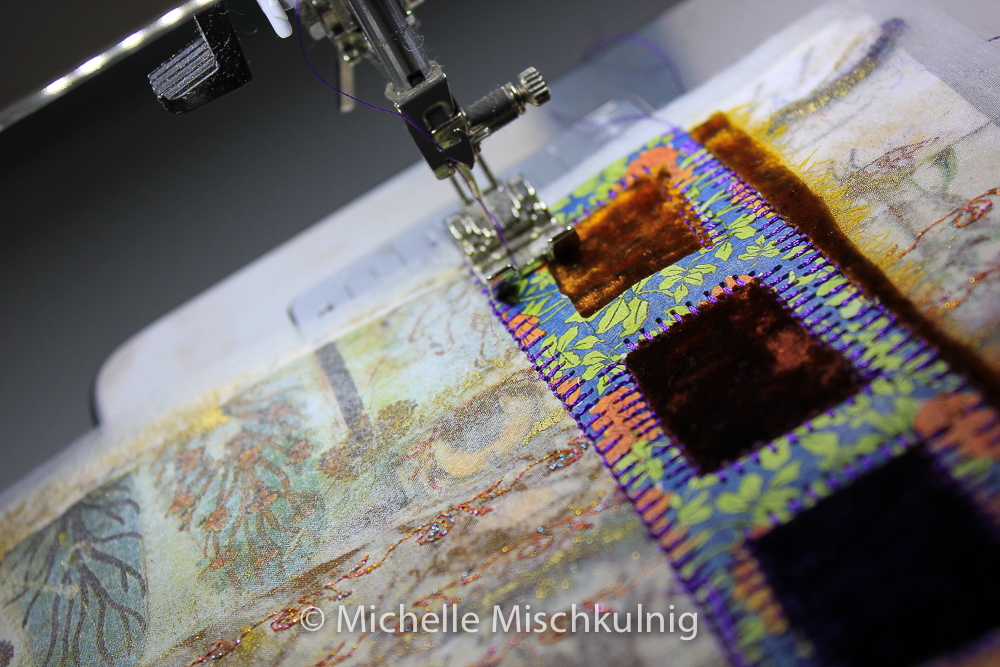
I fold the pre printed scrap booking card into 3, then mark and cut out 3 windows. I love the contrast of shine and flat so use some hand dyed silk velvet to show though the windows. The silk velvet panel is cut to the same size as the pre printed scrap booking panel. These two panels are attached to the top of the post card by using a decorative stitch.
A final layer of paper elements
Some more paper elements are added and machine stitching both decorative patterns and free motion stitching.
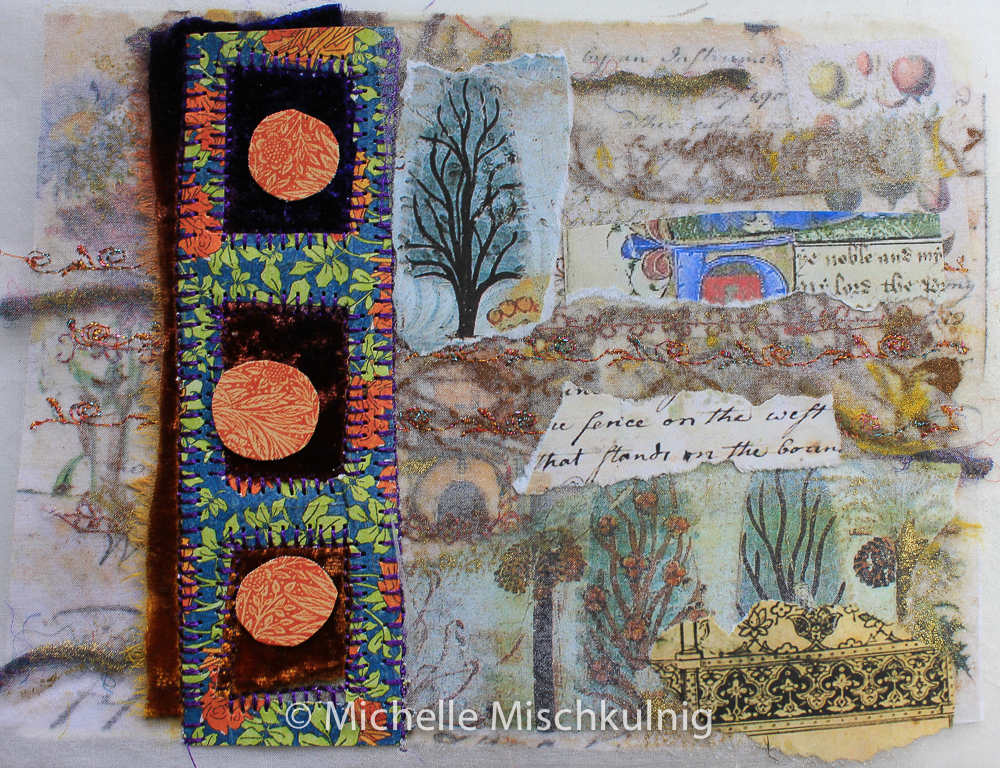
I add some hand stitching, embellishments and gold rub.
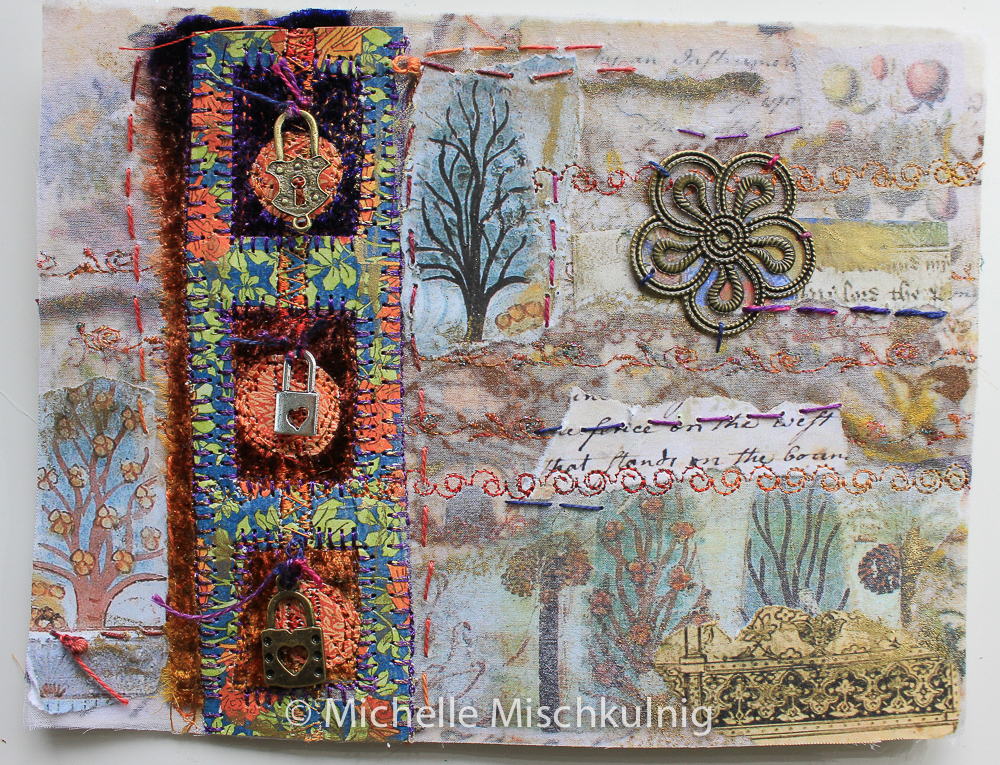
I coat the entire top surface of the post card with watered down PVA glue as protection and to hold it all nicely flat.
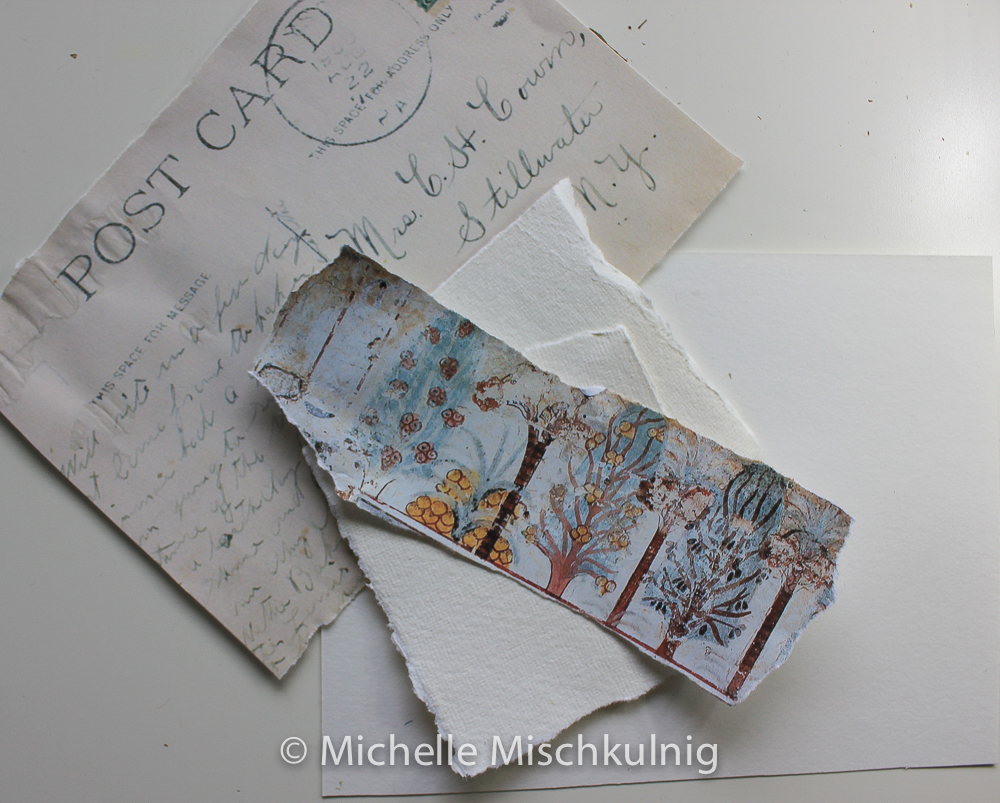
Making the back of the postcard
To make the back of the post card use another piece of cotton rag the same size and shape as the front. You can see below the papers I found online to print out and use.
Place your first layer of printed paper on top of a layer fusible web which has been placed onto of the cotton rag paper .I blanked out the writing on the print out with other papers and then I stitched the lines in for writing on.
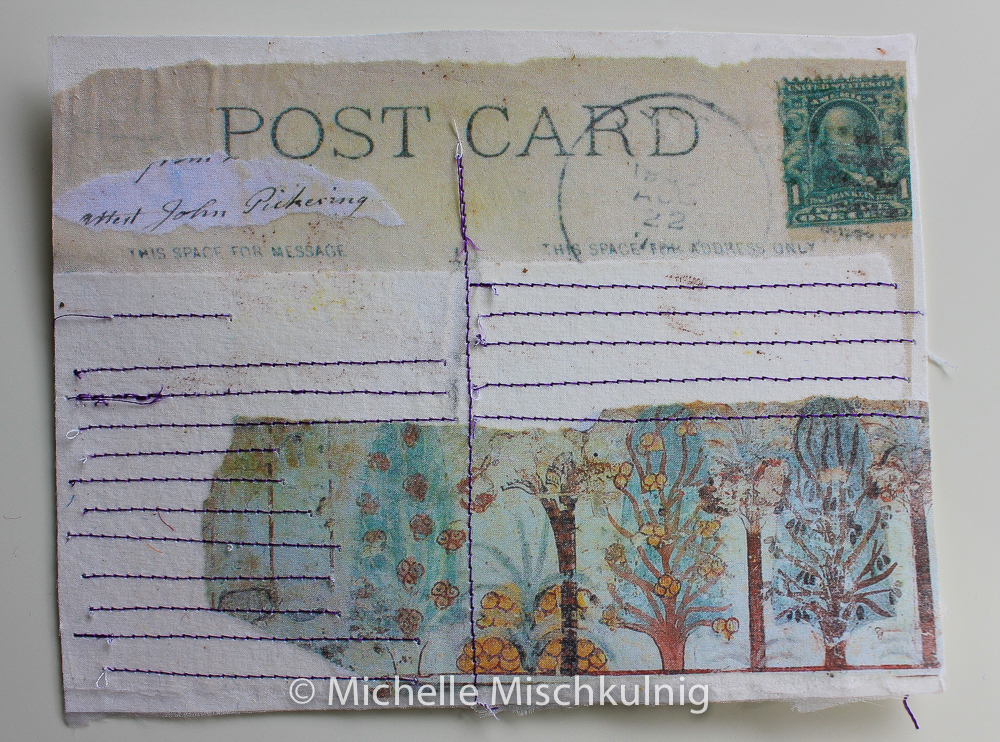
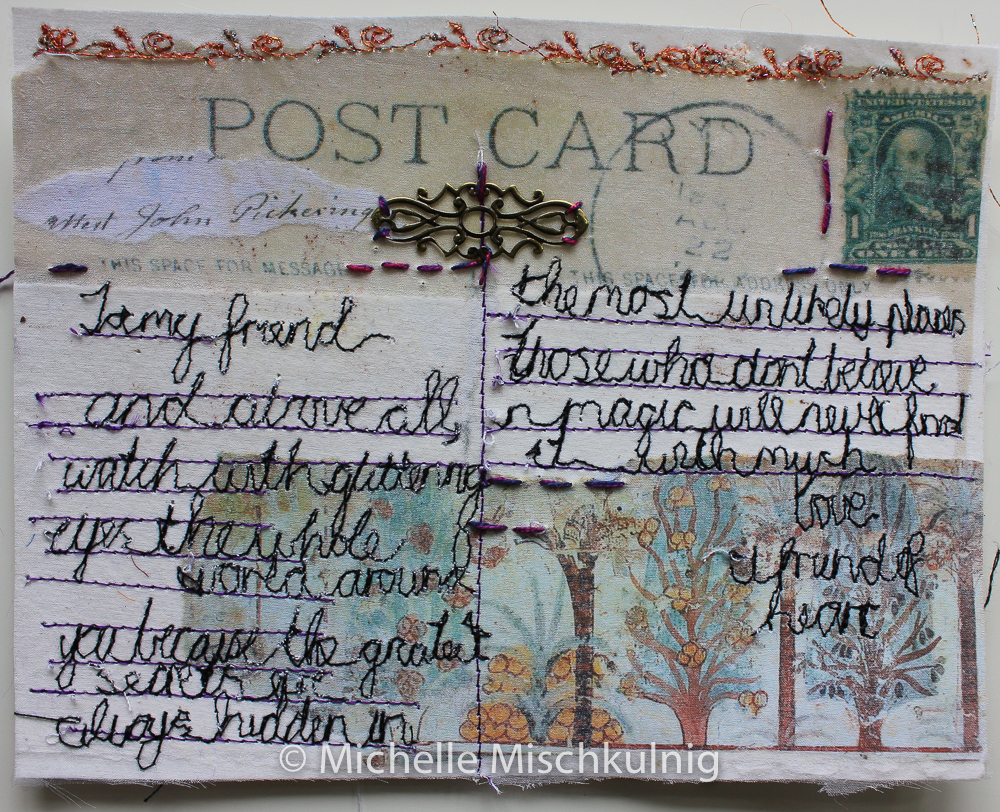
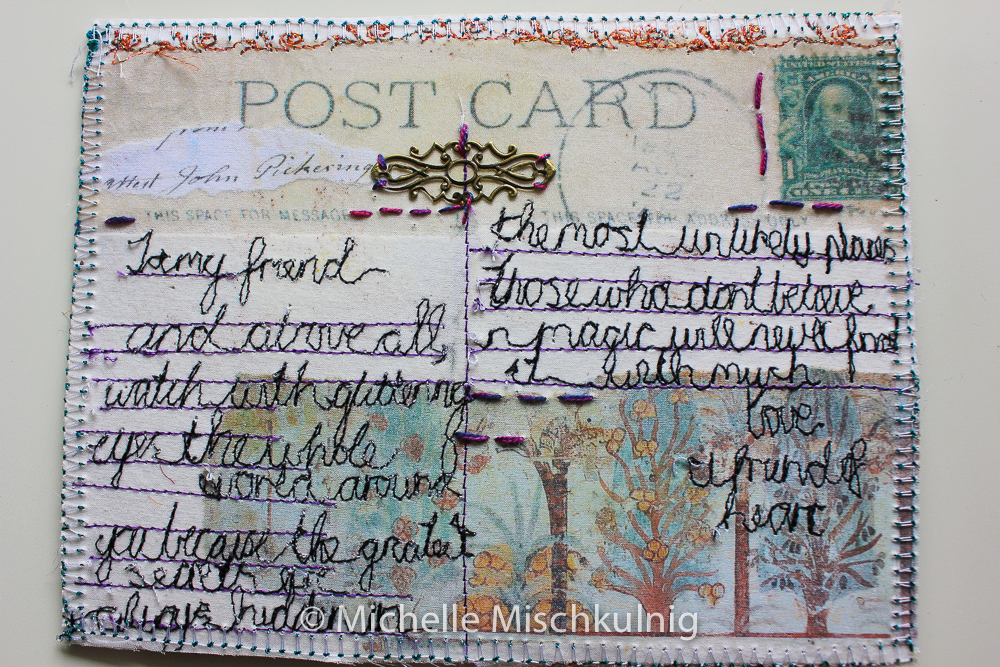
I have free motion stitched a favourite quote of mine and included some filagree and hand stitch. I have also coated the back of the post card in a watered down finish of PVA glue.
To place both sides together. I use some craft glue in the centre to hold together both side together. I make sure not to get it near the edges of the post card. I use a decorative stitch to attach both sides together. When finished it has a great firm body and shape and could safely be posted in an envelope.
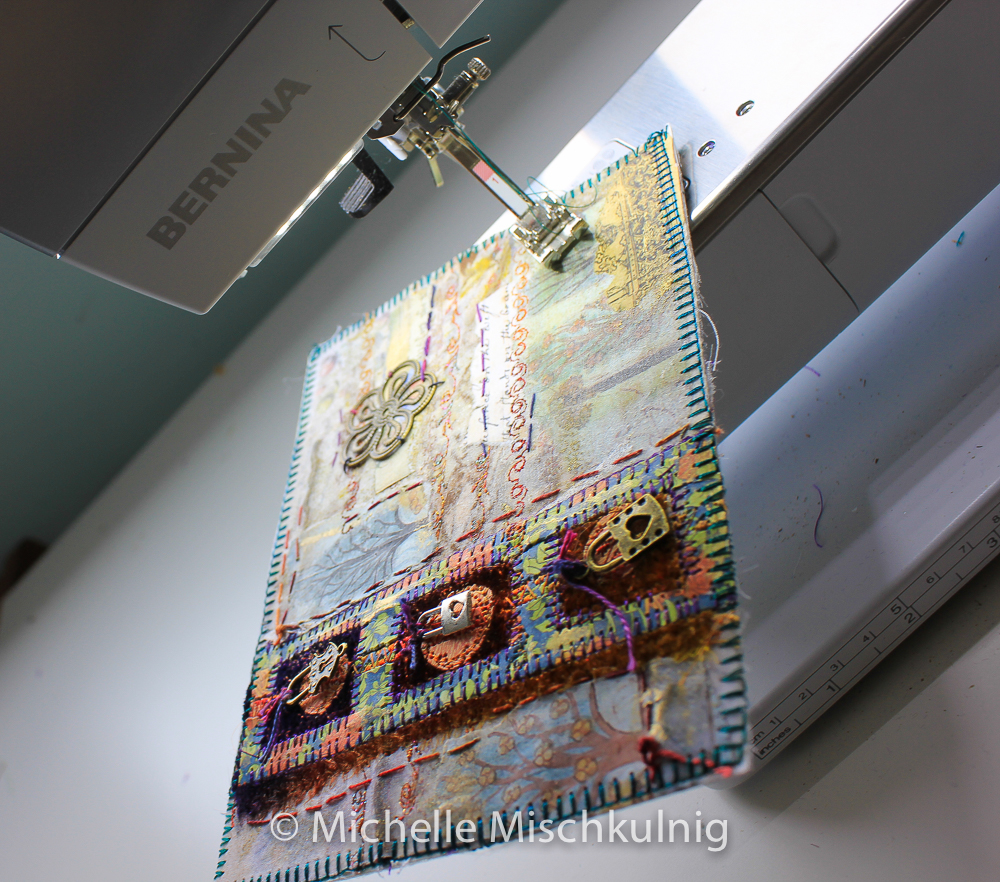
Completed front
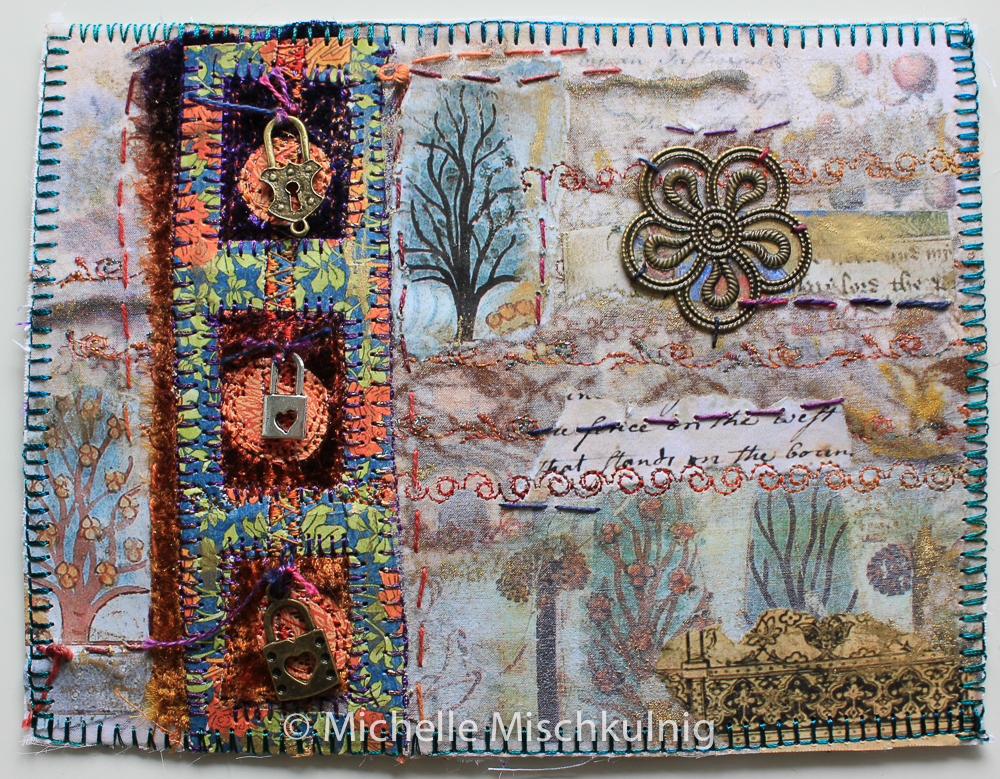
Completed back

Cotton rag paper, shiva sticks and other lovelies can be found at http://www.thethreadstudio.com
Up coming events
Demonstrating and selling August 2016
Teaching in August 2016
http://www.berryquiltingretreat.com.au
Teaching October 2016
Craftours Cruise Australia April 2017
http://www.craftours.com/trips/?page=australia_michelle_0417
Lake Tahoe quilt retreat November 2017

Thank you Amy life throws out some speed bumps to remind us h0w lucky we are
So glad to hear that all is now well!
Thank you Linda i hope you have time to play :-)
Beautiful