Silk lap scarf or wrap
A Christmas wish to all for joy, laughter, forgiveness, acceptance, tolerance, laughter, warm embraces and many many moments of riotous giggling. hold close those you love and always but always look for the magic
My gift to you all for Christmas is from an article that was printed 2 years ago. Its a big project that requires patience and many many stitches with great rewards
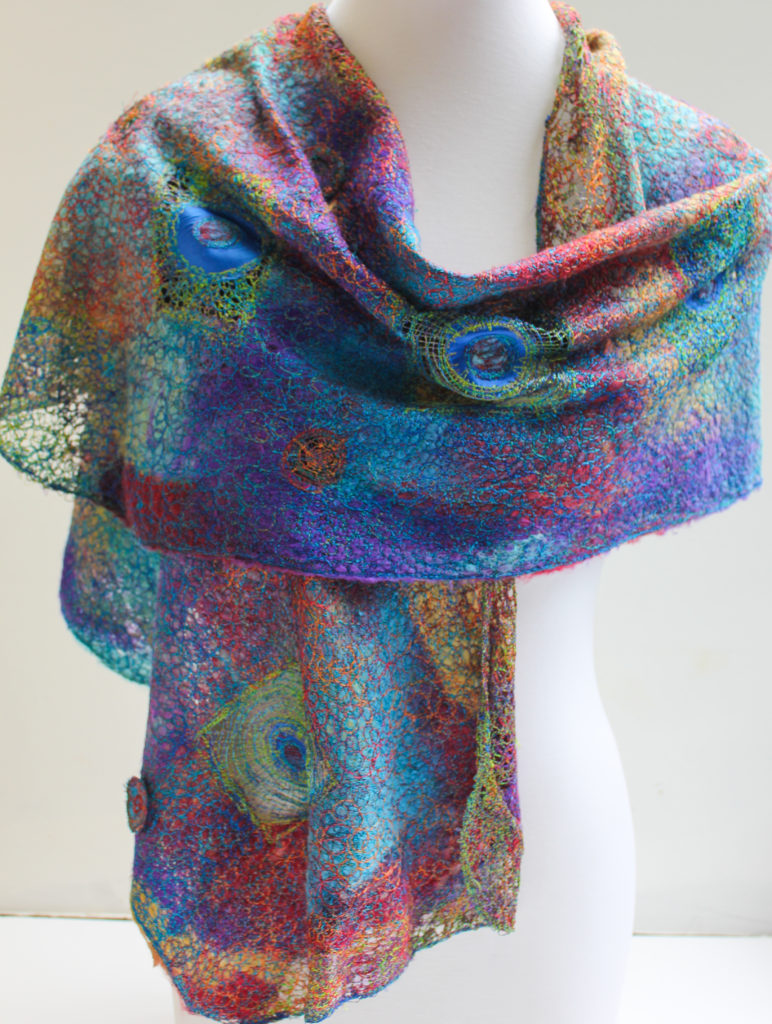
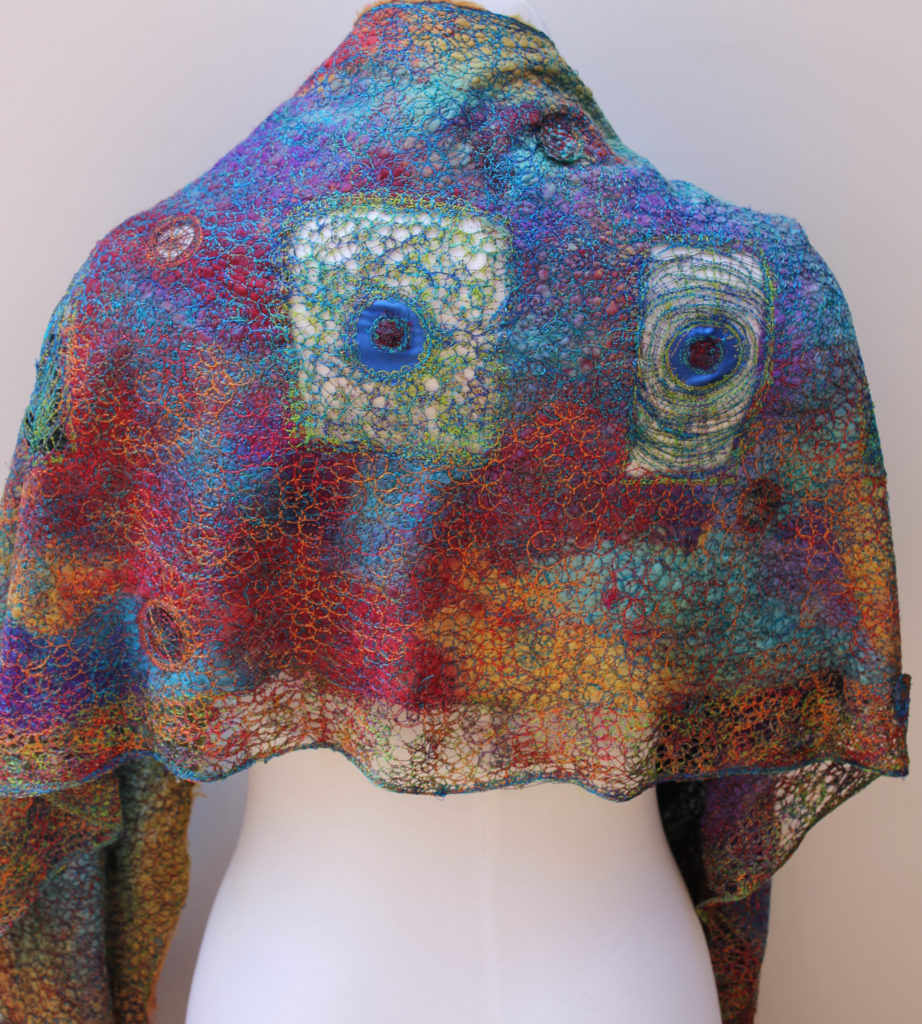
Materials
- 1.5 m of a hand dyed silk lap ( keep in mind silk laps can be stretched in width or length or layered )
- Just google mulberry silk lap and you will find them both dyed and undyed.
http://www.thethreadstudio.com/catalogue/fibre/fibre1.htm
https://www.etsy.com/market/silk_lap?
A smile and patience
- Machine embroidery threads .I prefer rayon threads have beautiful colour and lustre and in my opinion feel softer on the finished garment compared to polyester but this is your preference. Silk threads are perfect but not very economical given the amount of stitching.
- A sewing machine that you can perform free motion embroidery and loves a workout.
- Closed toe machine embroidery foot.
- 4 m of water soluble vilene web or equivalent such as Aqua mesh, Aqua magic Floriani Wet, Sulky fabric solvy. My preference is for the vilene it is opaque you can use the plastic water soluble if you wish.
- http://www.embroiderysource.com.au/web-store/backing/soluble-backings-and-films/es-wsv-30×30-mac-rinse.html
- 2m of stick sided water soluble fabric or the amount required for your project I use Esi- Stick N’rinse.An equivalent is sticky Fabric Solvy.
http://www.embroiderysource.com.au/web-store/backing/soluble-backings-and-films/esi-stick-n-rinse.html
- Size 80 tops stitch or universal needle
- Wool wash or equivalent
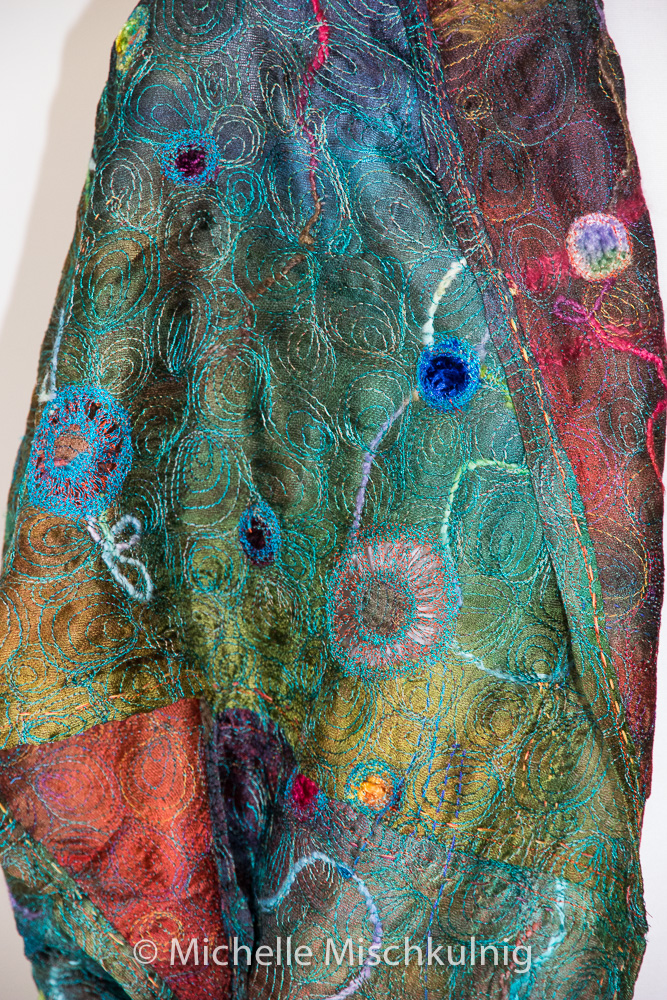
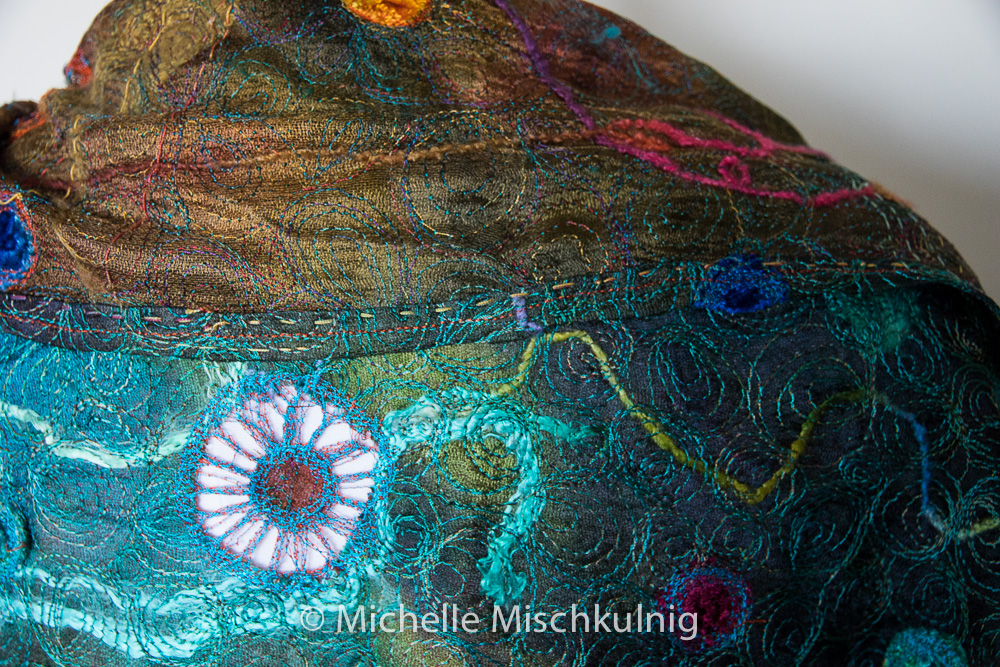
A silk lap is exquisite, lustrous and light as a feather. It is a blanket of silk fibre that is soft to touch and creates a sensuous drape.The mulberry silk laps I use are hand dyes in stunning colours
Silk laps are a byproduct of the carding process used on silk fibres to produce silk tops for spinning into yarn. The laps have much more texture than the tops but are similar in staple and length. An industrial drum carder is used to card the silk fibers into silk sliver. When the carder is all matted up ( a bit like a hair brush )at the days end the lap is peeled form the drum in a flat sheet. Silk laps are typified by there super long staple. it makes them strong easy tp stretch and divide.They can be stretched to nearly 4 times their size if you have a little help from a friend.
When you first purchase your silk lap, drape it around your neck and enjoy the moment of luxury feel the softness of the fiber and enjoy the colour and lustre.Then unwrap it form your necking start to create your wearable art wrap /scarf.
Techniques
For my scarves/wraps I generally stick circle shapes, but any type of stitching design such a grid or zig zag can be used. Whichever stitch design you decide to use your stitches must all interconnect.
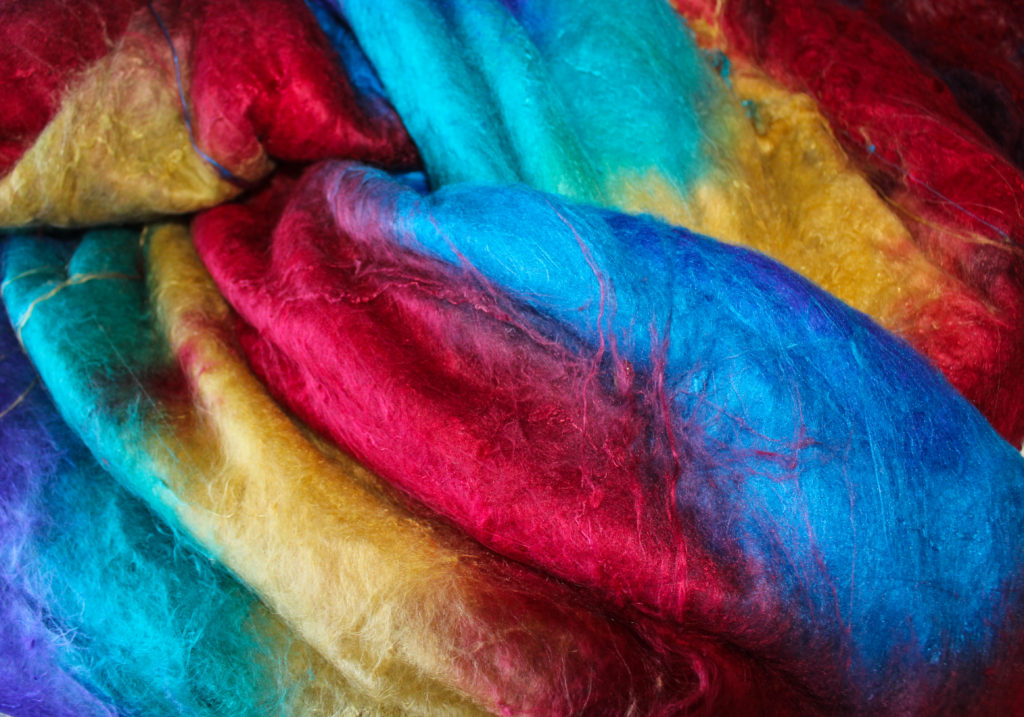
the-whole-lap
1 First, split the silk lap into a fine layer’The thickness of the layer is dependent on the look desired for your Wrap, A very fine layer will be more like a spider Web; a thick layer can almost have the appearance of felting. Experiment with some small practice pieces to find the weight you like.
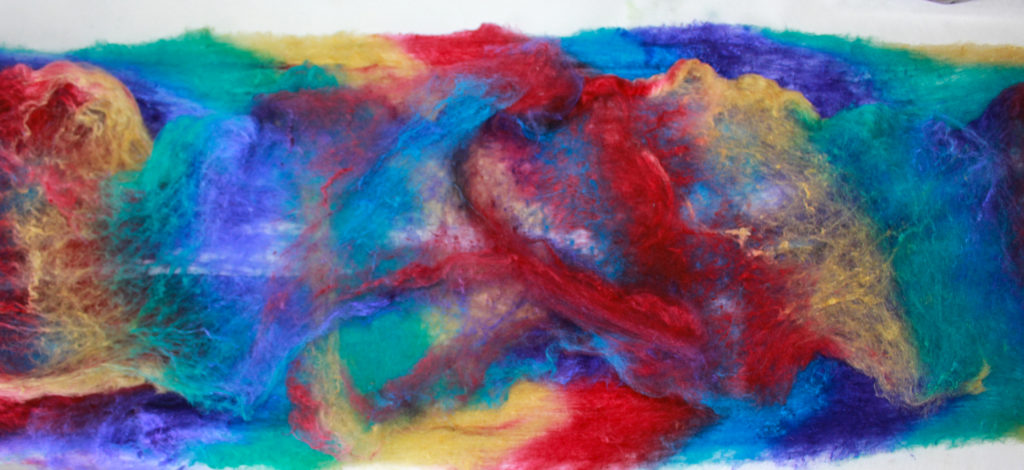
Placing the split lap on Water soluble fabric.
Make a silk wrap sandwich: Lay your split silk lap layer on a piece of water-soluble ‘ fabric which is cut a little wider and longer than the lap to provide room for creating lace work edges and ends later
I keep the organic shape of the silk lap, allowing for a natural flow and sizing around the edges of approx. 173cm x 40 cm for a wrap . This size can be altered by stretching the lap to suit your needs. Place another layer of water soluble fabric of the same size on top of the silk lap and pin all layers together.
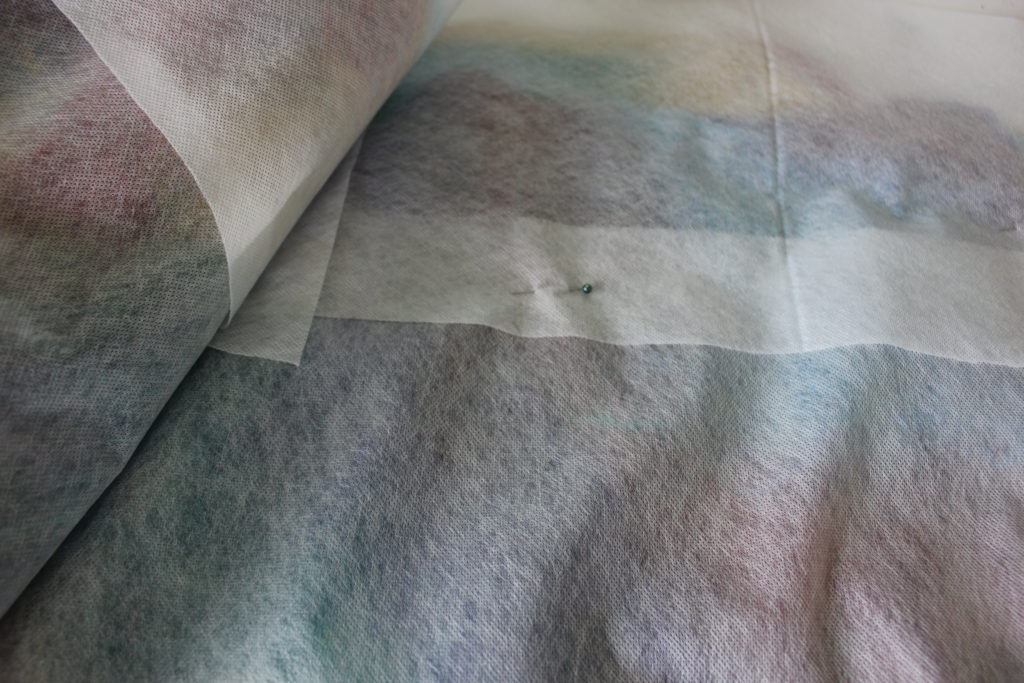 silk lap sandwiched between two layers of water soluble fabric.
Thread color decisions : I use a different coloured thread in the bobbin than in the needle so each side of the wrap has a slightly different appearance. Be spontaneous with your colour choices; match them to the lap, select them to contrast with the lap colors, see them as highlights and brighteners, or all of the above. I use both variegated and plain coloured rayon threads.
Now that the thread colours are chosen the machine is readied, the bobbin threaded and you are settled in ,sew a base layer of interconnected stitches over the entire silk lap, I use a circular movement but other stitch patterns can be used they just all need to interconnect. Stitch a straight line around the outside edge of your garment to give it a firm edge .
The stitching is very time consuming be patient it is worth the end result please nb the size of the circles they need to be small to catch all the fibre.
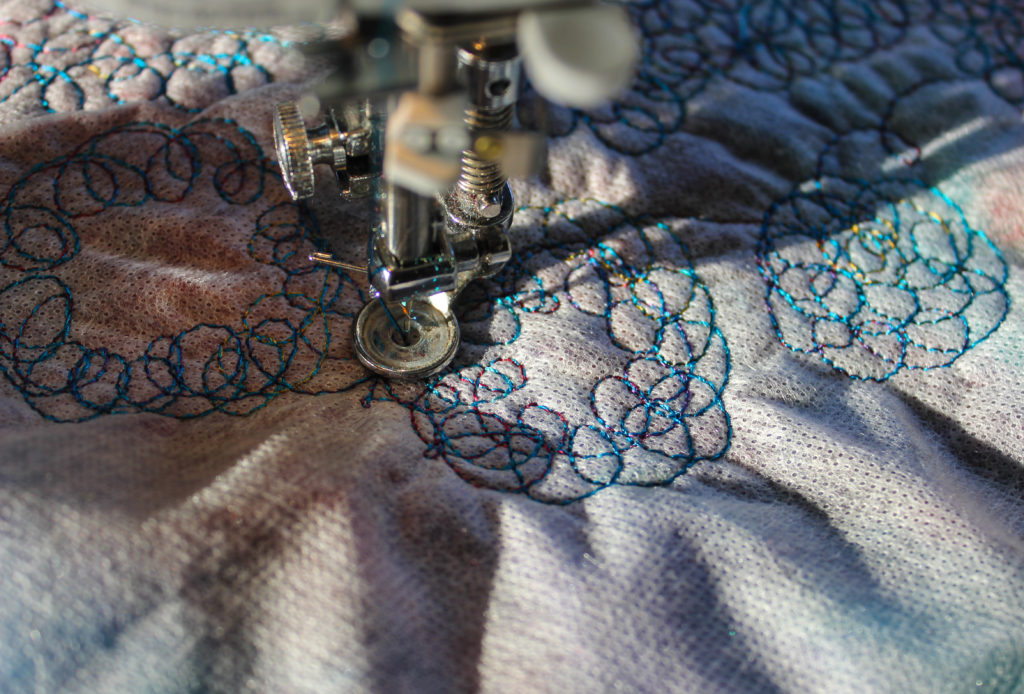
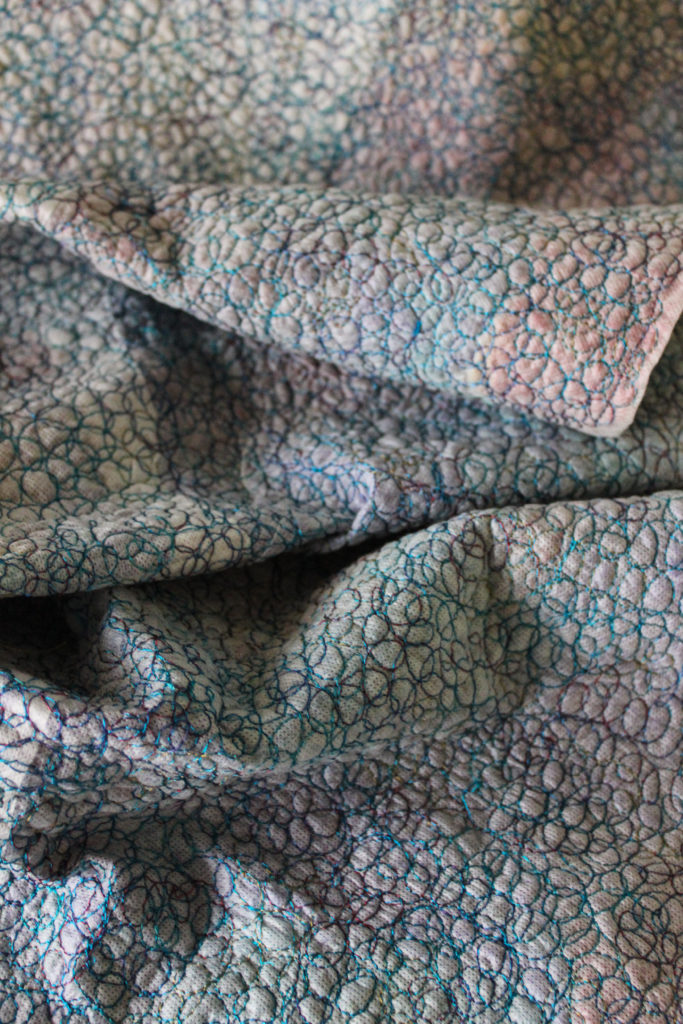
Completed first layer
.
You have survived the first marathon of stitching and in the next step you will cut out some of your stitched fabric. Mark your design cut out area and stitch around the outside edge of the area to be cut several times to give it stability.
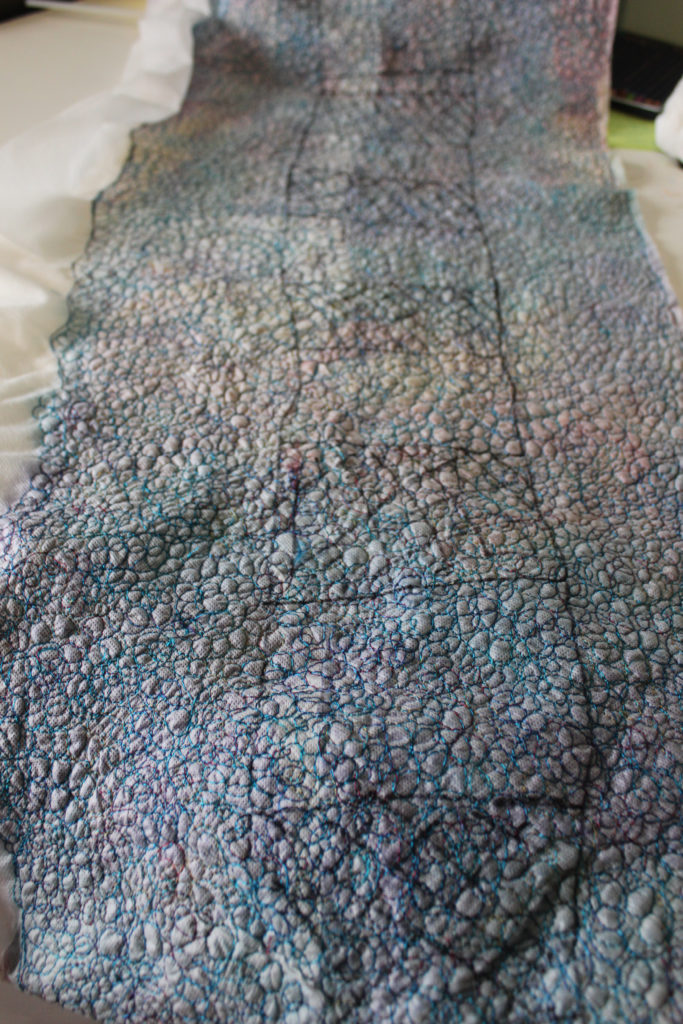
marking the cut out areas
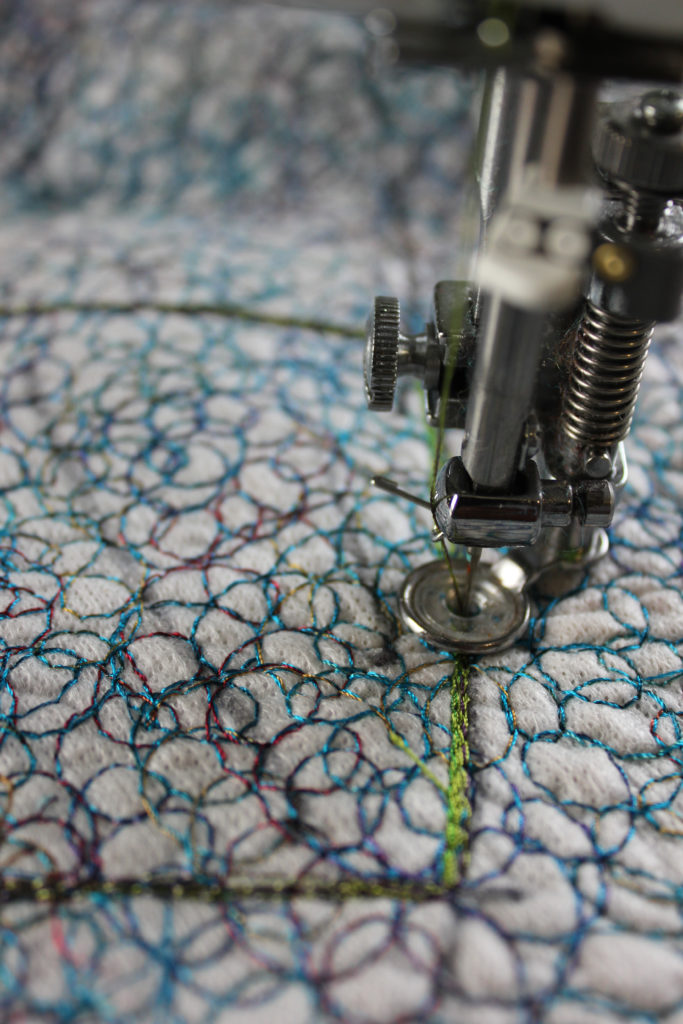
Stitching around the edgeof the marked cutout area
Cut out this the marked spaces
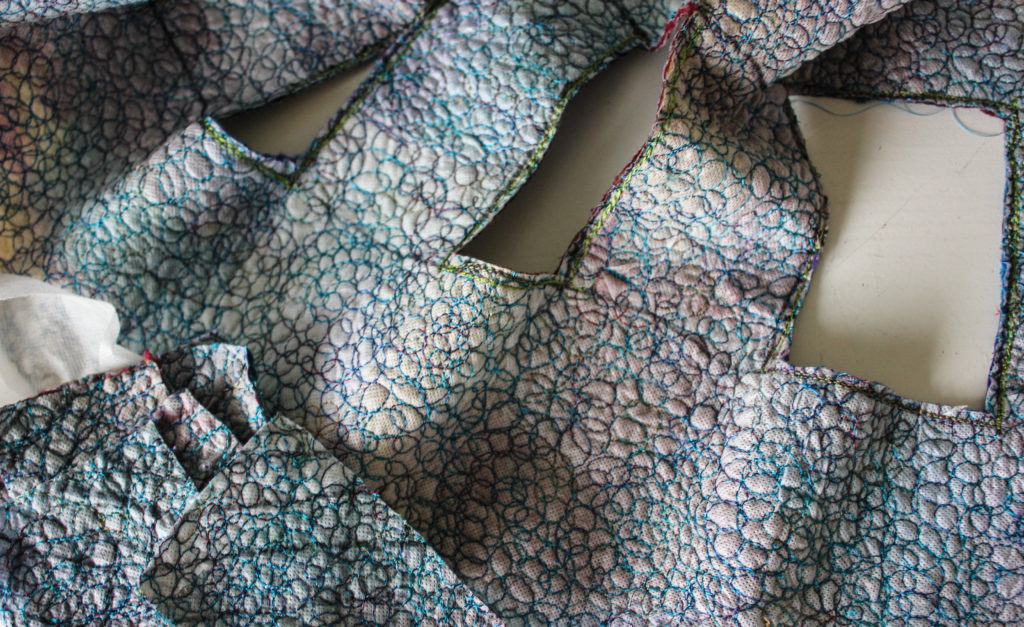
Finished cutting out lacework areas
Using the sticky soluble sandwich in a small circle of fabric into your cut out area .The sticky soluble will form a sandwich being on the top and bottom and fabric trapped between.
These areas are then stitched in to create a lace make sure all your stitches interconnect with each other and the edges of the cut out .
Outline all your cut out edges in small circles to stop fraying .
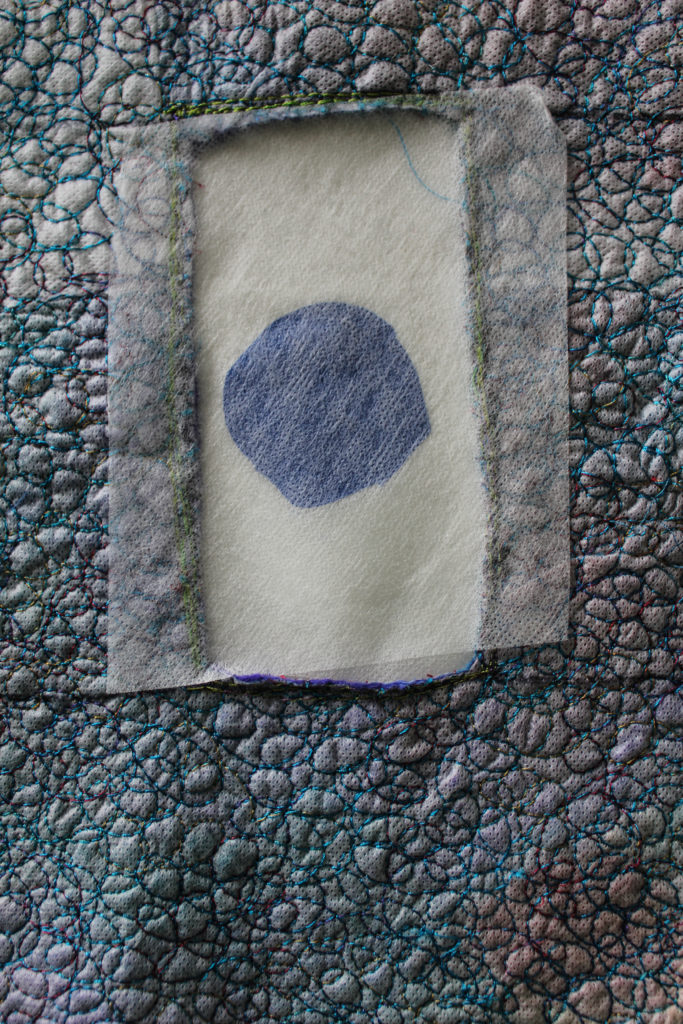
Inserting a circle of silk onto sticky backed and another piece of sticky back on top
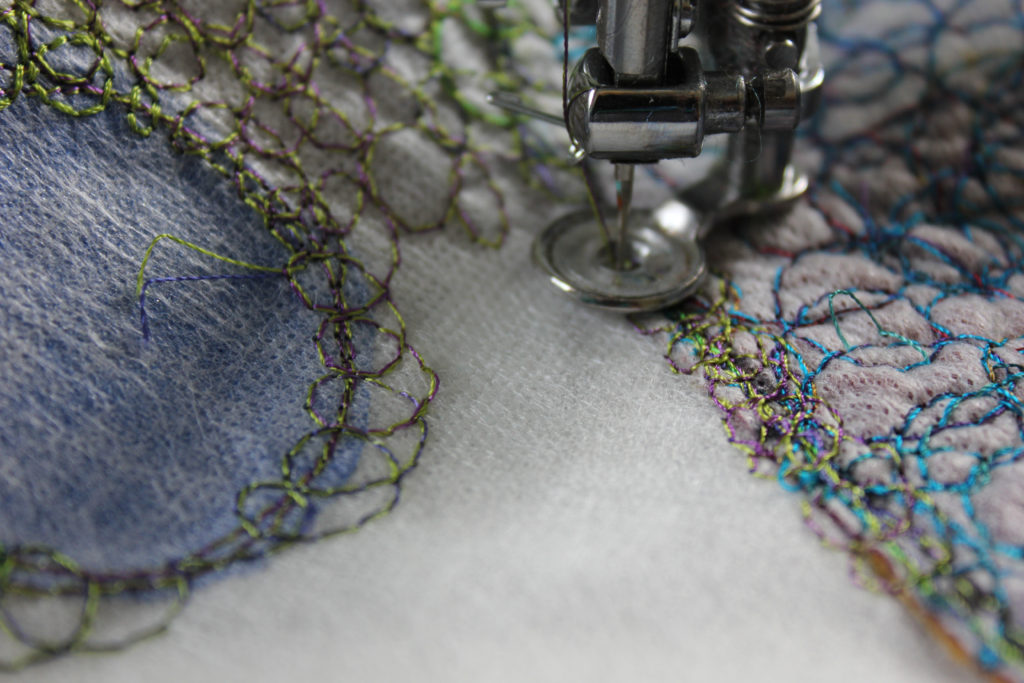
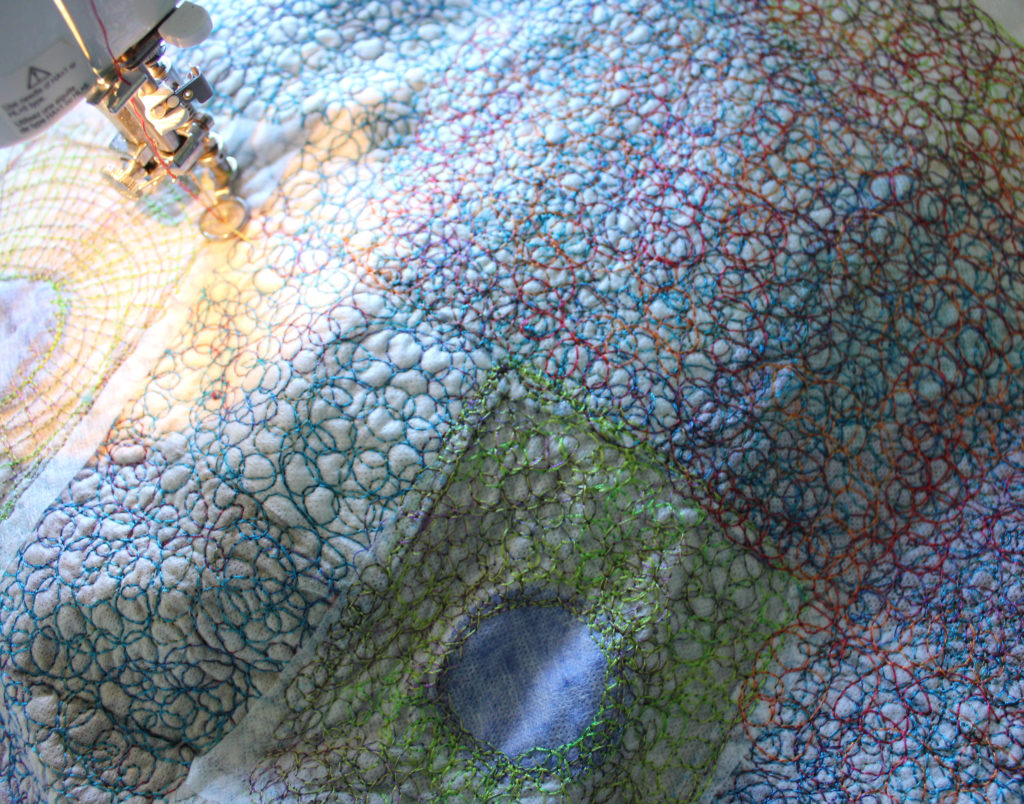
shows second cicular design
Now your second marathon you will need to do a second layer of stitching over the entire scarf /wrap including the edges to create a lace work edge with an organic shape.
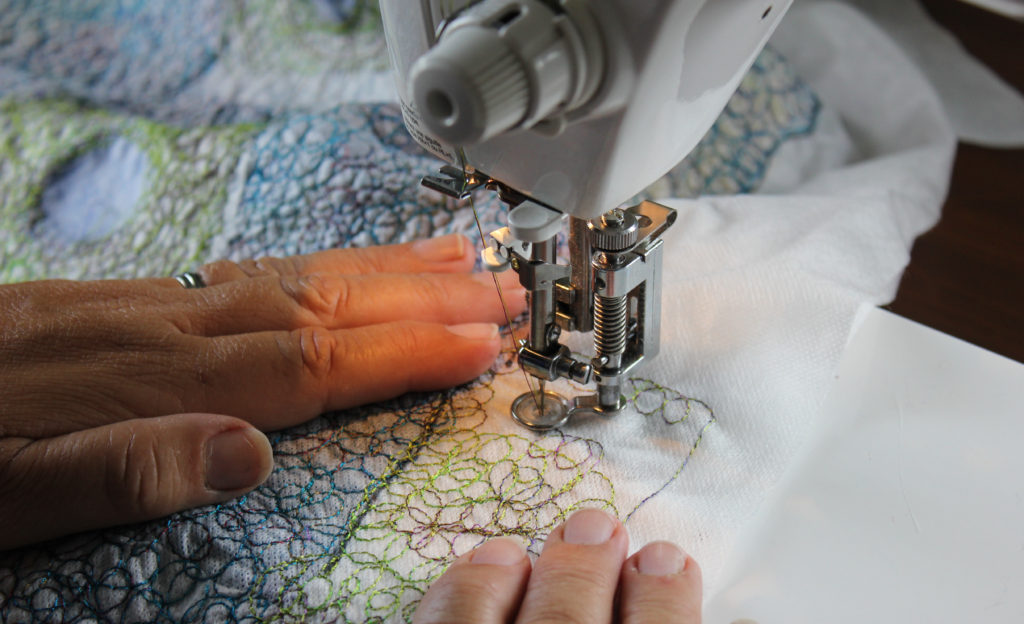
lace edging
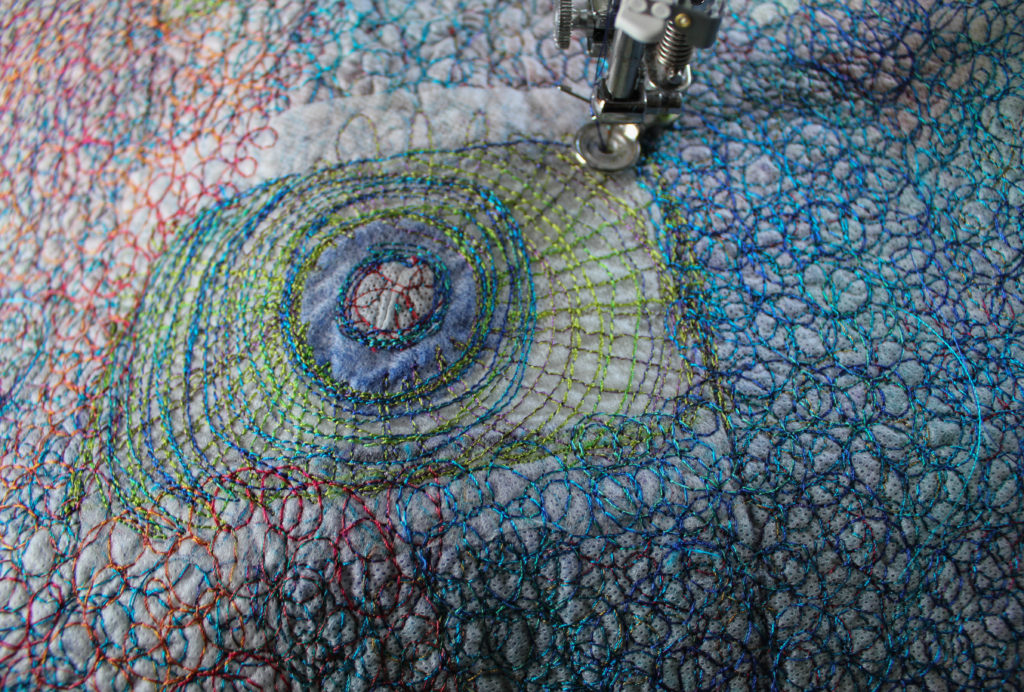
final layer
To add a little more colour this was an after thought I have cut some more holes and introduced new shapes and colours with the lace work
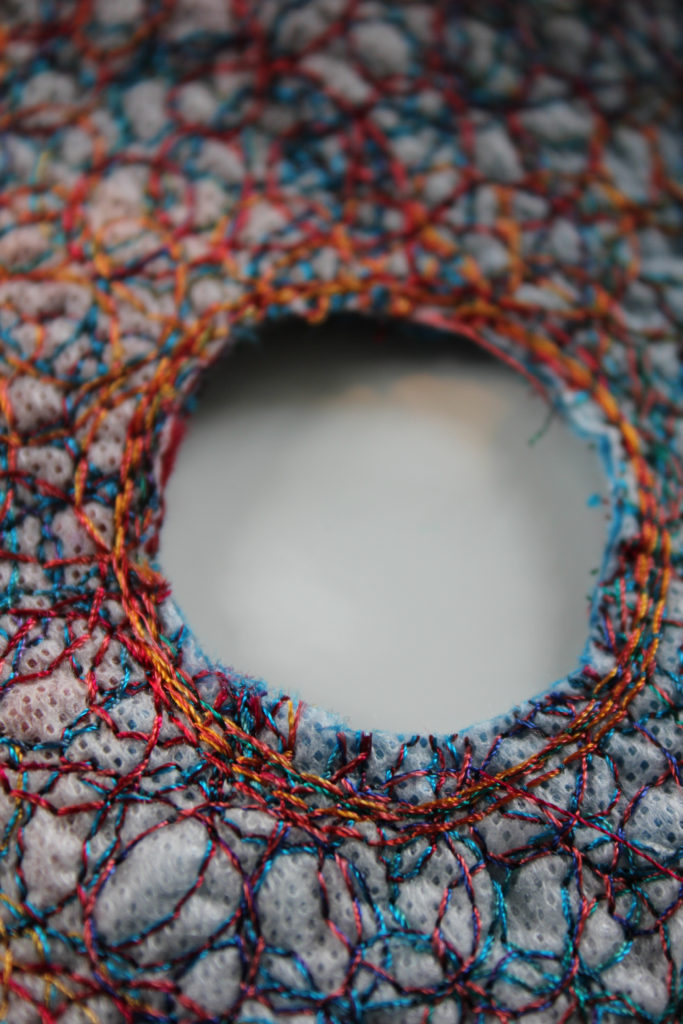
extra lace holes
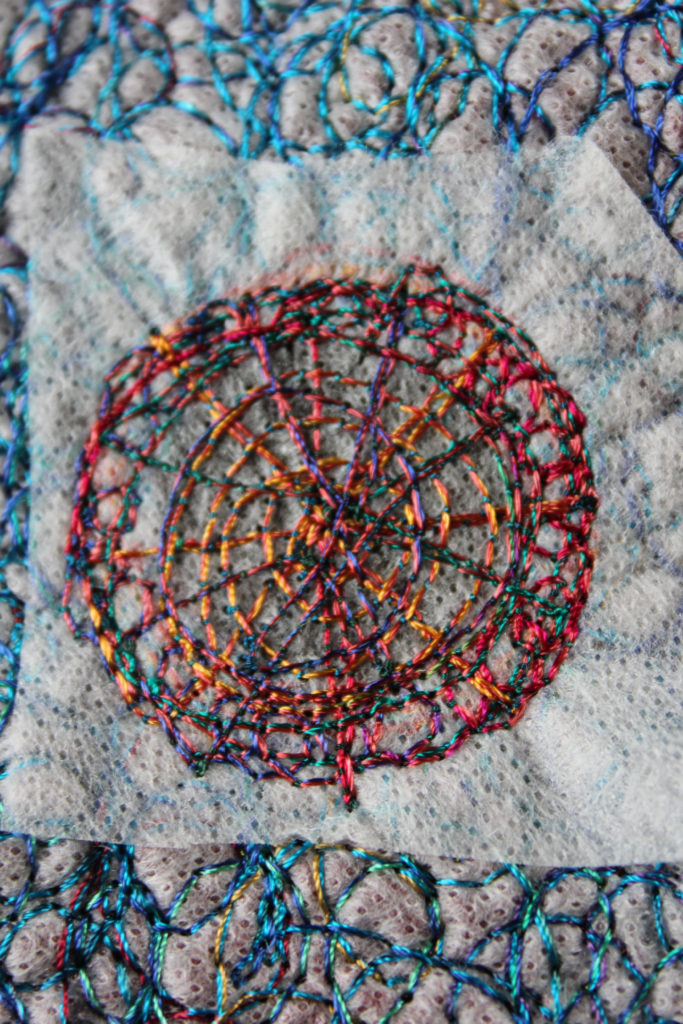
Extra lace holes
You can also consider using the extra holes fabric as 3d affect on your wrap/scarf but remember to use stitches to seal their edges.
Now for the magic into the water it goes, I love this bit, its so exciting. It make take several washes in a wool wash detergent and a fabric softener before all the sticky soluble is washed out.
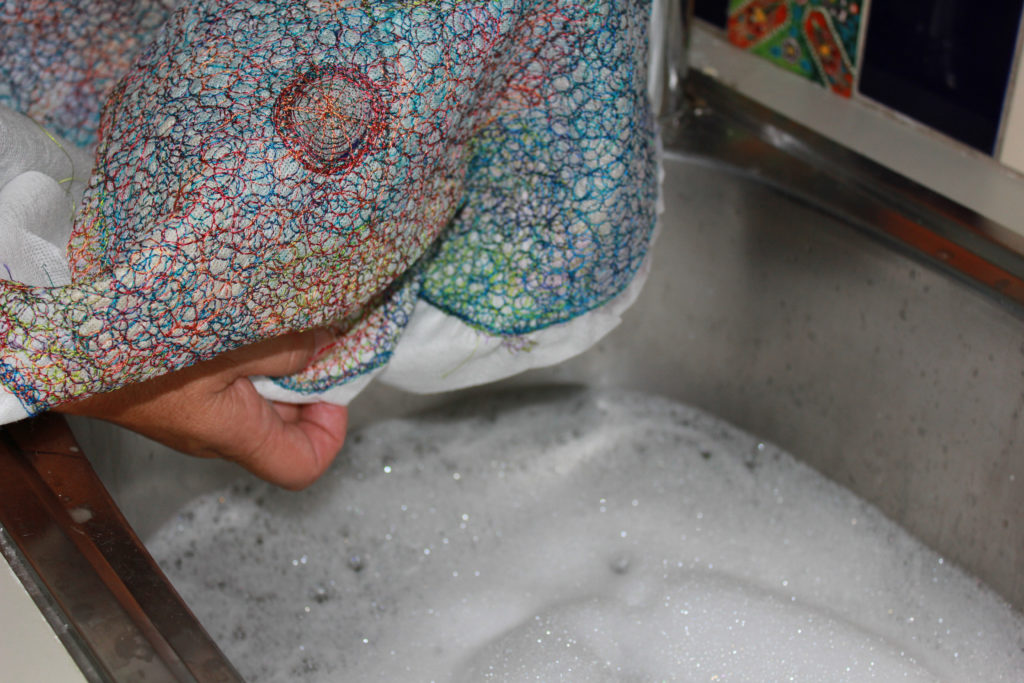
before the magic
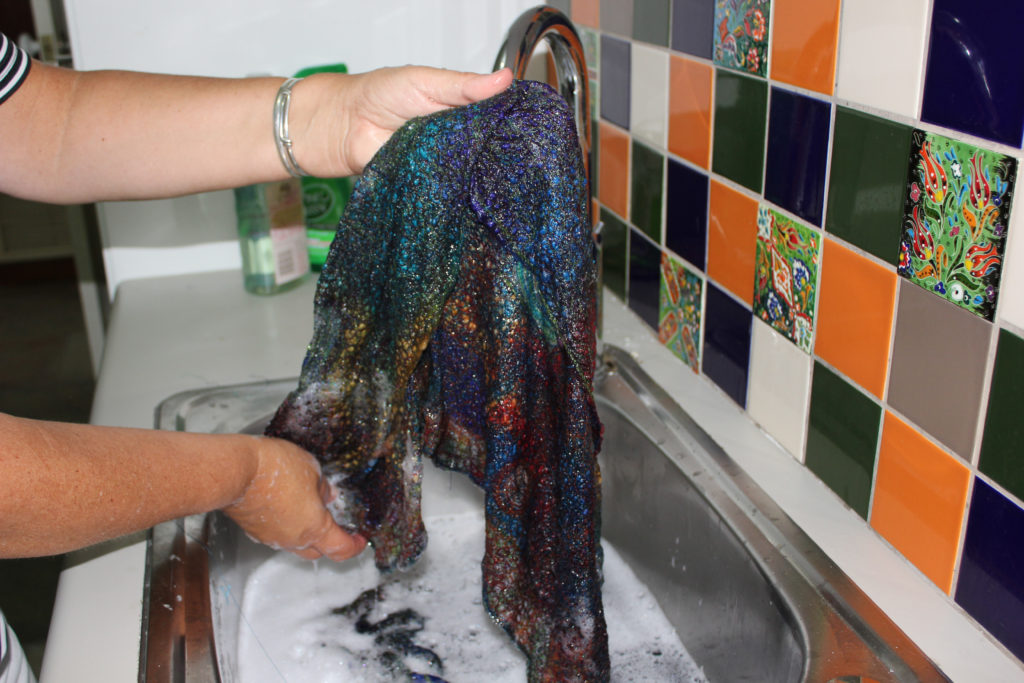
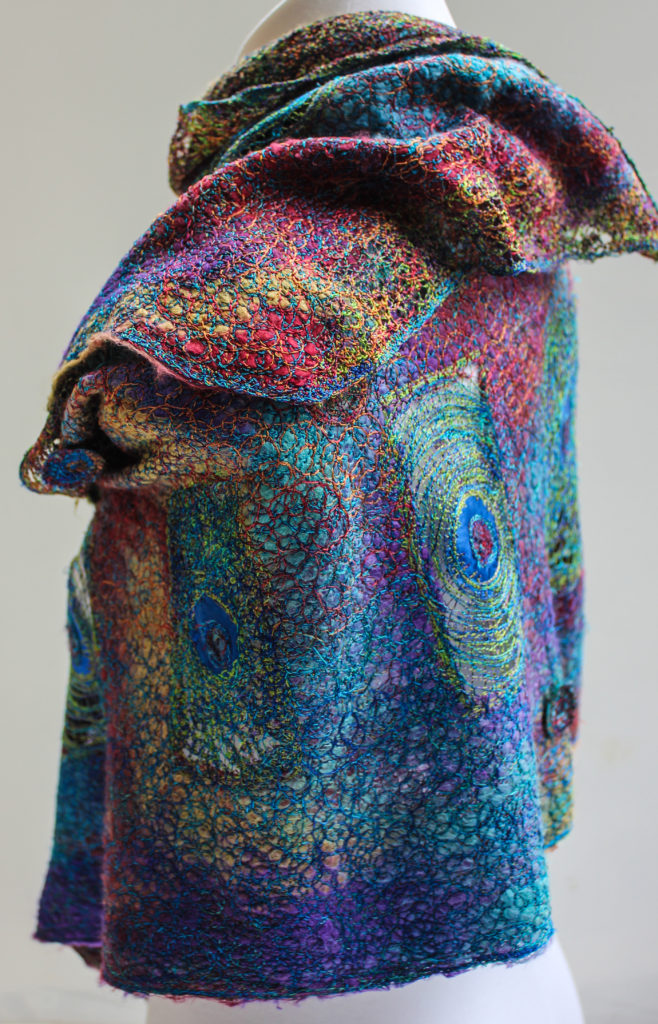
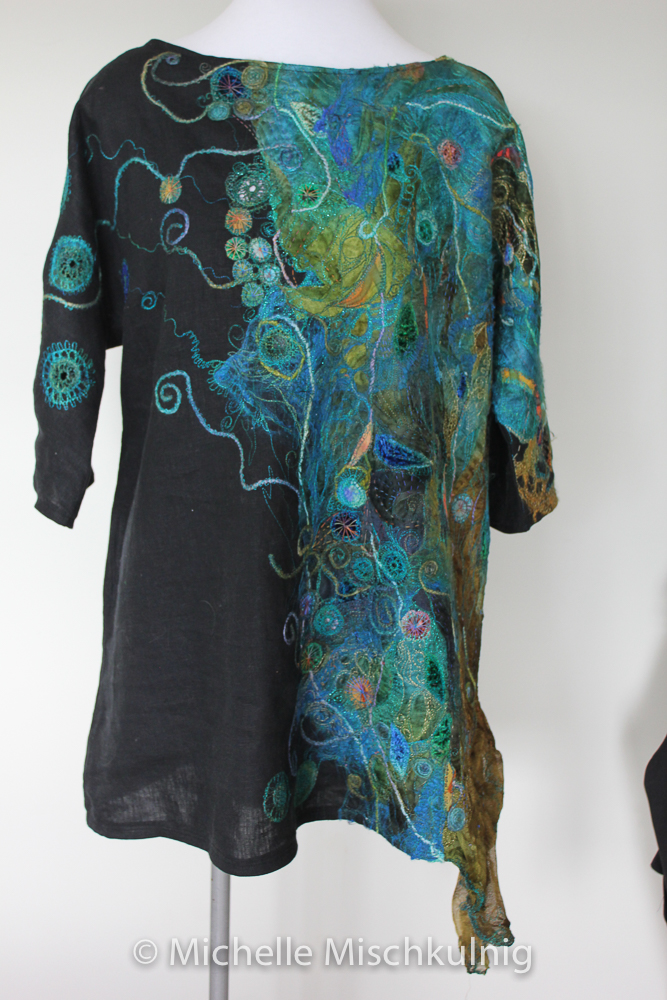
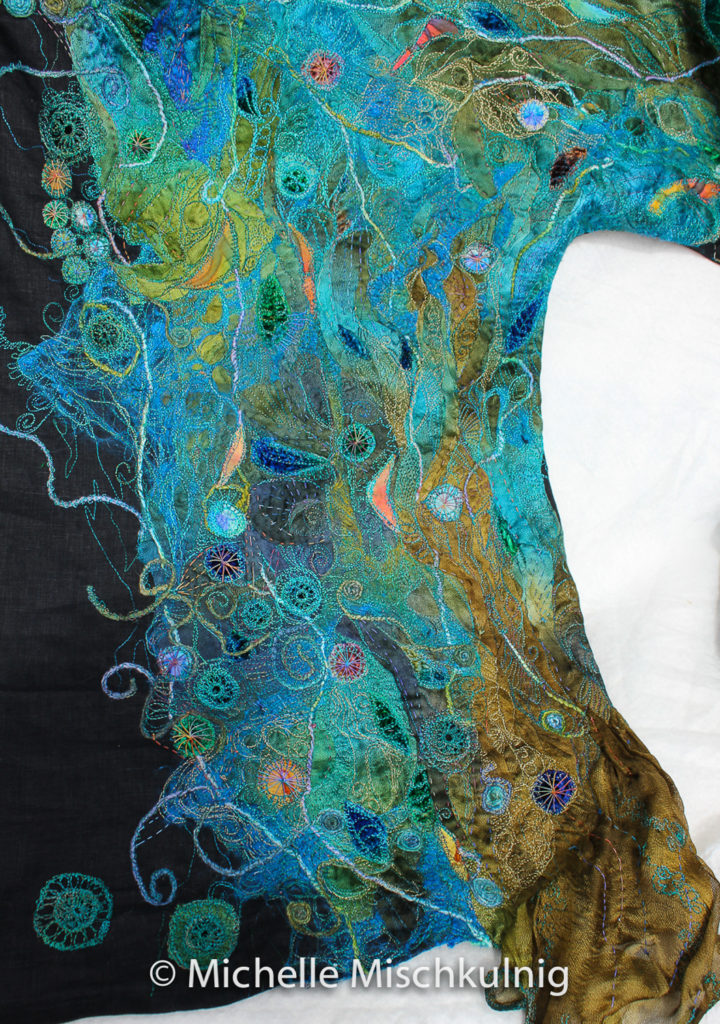
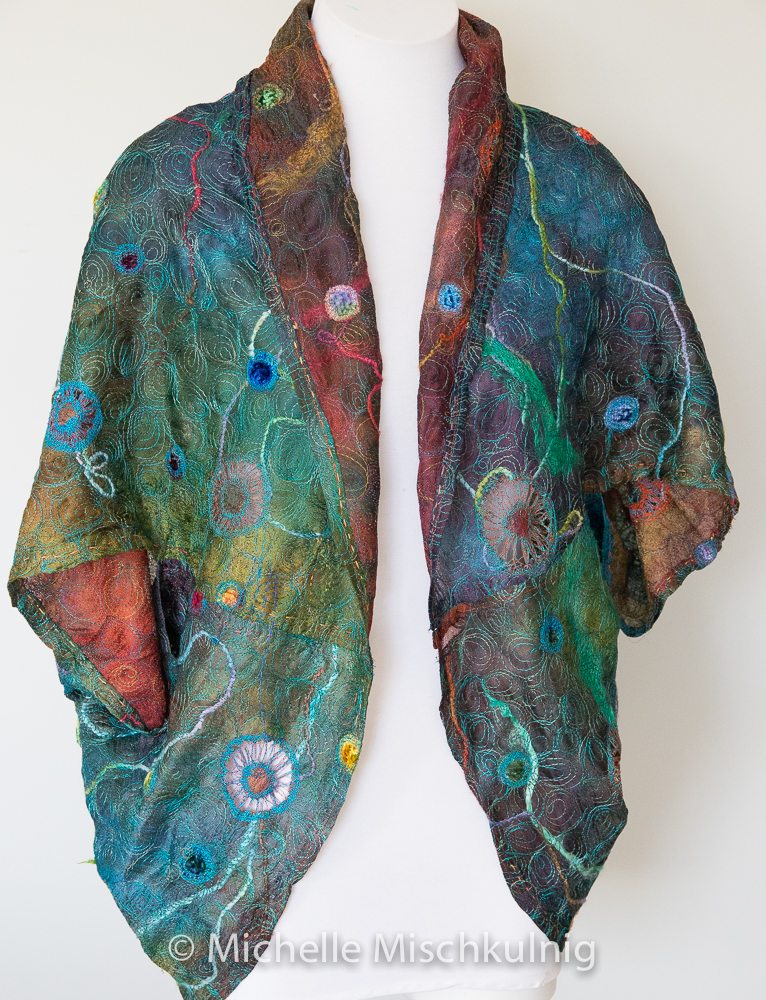
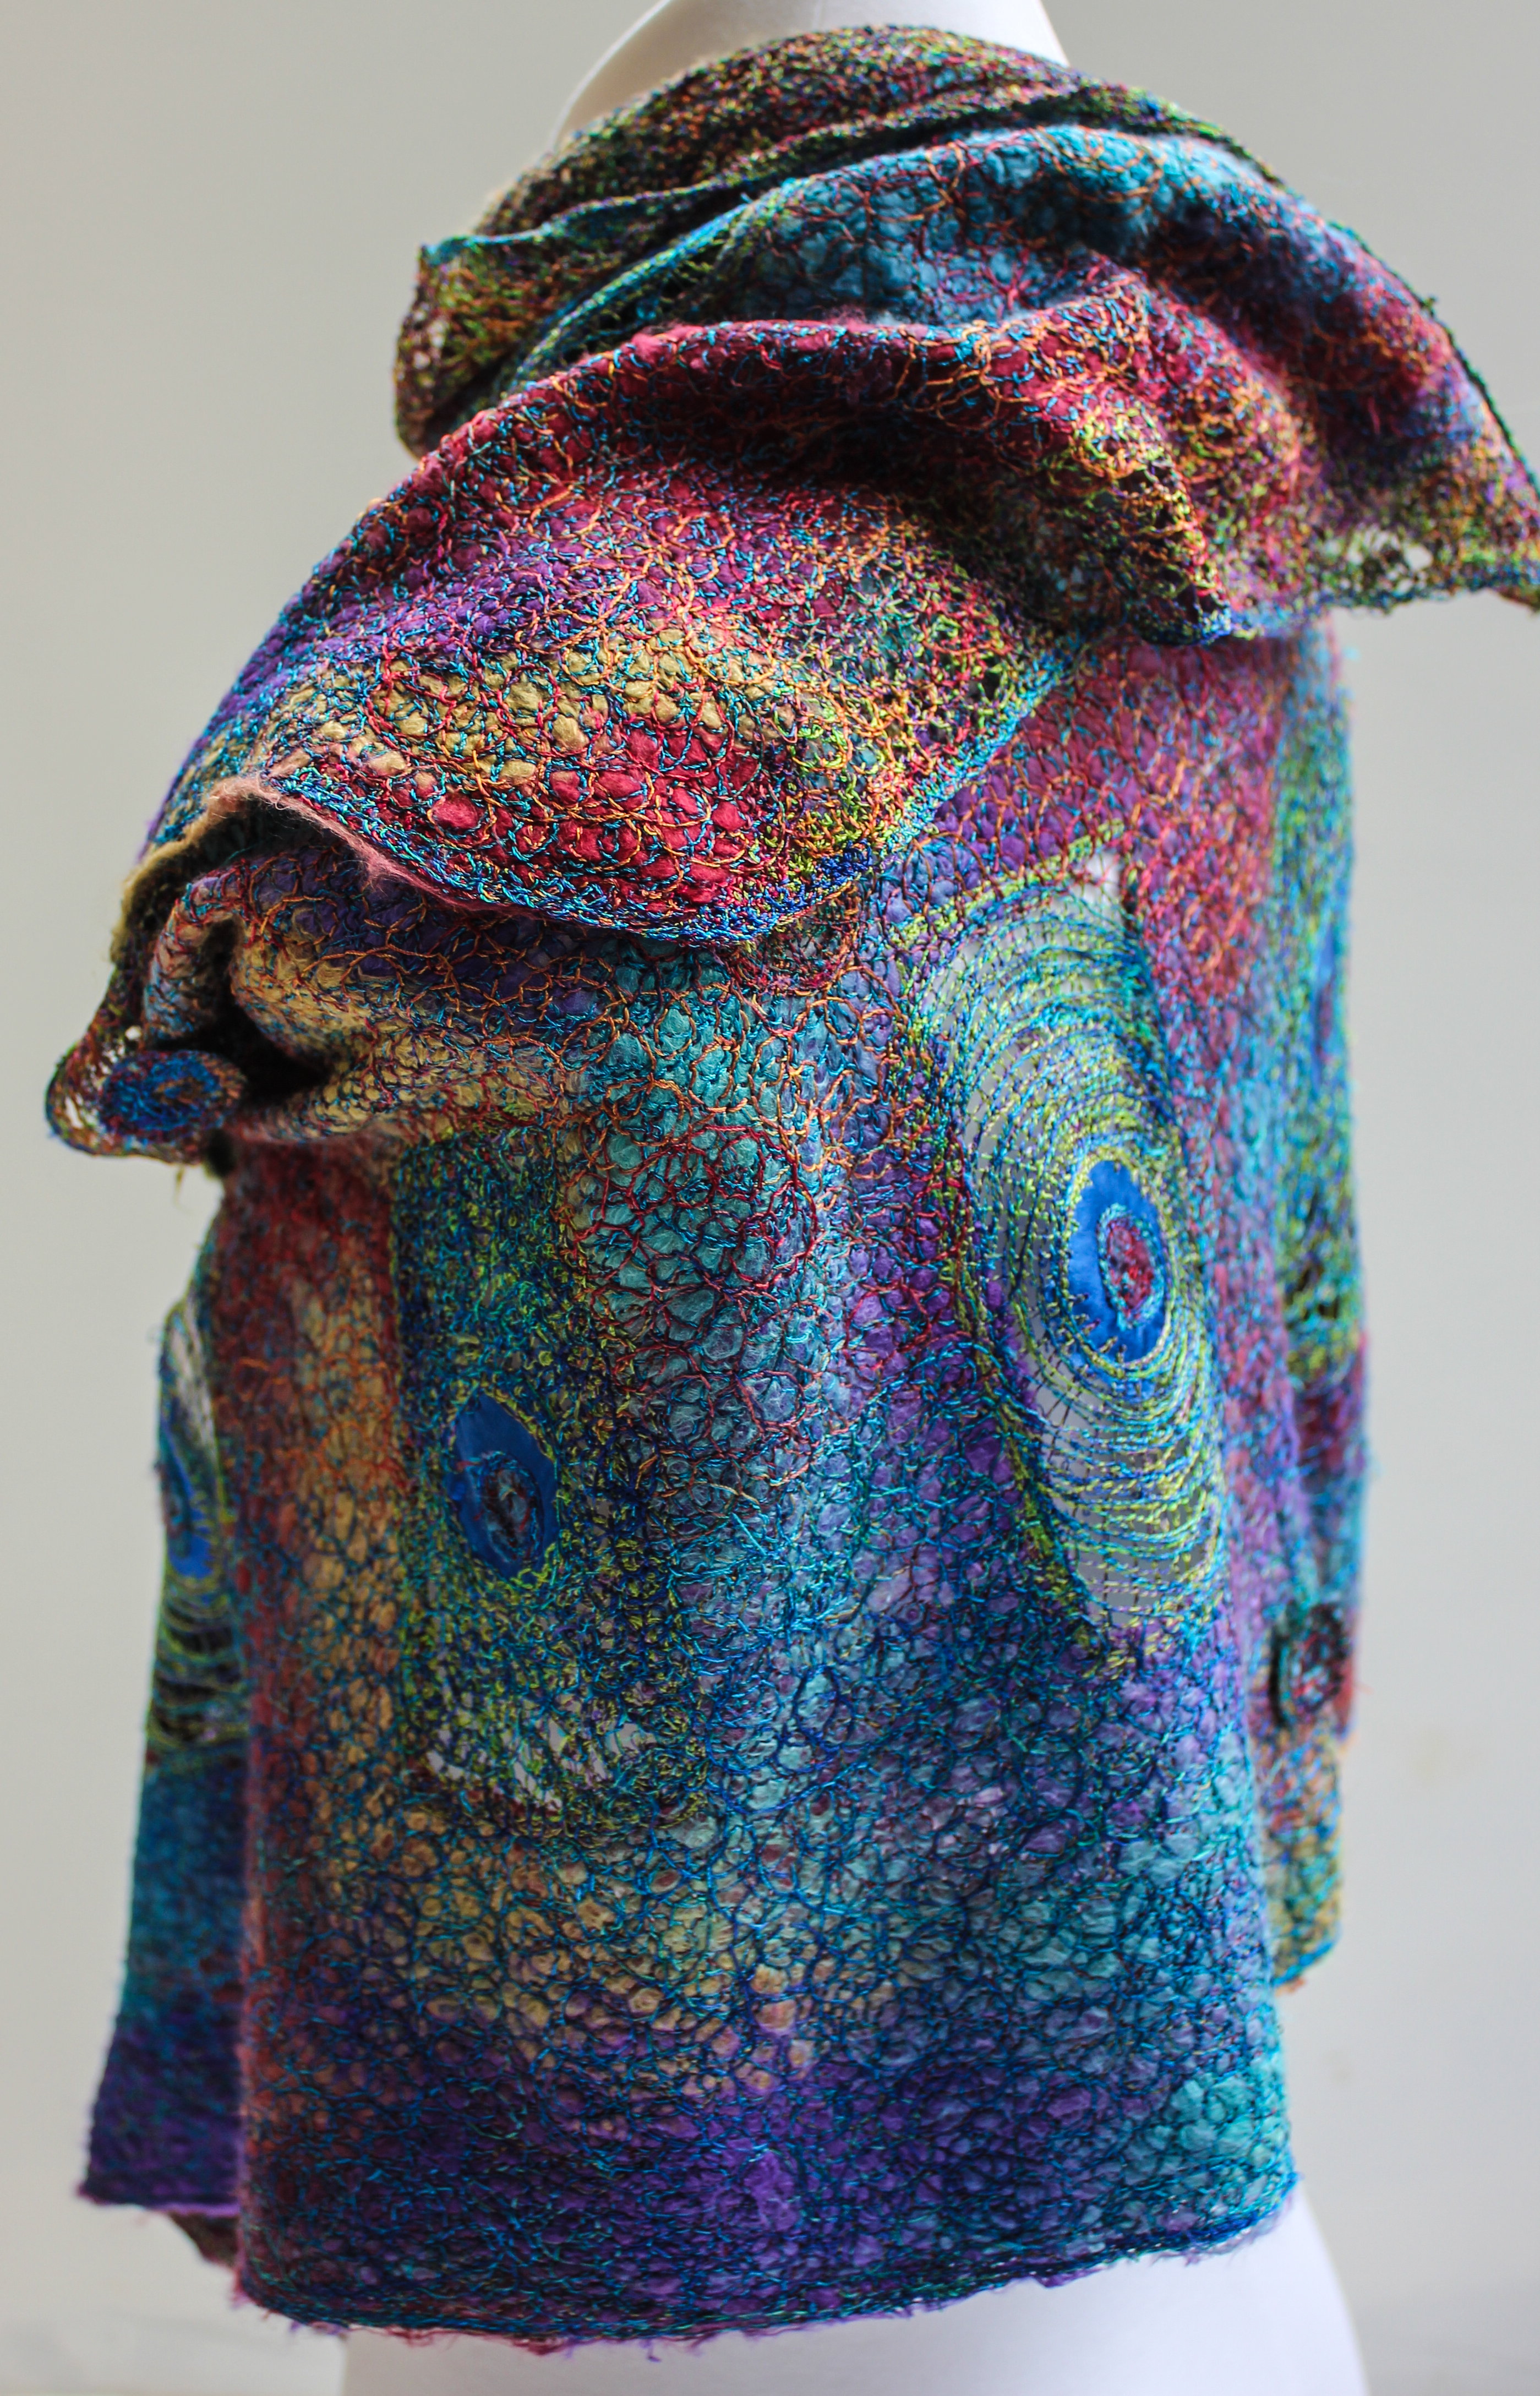
Then ta da you have it all yours
Teaching events for next year I would love to see you there
http://threadsandtangles.com.au/shop/classes/michelle-mischkulnig-of-chelle-textiles-25th-26th-august-2018-copy/
http://www.textileartworkshopsonline.com/michelle-mischkulnig-2018/

Thats great news about my classes are fun but lots of new techniques to conquer :-)
Love your work! Happy colors…technique looks like fun…gorgeous! Thanks for sharing. I ‘m adding your class to my bucket list!!
It is a gorgeous fibre so east to fall in love with.Thanks and enjoy .
Ohhh my, this is really A-MA-ZING !!!!!!!!!!!!!!!!!!!!
(did something like that on a thin layer of wool …. but
the silk is really gorgeous ! (wasn’t familiar with that
kind of silk)
Thats my pleasure Mary x
Awesome as usual. Thanks Michelle. Xxx