Create whatever causes a revolution in your heart the rest will take care of itself – Elizabeth Gilbert

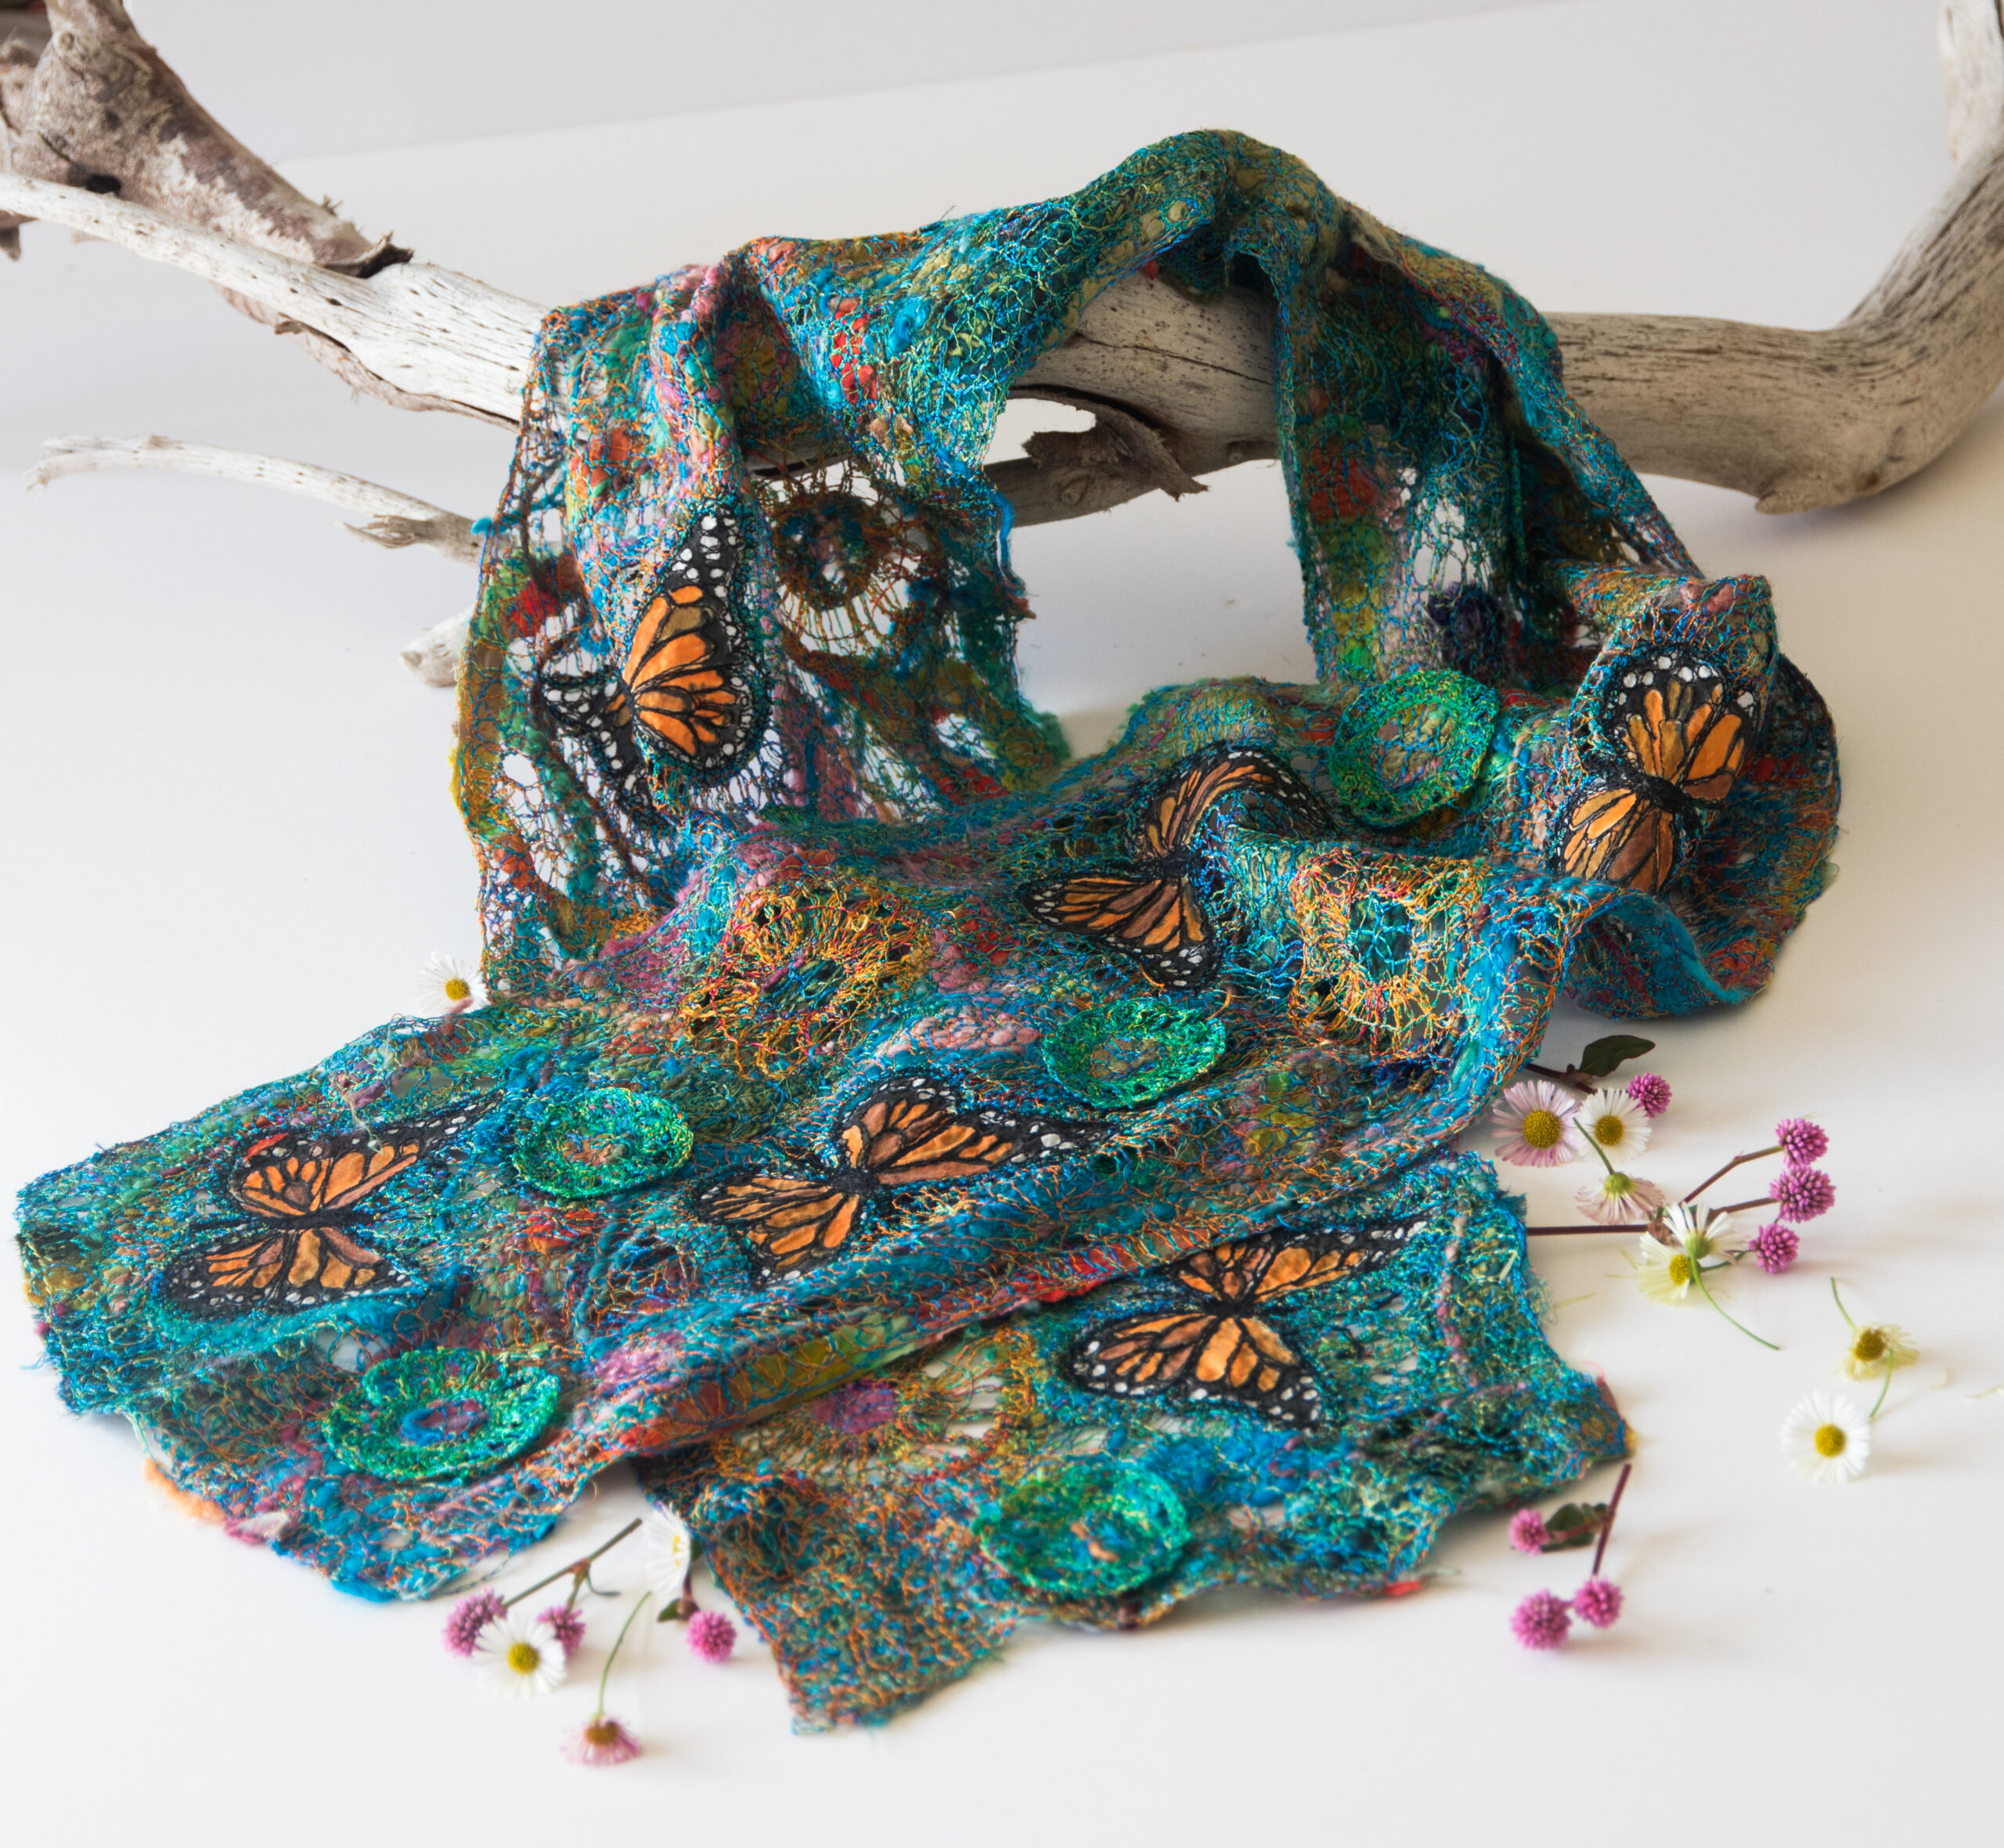
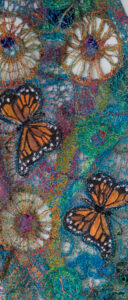
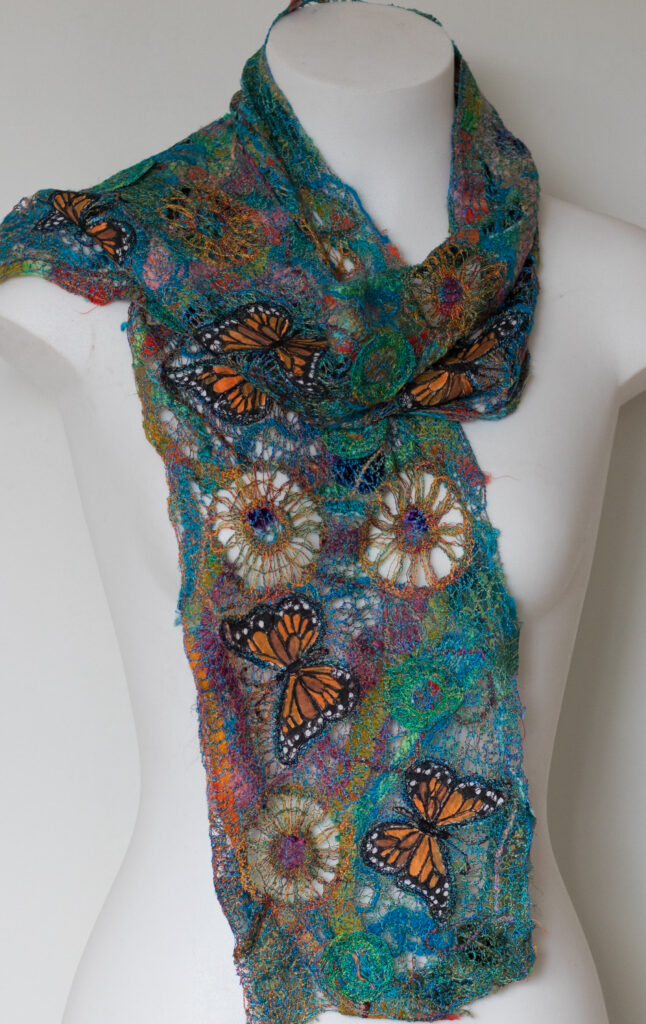
Monarch Butterfly scarf
Materials
Water soluble vilene for the scarf, butterflies and lace work.
You can use either 2m of 50 cm wide water soluble “stick and rinse “ which is a sticky sided vilene, this will be folded in half to be used for both sides of the scarf or you can use 2m of water soluble vilene and 2m of stick and rinse which will make you 2 scarves .
( stick and rinse is a sticky sided water soluble vilene)
http://www.embroiderysource.com.au/index.php/web-store/backing/soluble-backings-and-films.html ( you can order amount required over the phone )
Small amount of light weight silk habotai or a very fine cotton approx. 30cm x 50 cm
Light weight Black bobbin and needle thread can be a rayon embroidery thread or a soft fine cotton.
Silk fibre – hand dyed silk tops
Silk and wool yarns or soft yarns no thicker than 8 ply
Small amounts of coloured silk fabrics such as chiffon or lightweight habotai.
Various colours in machine embroidery thread , I use rayon thread in the bobbin and needle
Step 1
Cut a 1.5 m length of “stick and rinse and set aside.
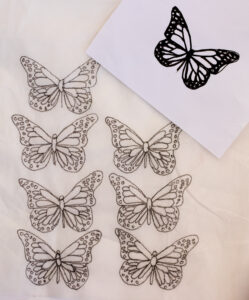
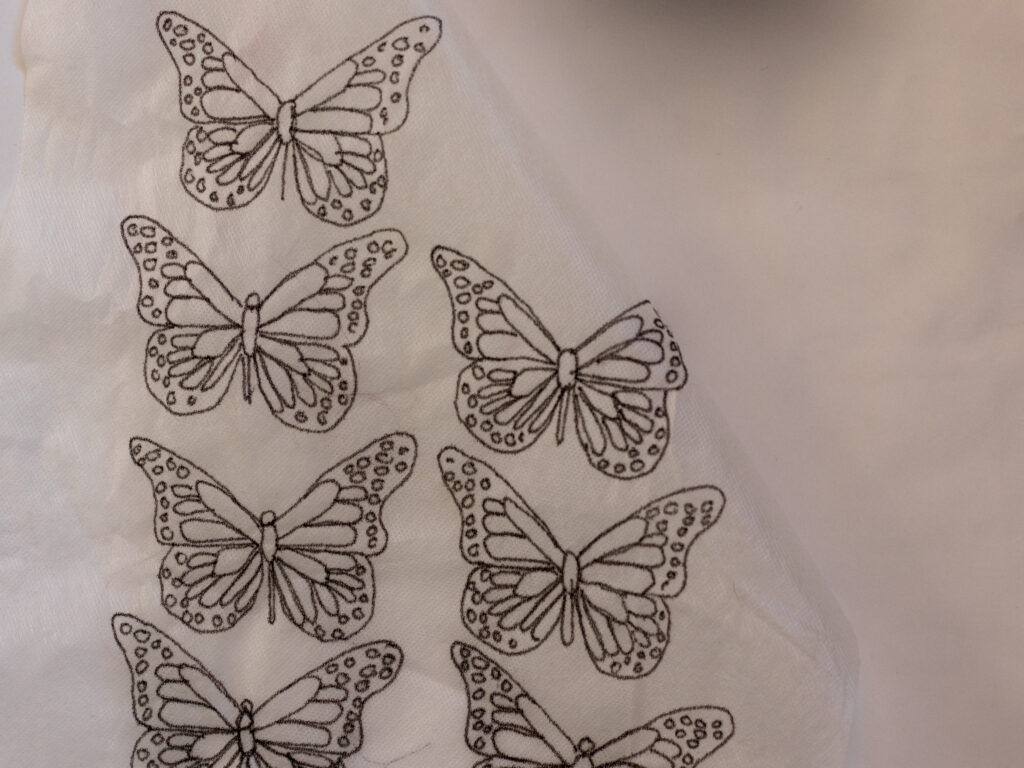
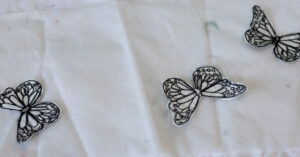
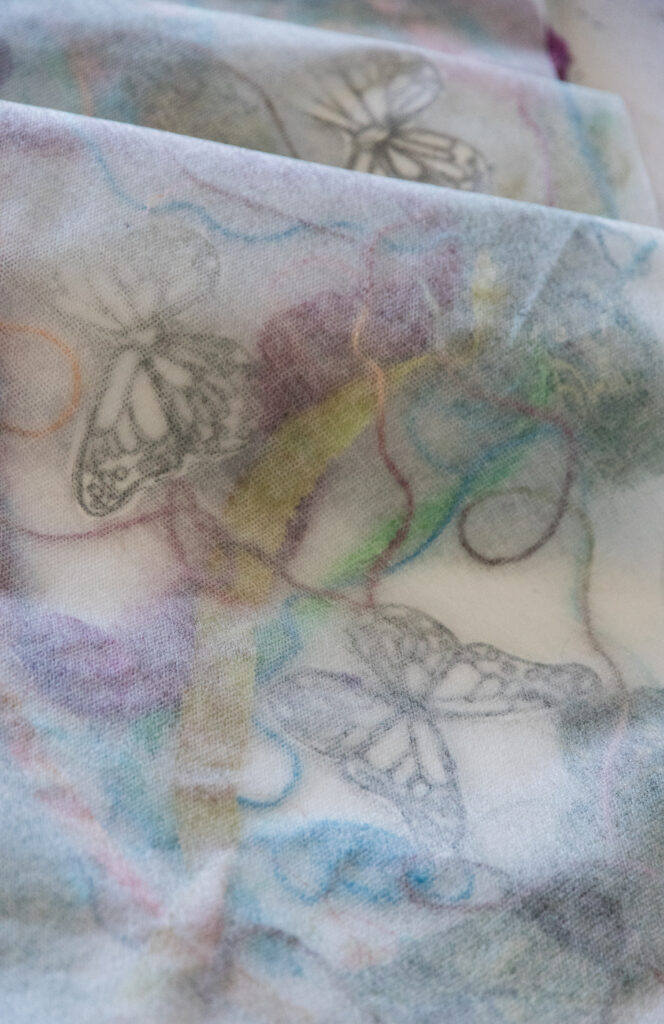
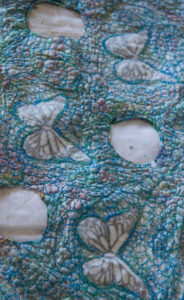
Using some of the 50cm left of the “stick and rinse trace the outline of the butterfly, you will be able to see the original art work you are tracing through the backing paper of the sticky sided water soluble fabric and trace it onto the fabric side.
The approx. size of the butterflies is 10 cm x 7 cm at widest and longest points. I have used 7 butterflies in my scarf you may wish to have more or less.
Once the butterflies have been traced peel the backing off the “stick and rinse “and lay your silk on top pressing flat and stretching firmly so as there are not any creases in the silk.
Pin a layer of the non-stick water soluble vilene onto the top the silk to make a sandwich, the layers of the sandwich being stick and rinse, silk and water soluble vilene.
The reason for the sandwich is it gives stabilisation to stitch on and enables you to see the outline of the butterflies to stitch.
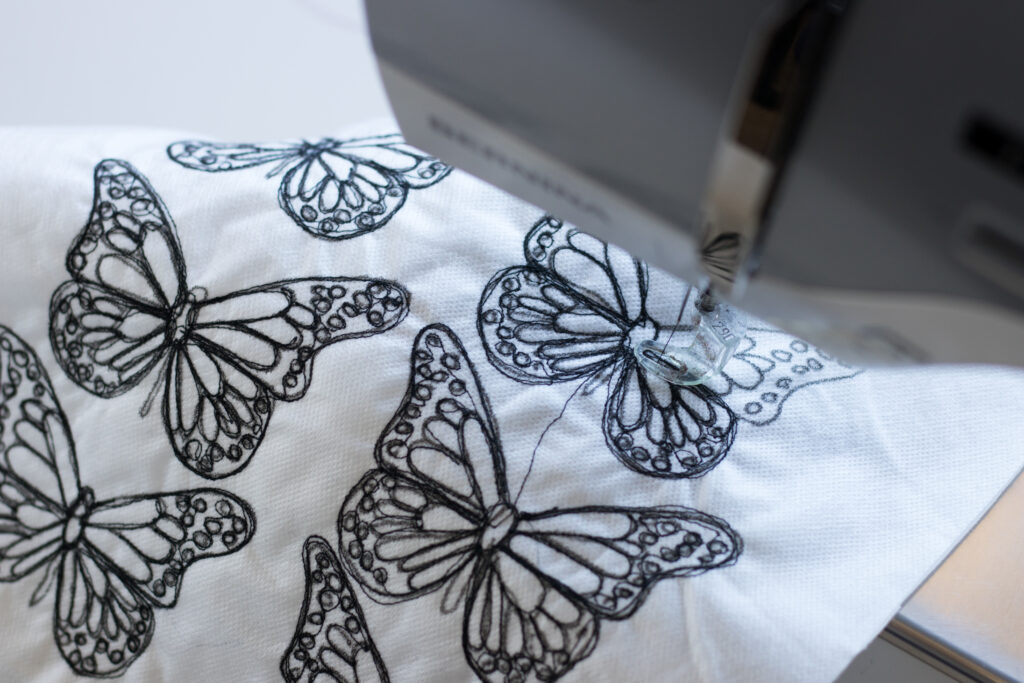
Step 2
Set your machine for free motion embroidery and using and fine soft black cotton or black rayon thread in your bobbin and needle outline your butterflies and follow all your design lines using a straight stitch setting making sure you go around the outside edge of the whole butterfly design.
Step 3
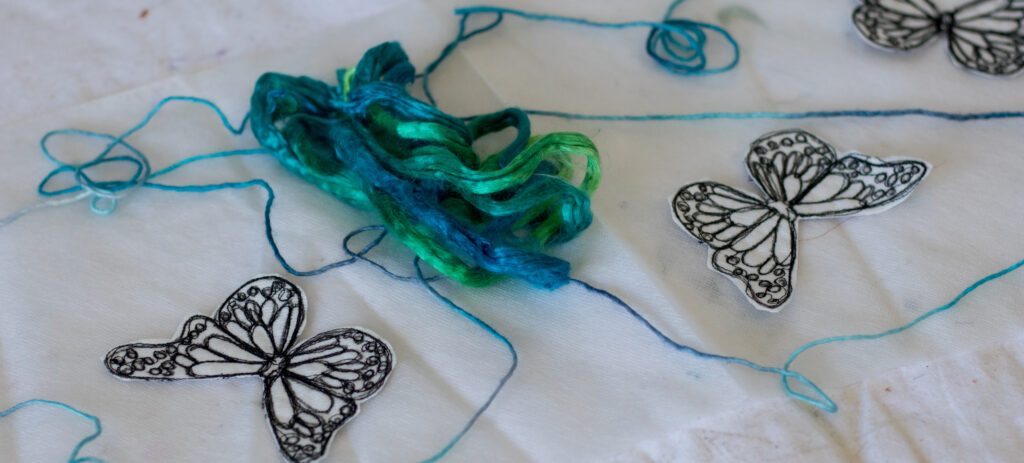
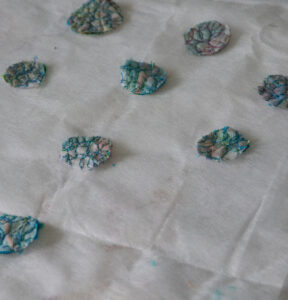
Cut around the outside edge of all the stitched butterflies and leave to the side of work space.
Lay out a 1.5 m x 22 cm piece of water soluble vilene (there is not a wrong or write side) or half of the length of stick and rinse whichever way you haas chosen to work and randomly place your butterflies along the vilene, I have kept mine at either end but their placement is totally up to you.
Step 4
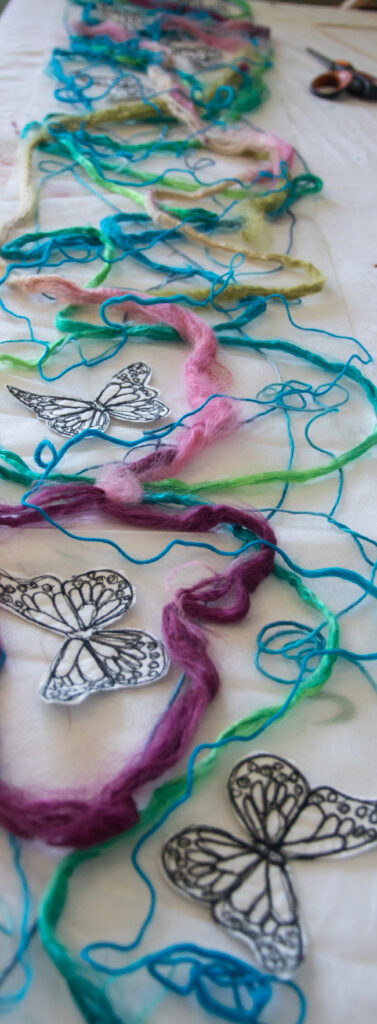
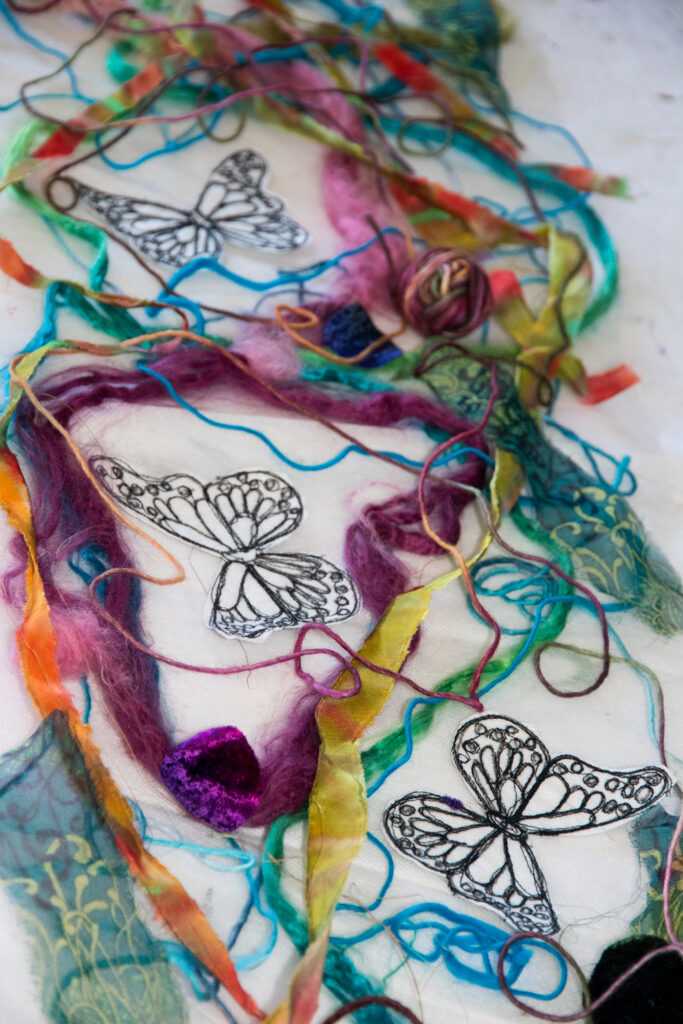
When the butterflies have been placed gather together your yarns, hand dyed silk tops and silk fabrics. Lay the yarns, silk fibres and fabrics up and down the length of the vilene working around the butterflies and letting the fibres, yarns and fabrics move organically
Step 5
When you have covered your scarf area with the fibres, yarns and fabric and you are happy with the way it looks , cover the surface with a piece of “stick and rinse “water soluble. Please keep in mind the the amount of yarns and fabrics will determine the density of the scarf more open your . To cover the surface of the water soluble vilene and fibres peel the backing paper off the “stick and rinse “slowly and carefully and press down on the top surface covering all the fibres

Step 6
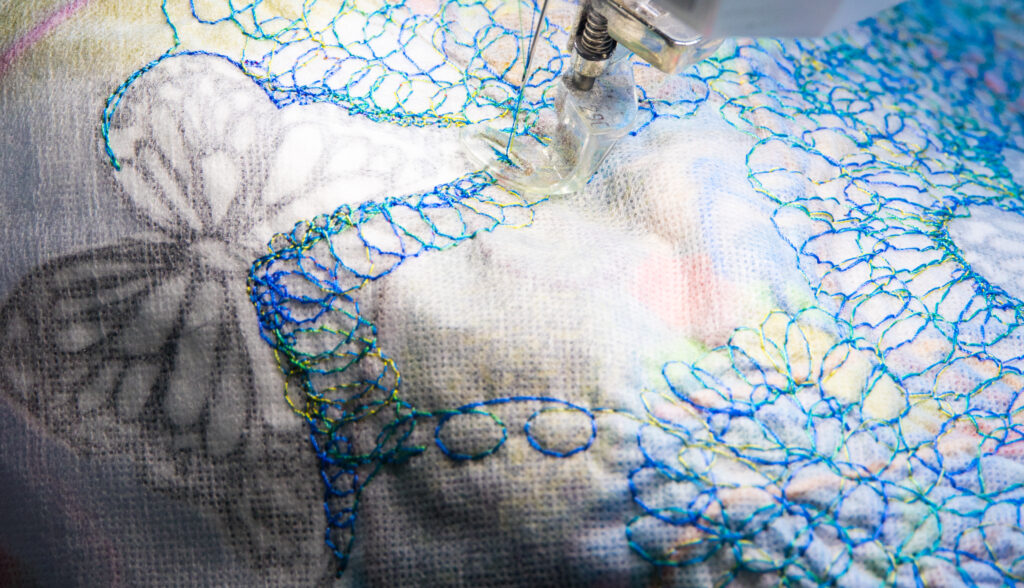
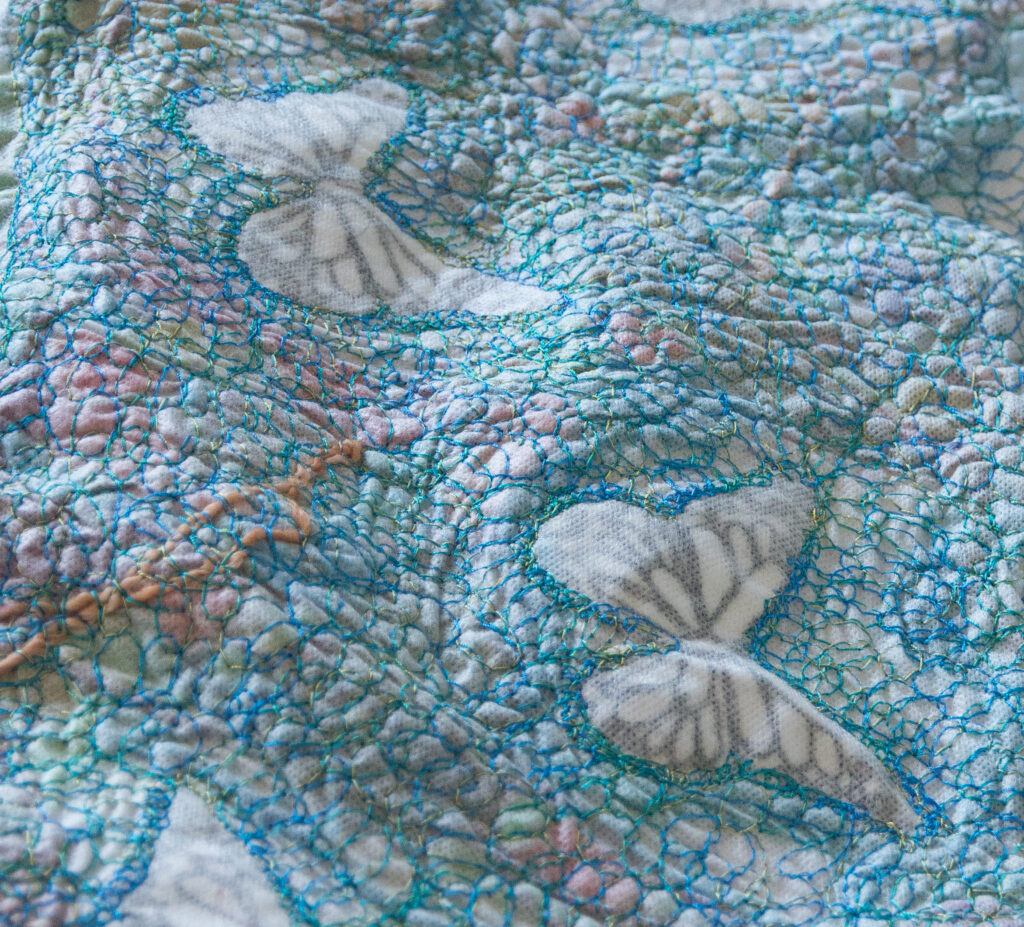
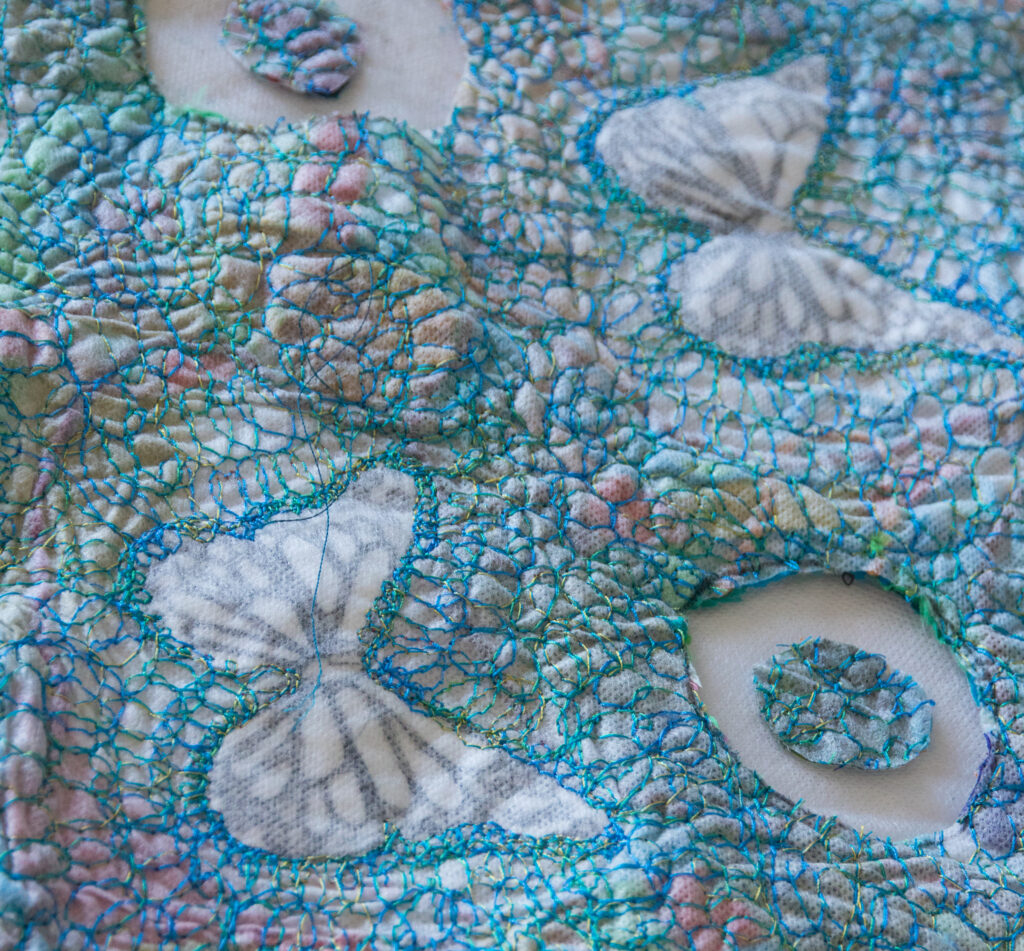
Using a circular movement stitch free motion straight stitch around the outside of the silk butterflies making sure your stitches just go over the edge of the silk. Your stitches need to touch the outside edge of the butterfly to ensure it is connected to all the lace work and secured within the design. I use a continuous circular movement as all stitches need to interlock and this movement helps to connect all the stitches. Continue larger circular movement stitches to cover the entire scarf surface.

Step 7
In this step, you will be cutting into your stitching and creating a lace work insert. Lay your stitch completed scarf flat and mark holes with a felt tipped marker.
Step 8
Stitch around the outside of the holes which gives you a line to cut against and then cut them out. Most important do not throw out the cut-out shapes they are marvellous for all sorts plus you will be able to use them again in the scarf, set them aside.
Step 9
Using the centres of the circles you have cut out trim them down to ft in the centres of the cut-out area as you see below . They will form the centre of your flower design. To do this place underneath the cut out holes a piece of “stick and rinse “which has been cut a little larger than the hole. Then put your or cut out centre into the middle of the hole and cover with another piece of either vilene or “stick and rinse, press to secure the layers and prepare for stitch.
Step 10
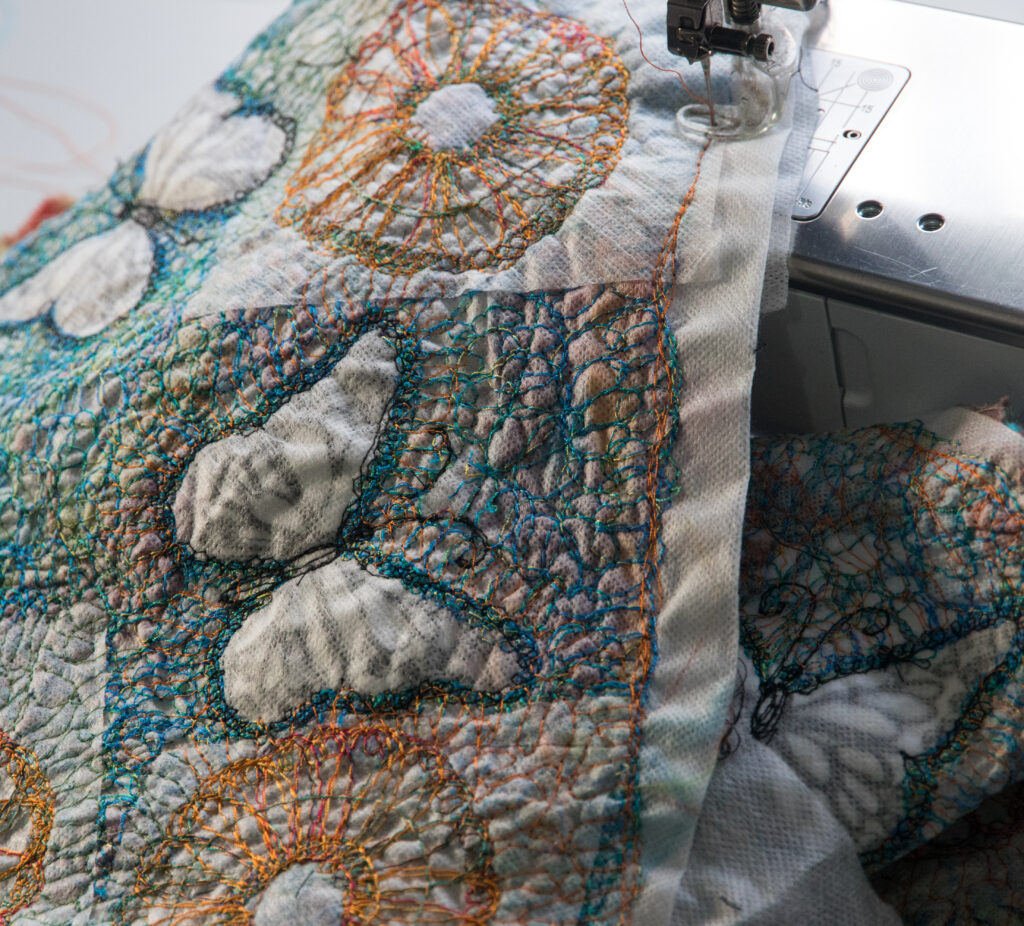
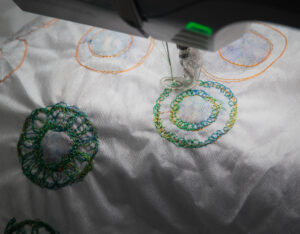
To fill in the circle cut out with lace work first of all run some small circular stitches around the inside edge of the large cut out circle.
Then do the same with the outside edge of the flower centre insert. Fill in the open space with oval-petal shaped circular movement, make sure your stitch pattern interlocks and carries throughto both edges.
Step 11
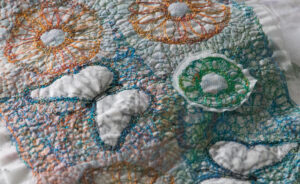
Outline your butterflies again with black thread in small circular movements and fill in their heads and bodies, make sure the butterflies wings are attached to the stitched body of the scarf.

Step 12
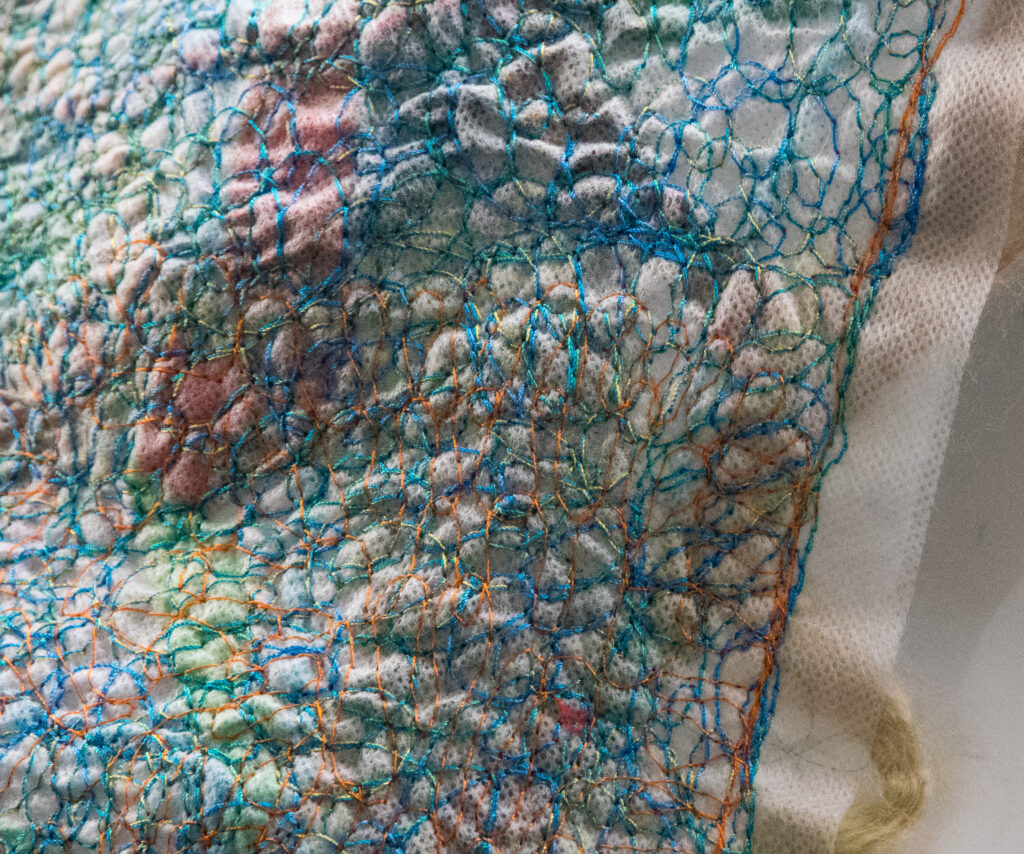
The final layer of stitching, free motion stitch a second and final layer of stitch over the entire length of your scarf with a different coloured thread.This step can be done in larger circles Do not stitch over the butterflies or lace work
Making sure you seal your scarf edge with some straight rows of stitch.
Step 13
Optional step 3D
If you would like to add an extra dimension to your scarf you might like to include this step.
If you have any of the cut out pieces left that you had set aside you can use these to create a 3D flower. Cut the pieces into small round shape approx. 3cm round and place them on to the surface of a piece of water soluble vilene and then place another piece of water soluble over the top either being the stick and rinse or vilene, pin if necessary. Seal the outside edges of the flower centres with small circular stitching and then make another stitch line circumnavigating the out side edge of your flower centre by 2-3 cm and fill in the space with petal stitch pattern making sure all is interlocking. Attach to scarf.
Step 14
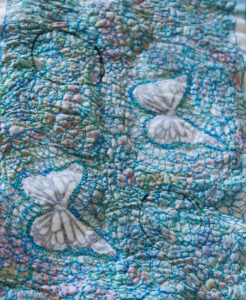
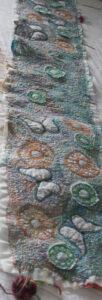
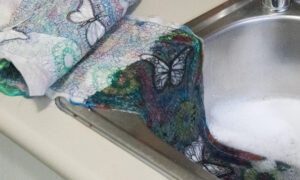
Yay! the magic when you dissolve the water soluble. Fill al large tub or sink with warm water and wool wash place the scarf into the water and watch the magic of colour and texture come alive. You will need to change the water and wash your scarf in wool wash 2 or 3 times and the final wash should be in fabric softener. The scarf will become soft with the washing, sometimes I let it dry in between wool wash and fabric softener for some reason this seems to relax the fibre.
Step 15
Colouring in, using fabric or silk markers colour in your butterfly and set the dyes per instructions and now it’s yours to wear.

I would love you to join me in my workshops.
Tuscany –
This is going to be amazing a tour of Tuscany and a little beyond my company for 9 days in which time you are free to ask as many questions as you like. I will hold 5 1/2 day workshops where we will share creativity stories and laughter .In the classes you will be making a beautiful scarf hand stitched in silk fibres and ribbons to capture the colours of Tuscany, a brooch to wear with your scarf . A textile necklace which we be fun and a little funky capturing some of the colours and textures including hand colouring linens buttons for the necklace and a small fabric tile where you will be introduced to new fabrics and fibres such a lacy silk cocoons.I cant wait and hope you can join me for a whole experience. http://www.crafttours.com/trips/?page=tuscany_michelle_1020 . My gift to all the participants is a digital print of one of my Tuscany art works to take home and free motion quilt.

Hill of Tuscany with Vineyard in the Chianti Region Sunset 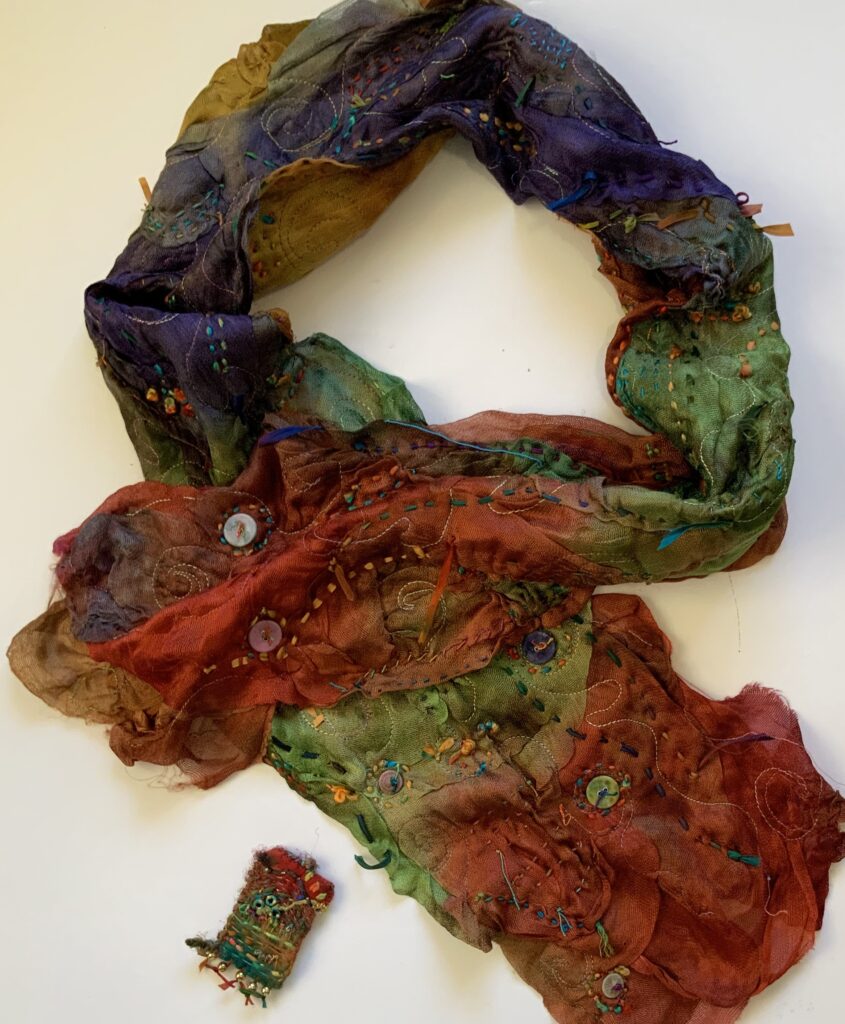
class project a brooch and hand dyed silk scarf 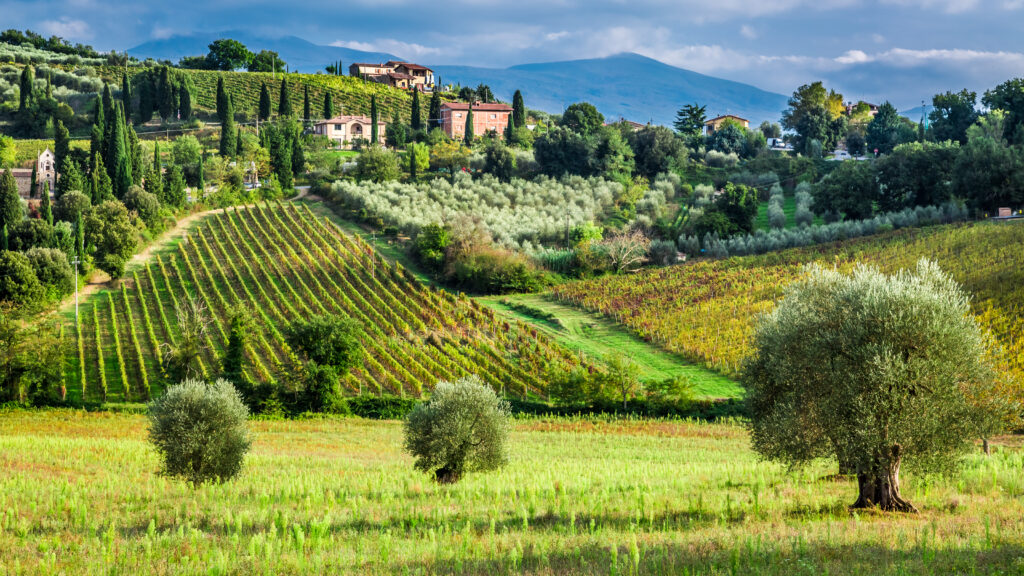
Vineyards and olive trees in a small village Tuscany 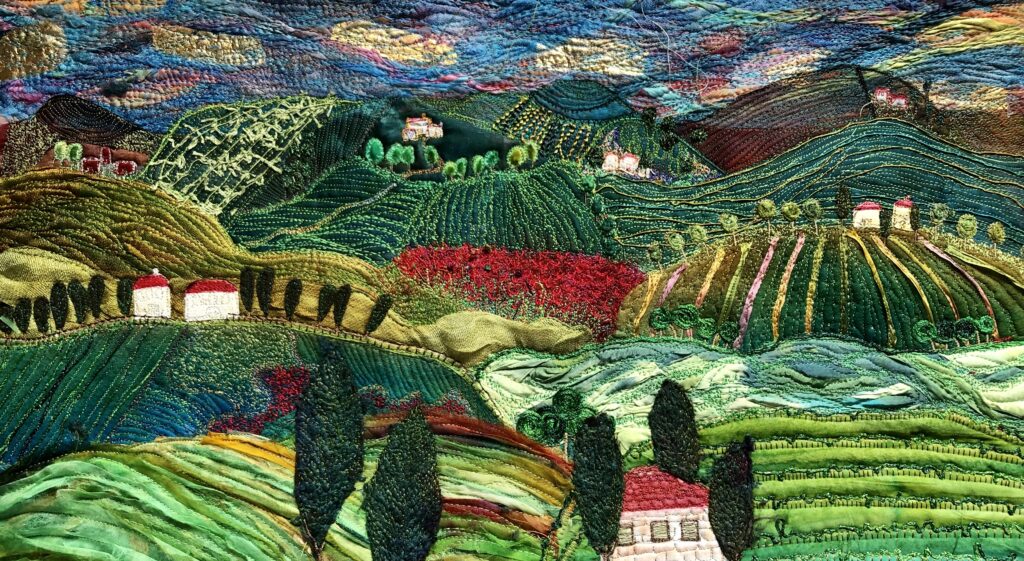
my gift to you digital print of this artwork 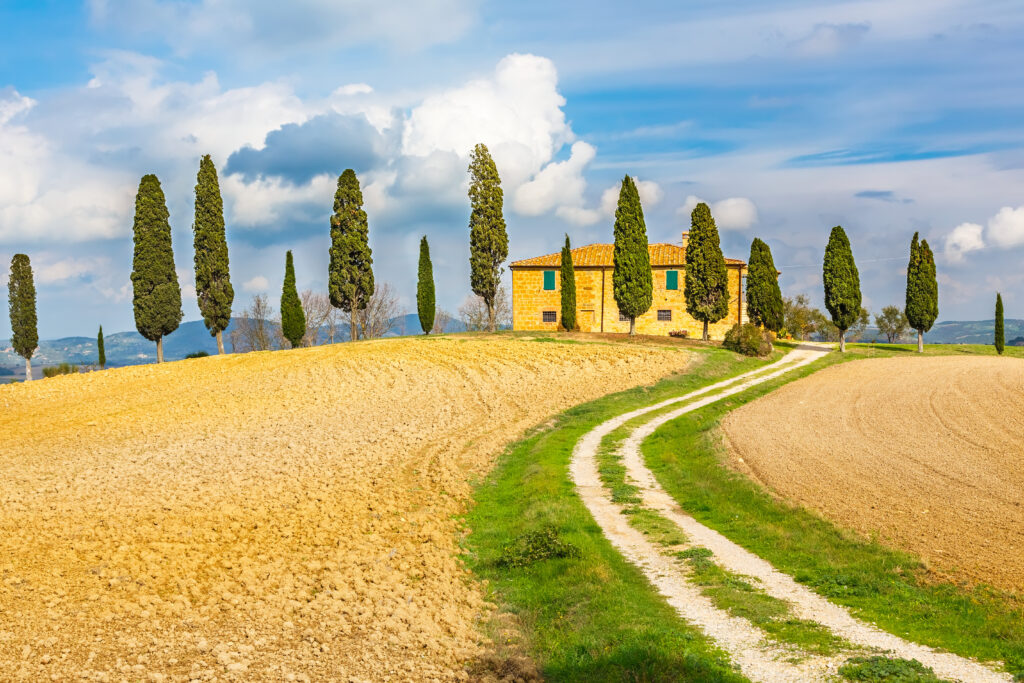
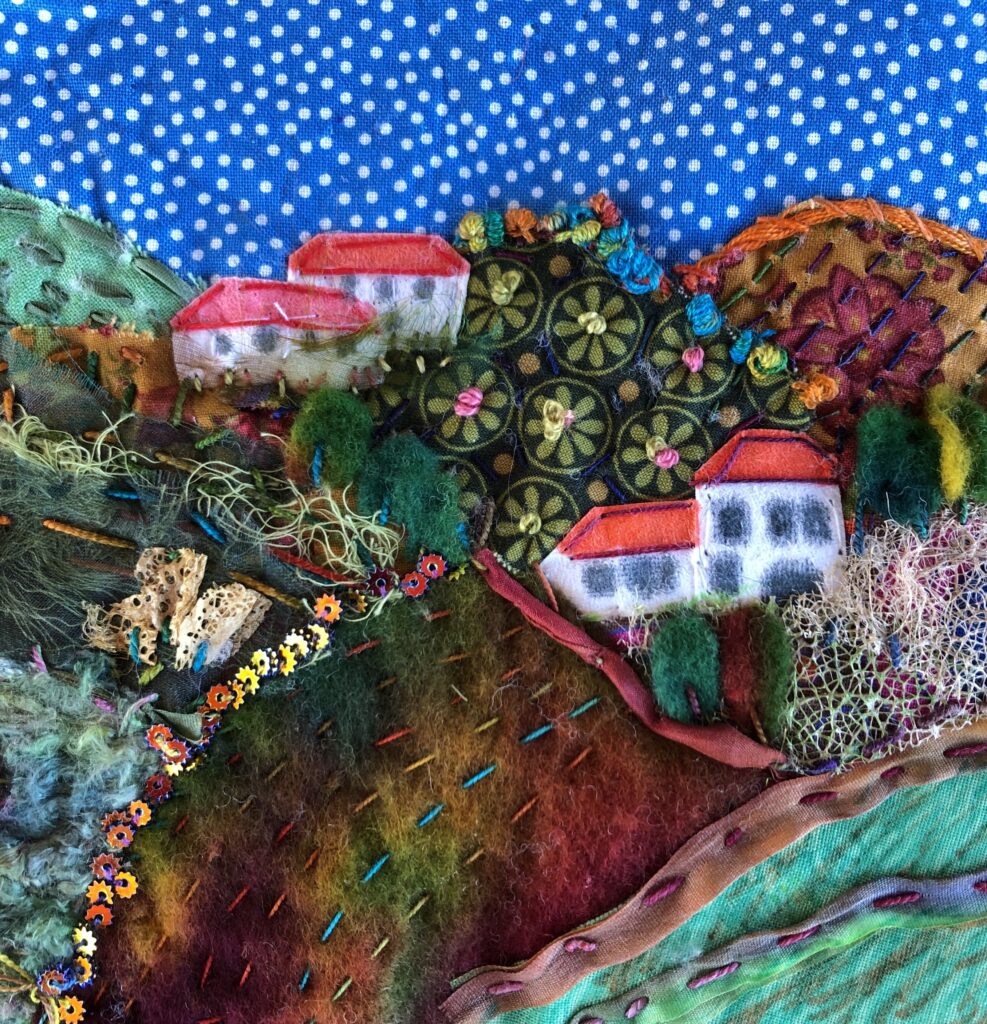
class project introducing you to new materials 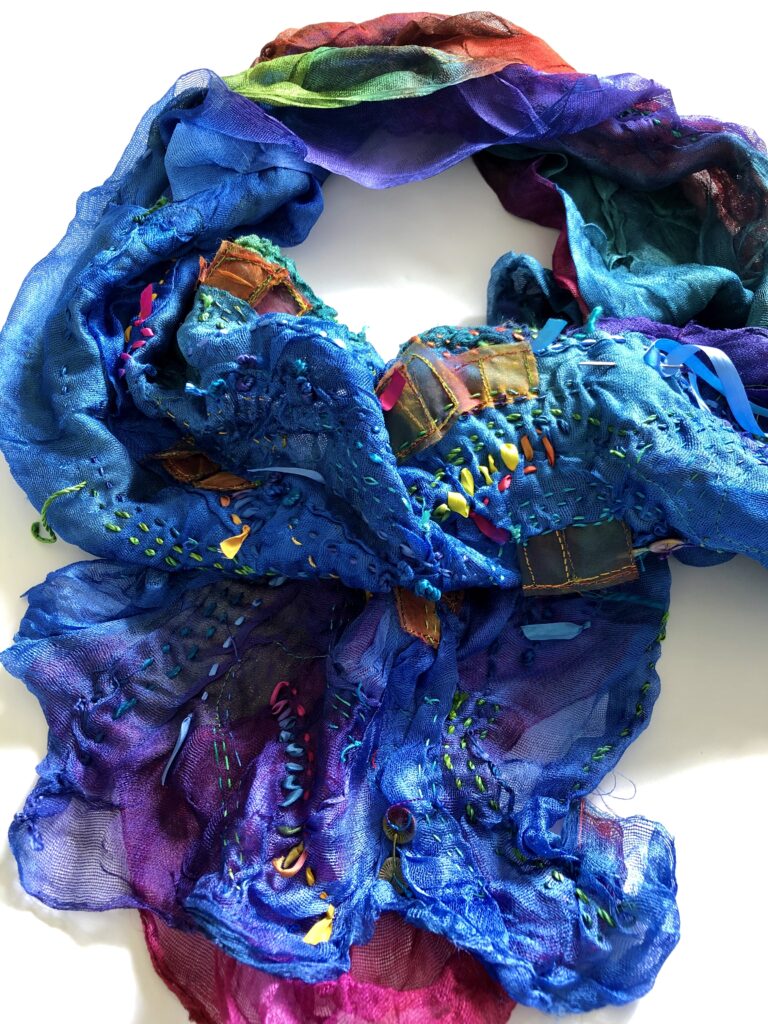
your choice of scarf colour way 
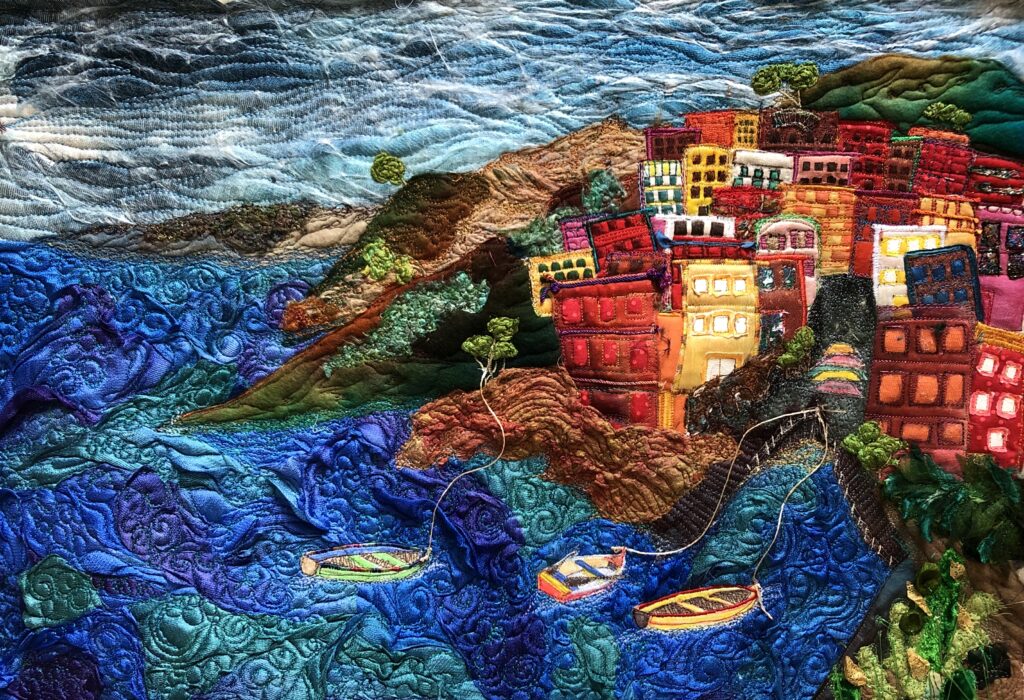
digital print my gift to you 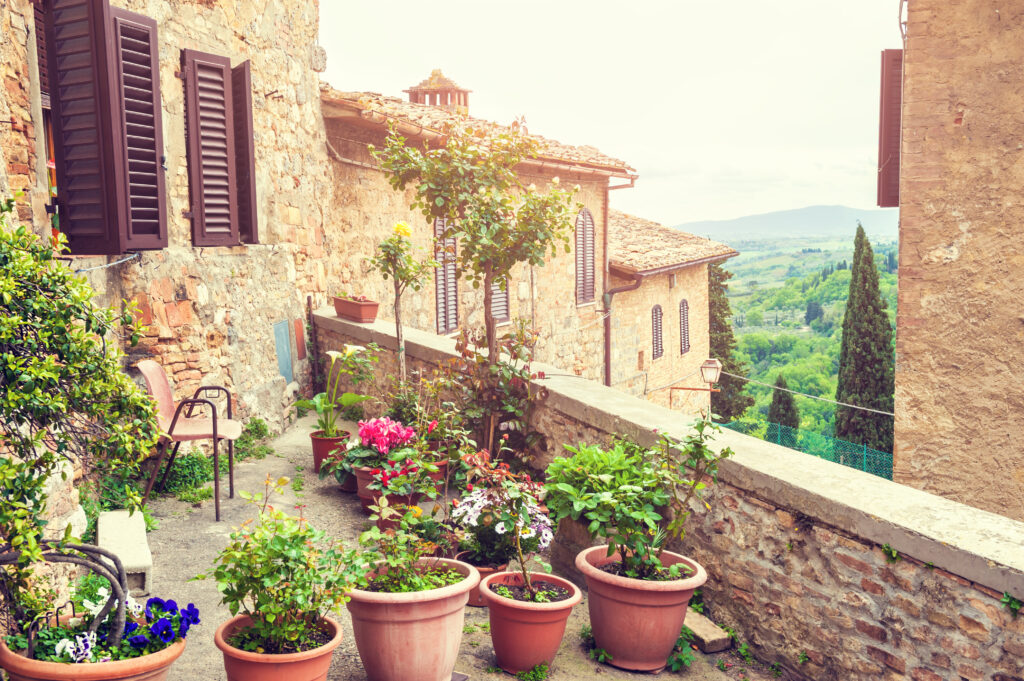
Terrace with flowers in an ancient italian house. Medieval town San Gimignano Tuscany Italy 
textile necklace 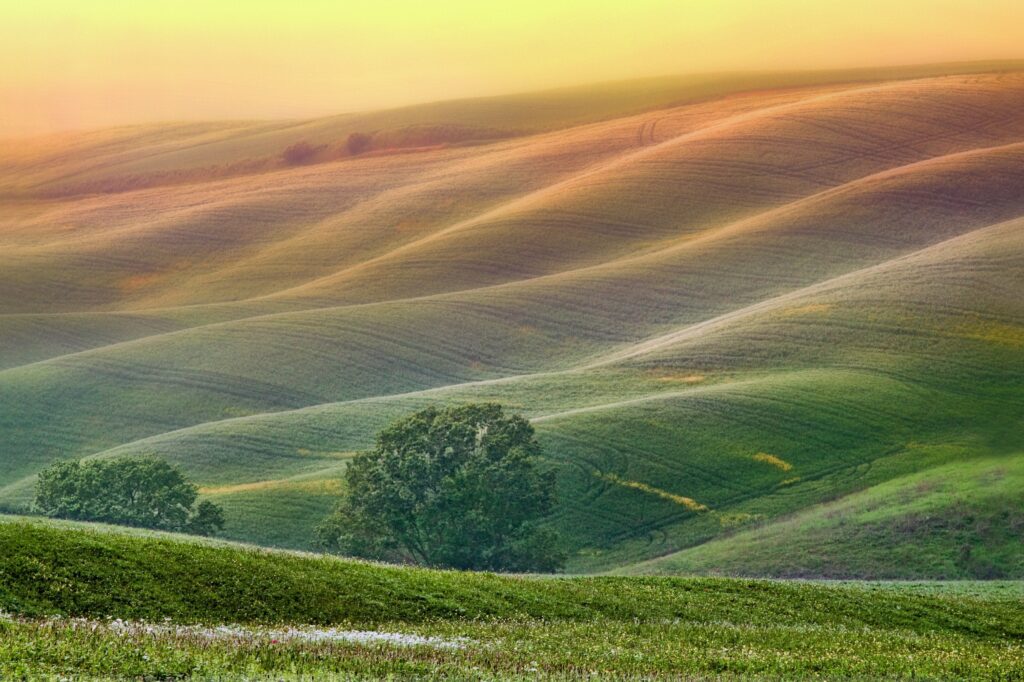
More workshops can be found here https://chelletextiles.com.au/current-events/
I have nearly sold out of my first print run of my books which is very exciting https://chelletextiles.com.au/product/my-creative-life-book/
Thankyou so much MICHELLE. Not only creative but so generous as well!