Just for fun

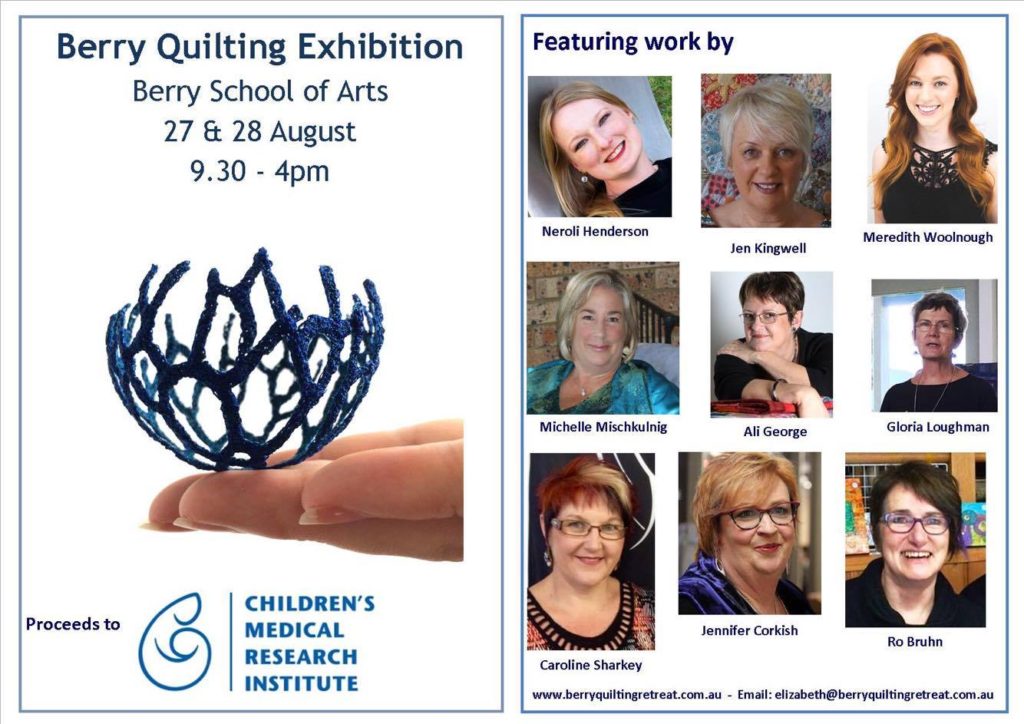
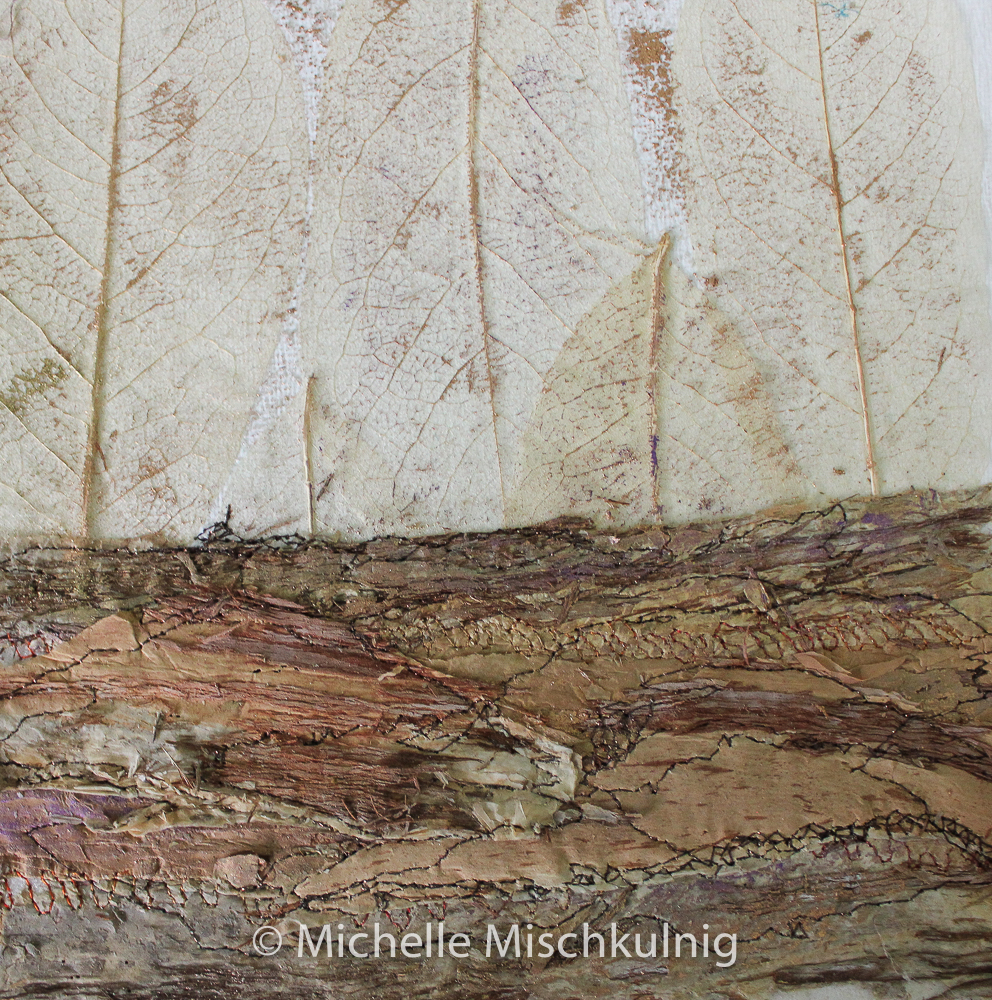
I hope your creative time has been full and happy in the past weeks, don’t forget it feeds the soul. I have been busy in the studio/sewing room this week. Happily creating an artwork to exhibit at The Berry Quilting Exhibition which will be held at the Berry School of Arts Alexandra Street Berry (Cnr of Princess St). The exhibition will be open to the public from 9:30am to 4pm Saturday 27 & Sunday 28 August.The piece is at the bottom of the page.
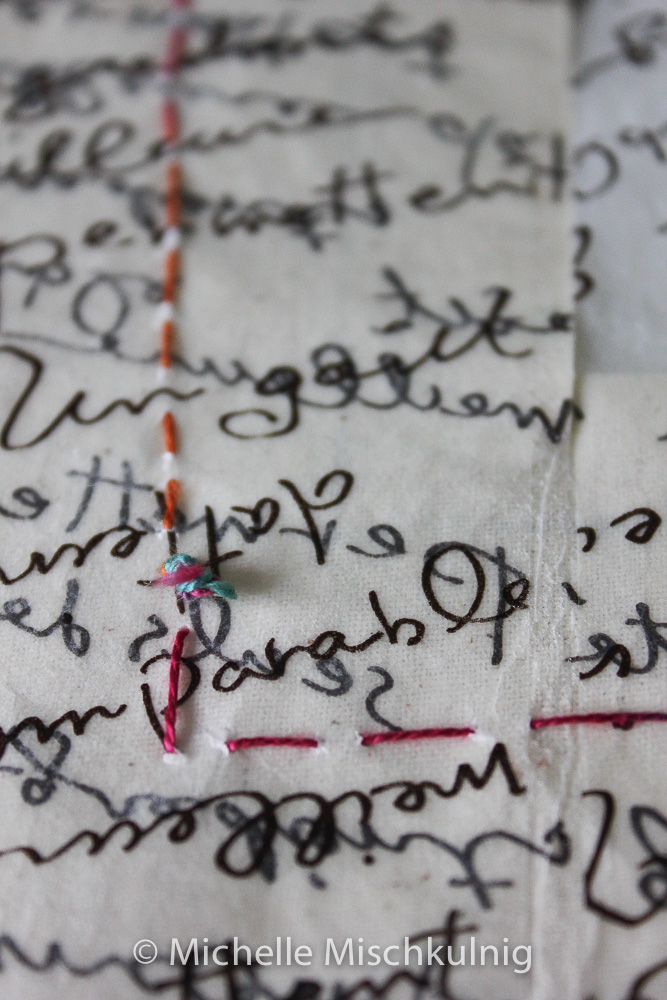
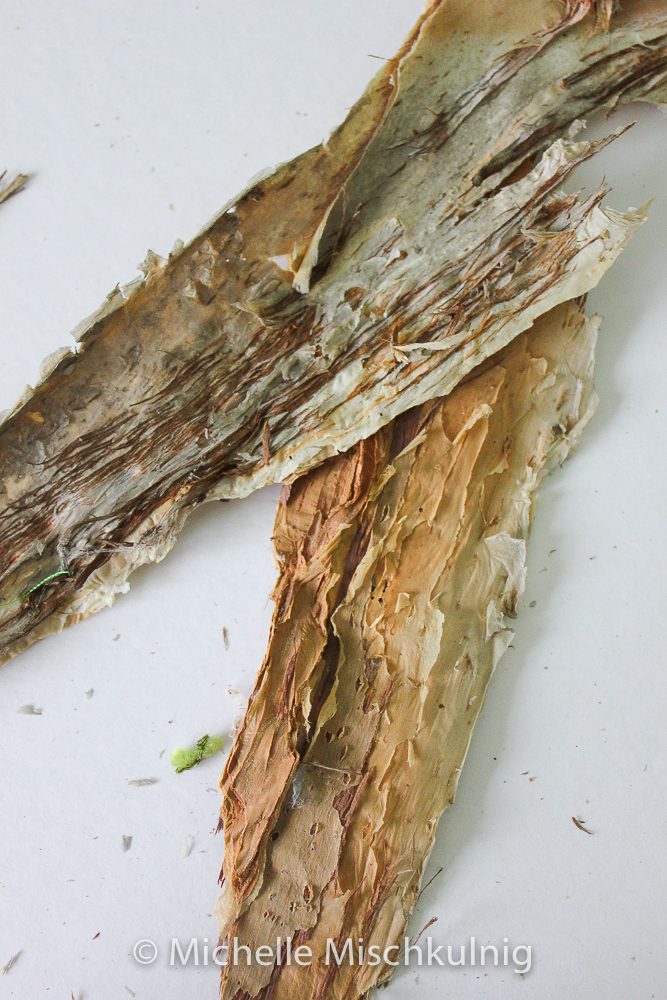
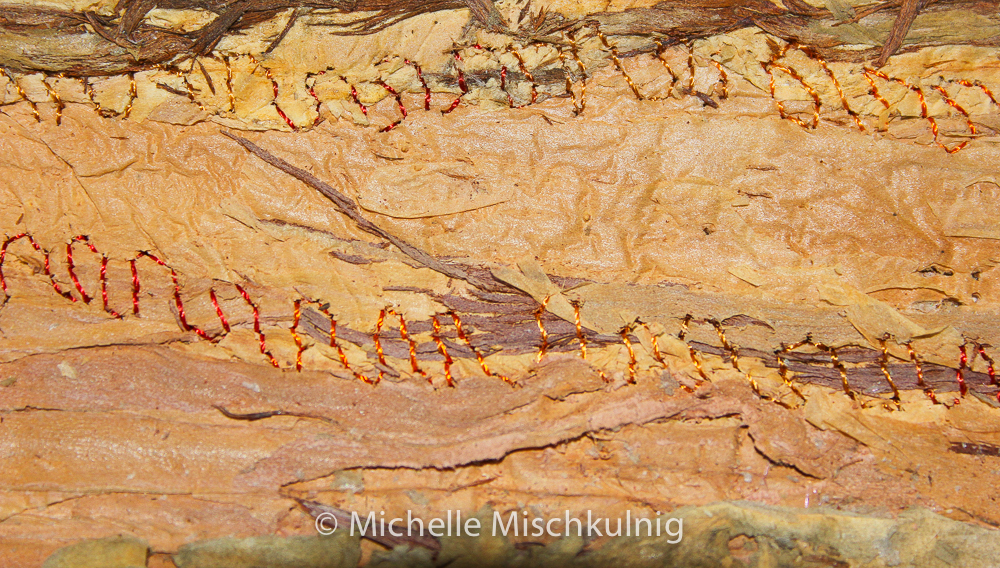
I have also posted just a little bit of play stitching on paper bark with my beautiful Bernina 720 which approaches all textures and layers with grace and ease. Give it a try it is wonderful to incorporate in all sorts of textile art projects .
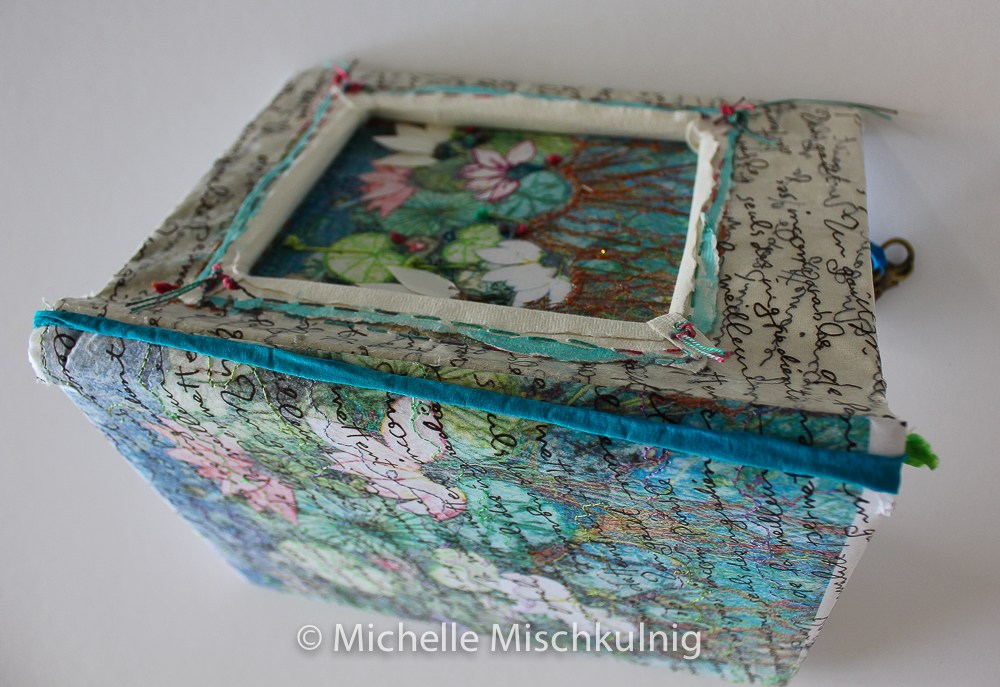
I thought I would share some play time with you, it is an idea for making gorgeous blank journals which will make fantastic gifts, I hesitate to say for Christmas ;-). This is the first one I have made and it is just a sample, far from perfect but it is a thought bubble for you to own and create .

Materials
Blank note/art book approx 16cm x 22cm must be thickish hard cover.
Computer
printer
printing paper
sewing machine
printed deli paper x2 http://www.thethreadstudio.com/catalogue/exp/delipaper/frenchscripted.htm
fusible web
silk organza or alternative sheer fabric
sewing machine
embroidery threads
Craft glue
double sided tape
hand embroidery threads
Bling
Some magic
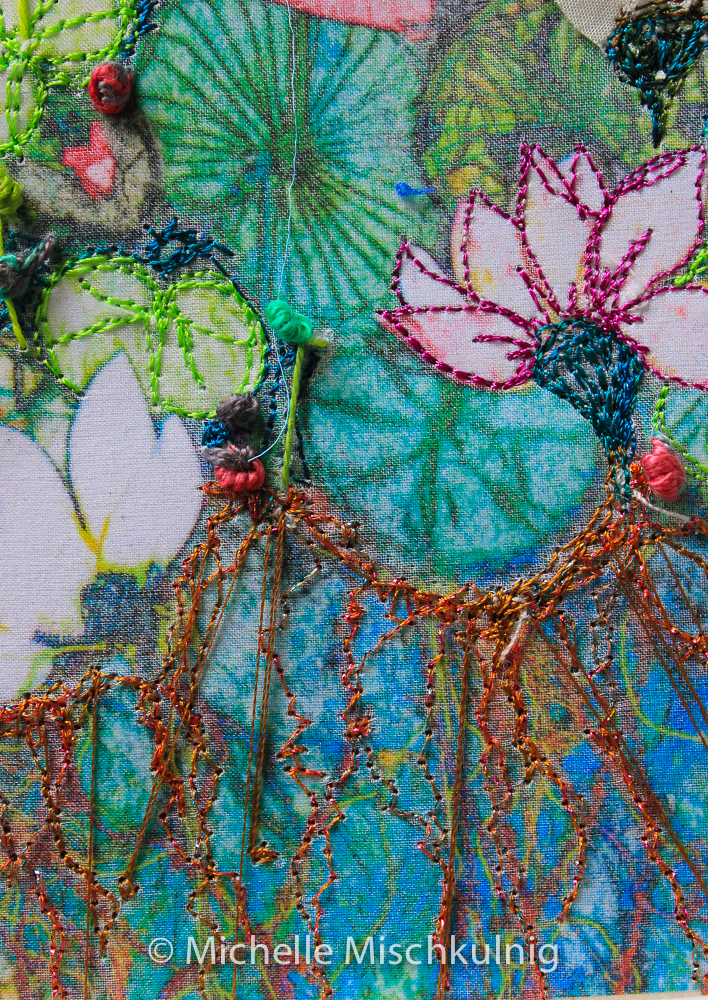
1. Select and image of one of your designs or any image you like.I have used a manipulated image of a water Lilly art work of mine.
2. Print a large full page image on normal print paper ( and then 2 smaller images one I used on the cover and the other inside the first page this will be discussed in further instructions). The sizing of this will depend on your note book sized and the size of the frame/window you wish to use.
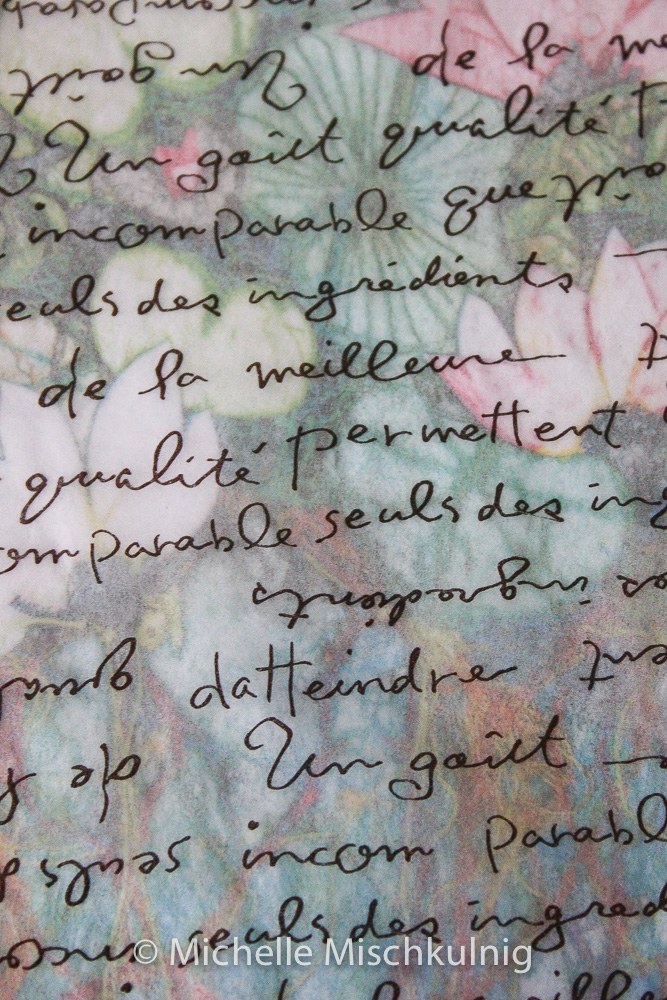
Deli paper laid onto of printed image before being fused onto it.
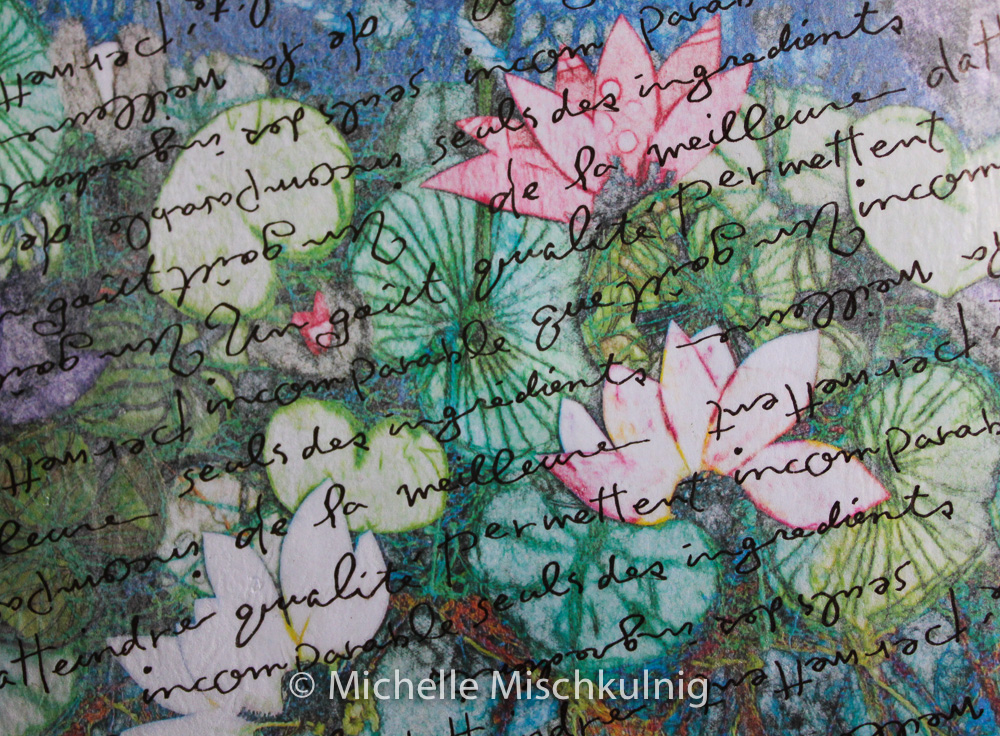
3. To fuse the deli paper make a sandwich, first layer the printed paper then a peeled layer of fusible web the last layer being the printed deli paper. Fuse these layers together using a hot dry iron with a layer of baking paper on top of the deli paper to protect both your iron and paper.
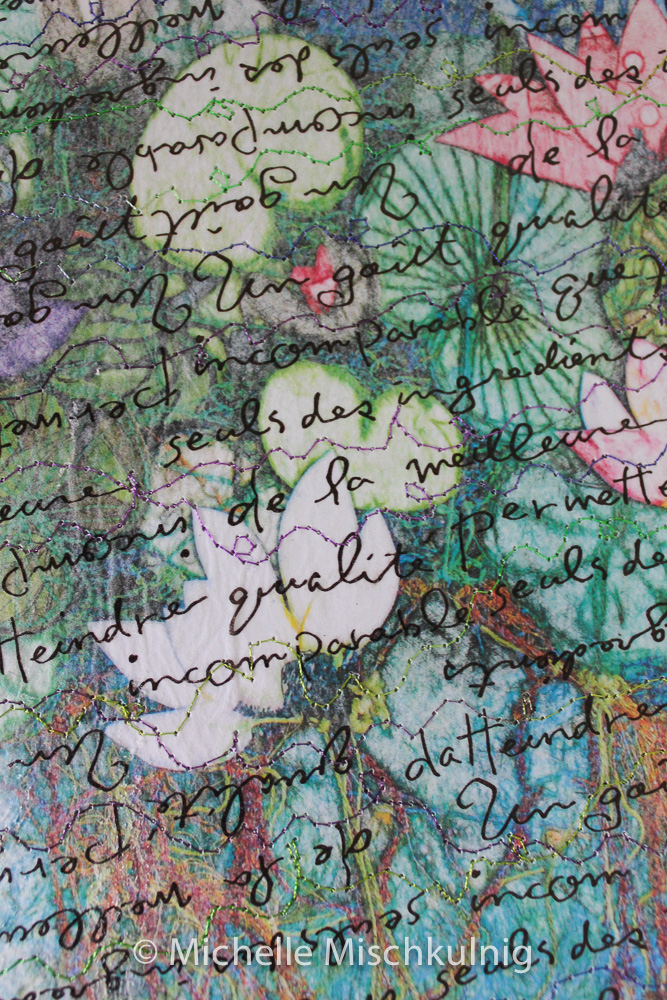
4. Repeat the sandwich this time with a calico backing layer then fusible web and the top layer is the deli/printed paper layer previously made.The calico adds strength for stitch.Then I free motion embroidered over the fused layers.
5. Look at your note book and think about what size frame you would like to cut out. On mine I cut approx 13 cm x 10 cm. This measurement will give you the size to print your art work for the window in the note book.
6. Think about the size you would like to decorate your first page as the book is opened.
When you have decided on the correct size for these mini prints print them on paper (or if you wish on silk using transfer printing method) .
5. I printed my mini image for the window onto normal print paper and then fused a layer of silk organza over the top.I then layered this onto a piece of cotton rag paper as backing which gives it strength for machine and hand stitch stitch you could use calico backing instead of cotton rag paper. I machine and hand stitched to enhance original design.
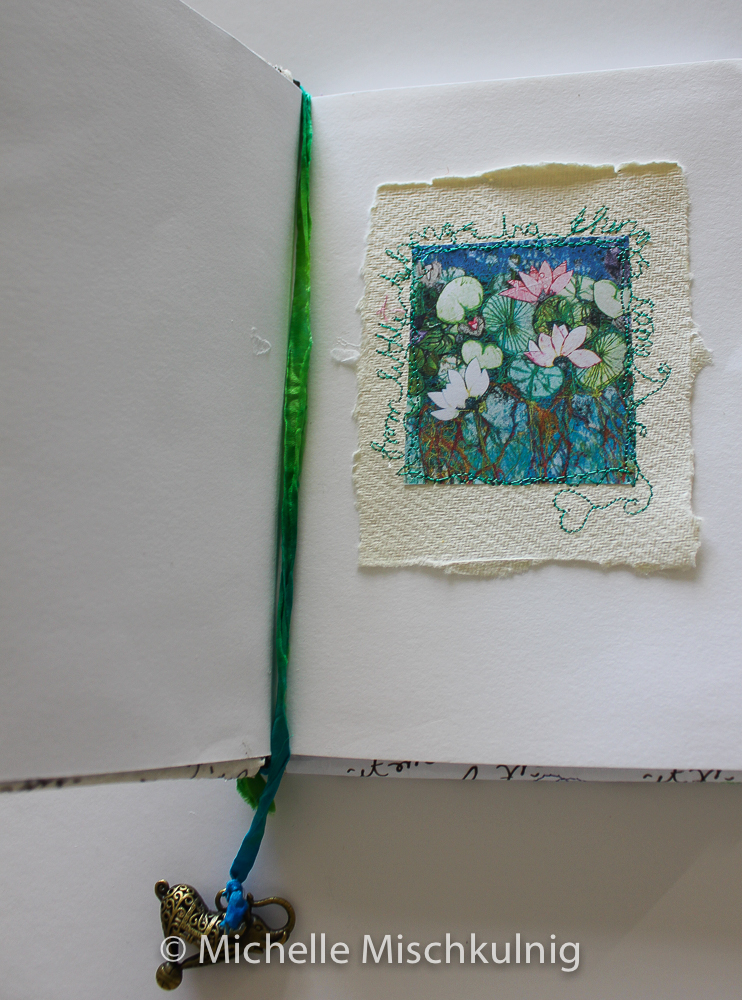
6. The mini piece for the page that first shows when the book is opened I added some machine embroidered words too after it was machine stitched to hand made cotton rag paper.
Set these aside for later.
Front cover
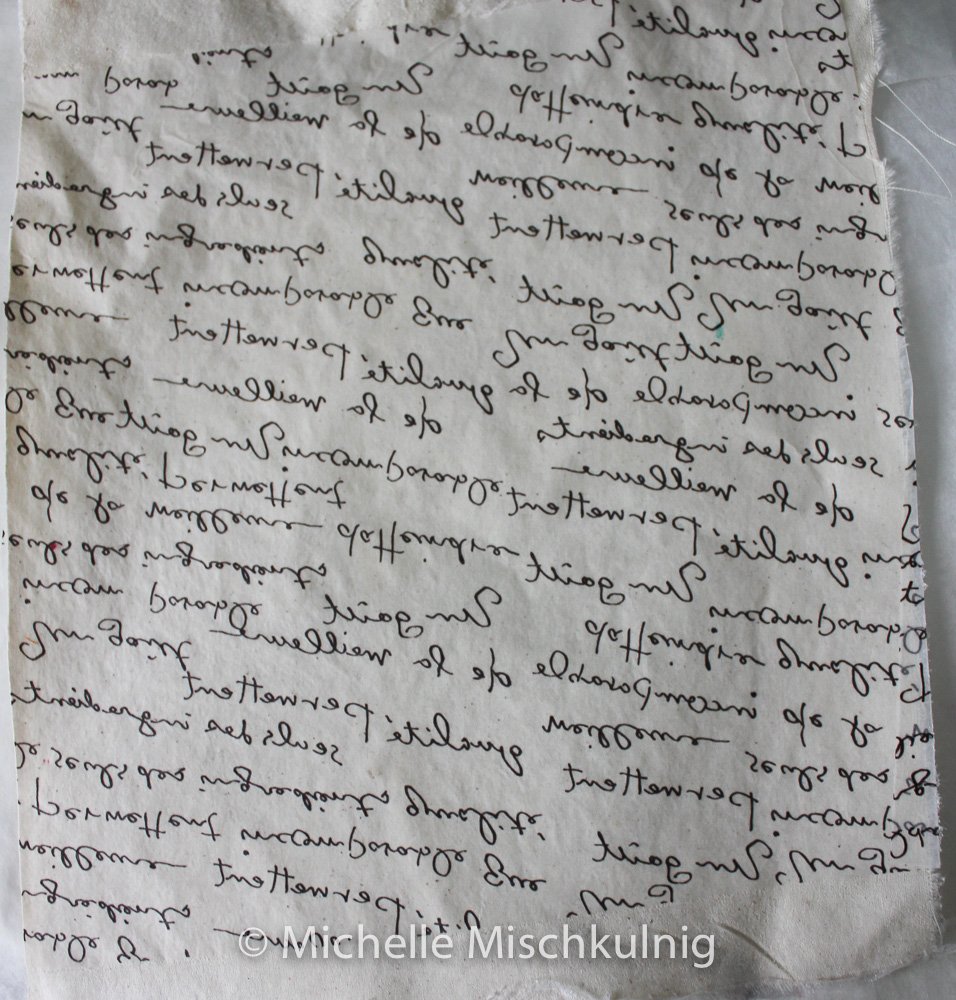
7. For the front cover fuse a piece of the deli paper onto calico backing (using fusible web) .There is a lesson here make sure if using writing it faces the right way mine didn’t.Problem solved by fusing a piece on top of that one facing the right way :-).
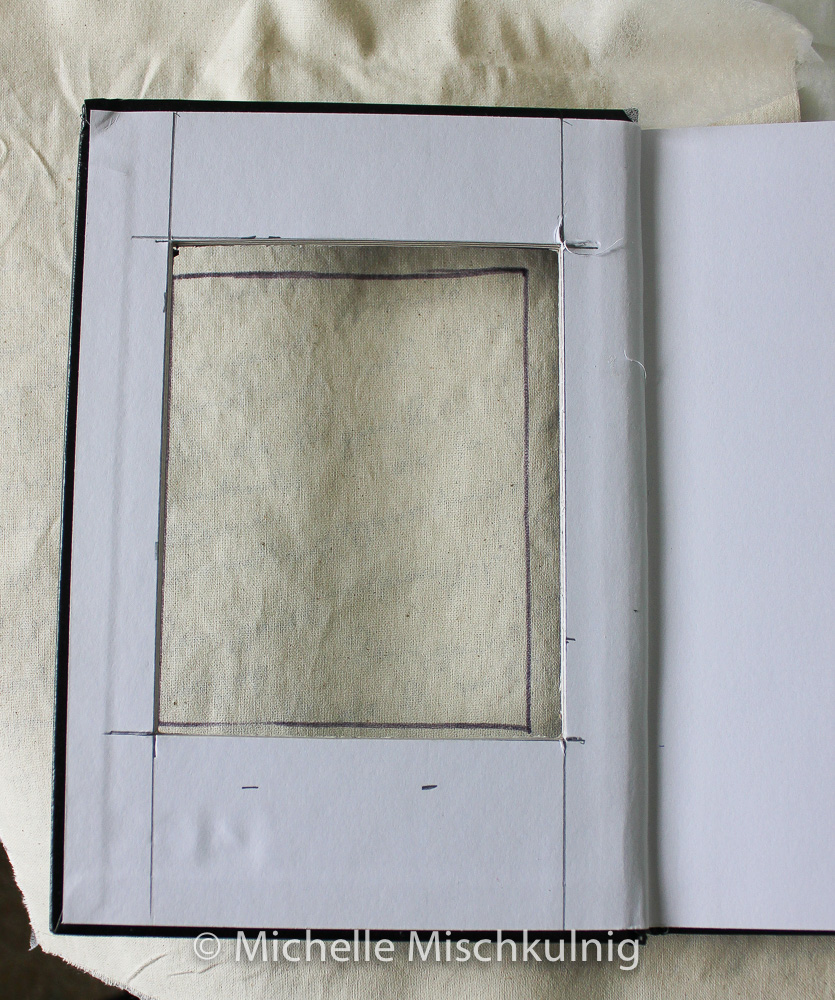
8. Work out the size of your window and cut through the thick cardboard cover using a stanley knife or equivalent . I cut mine to 13cm x 10cm, then place the cut front cover of the note book over the back of the deli paper/calico layer and trace the shape . Place it centrally so as edges will fold over front cover edges.
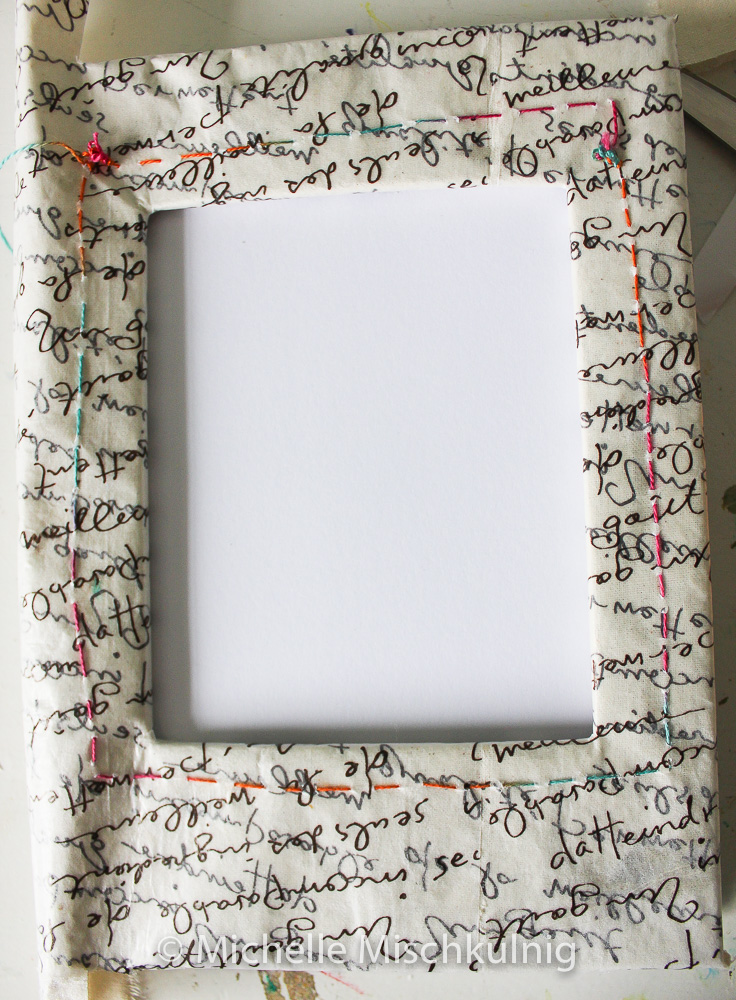
9. After tracing the window I hand stitch approx 2cm in from the edge of the drawn cutting line of the window .
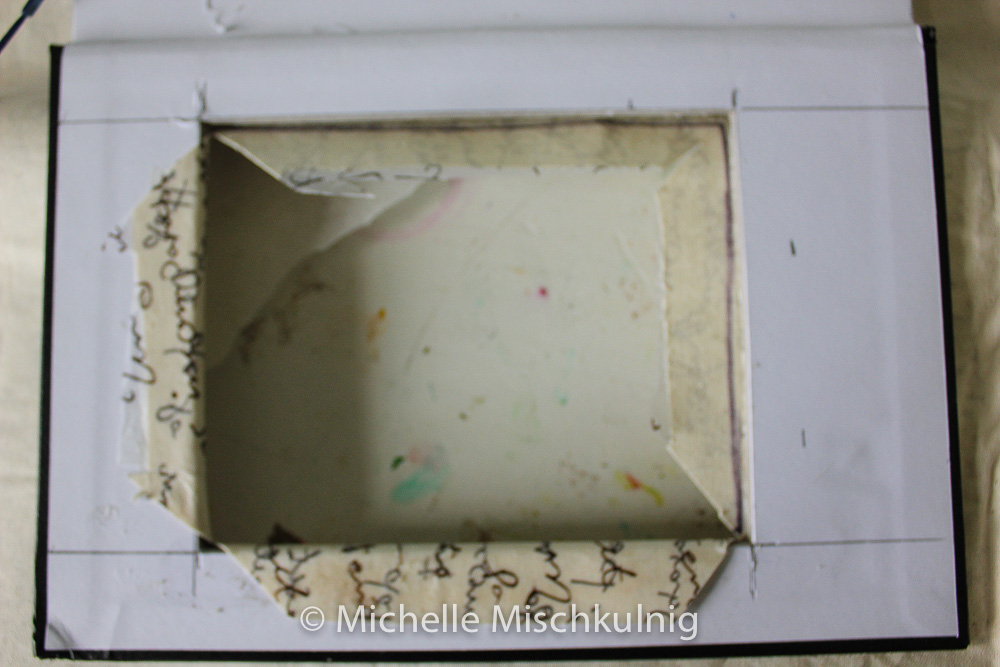
10.Using scissors or your choice cut out the centre of the deli/ calico fabric, leaving enough edge to fold back over the window cut edges as seen in image.Glue or use double sided tape to secure all edges.
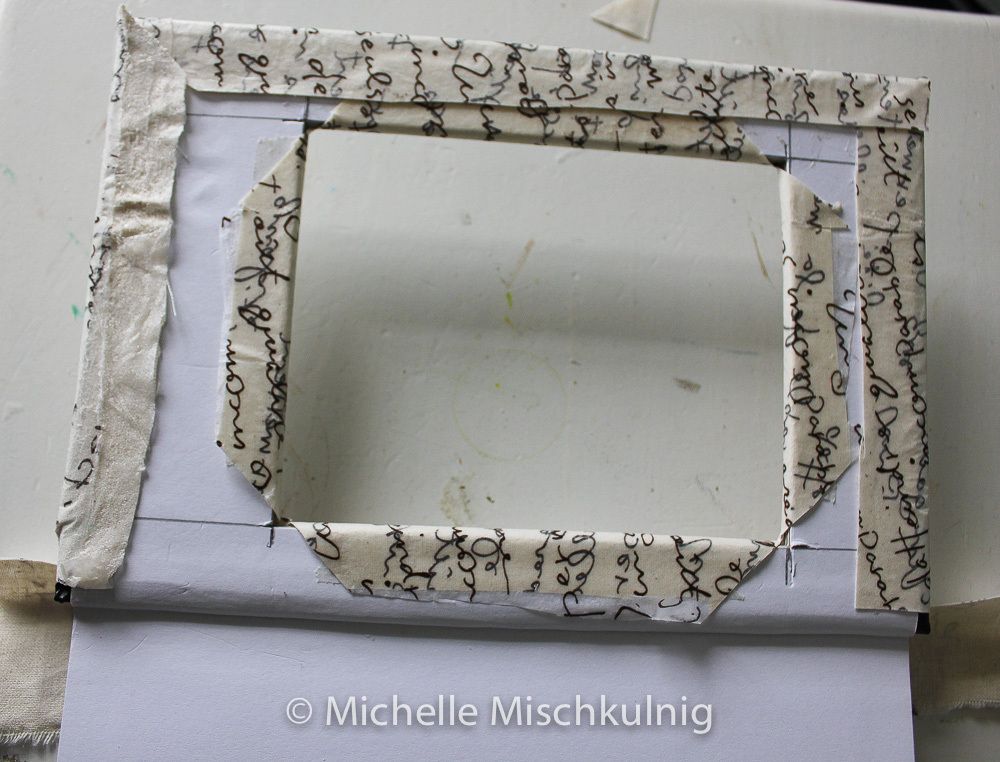
11. Turn and glue all edges to secure the front cover and run a little of the deli paper layer over the spine of the book.

12. Back of the note book all glued and attached to the cardboard cover. I trimmed the paper to the edgeof the spine.I took the printed deli/calico aper around the back and over the spine to the front edge and tucked it under to give a smooth finish.
Spine of the note book .
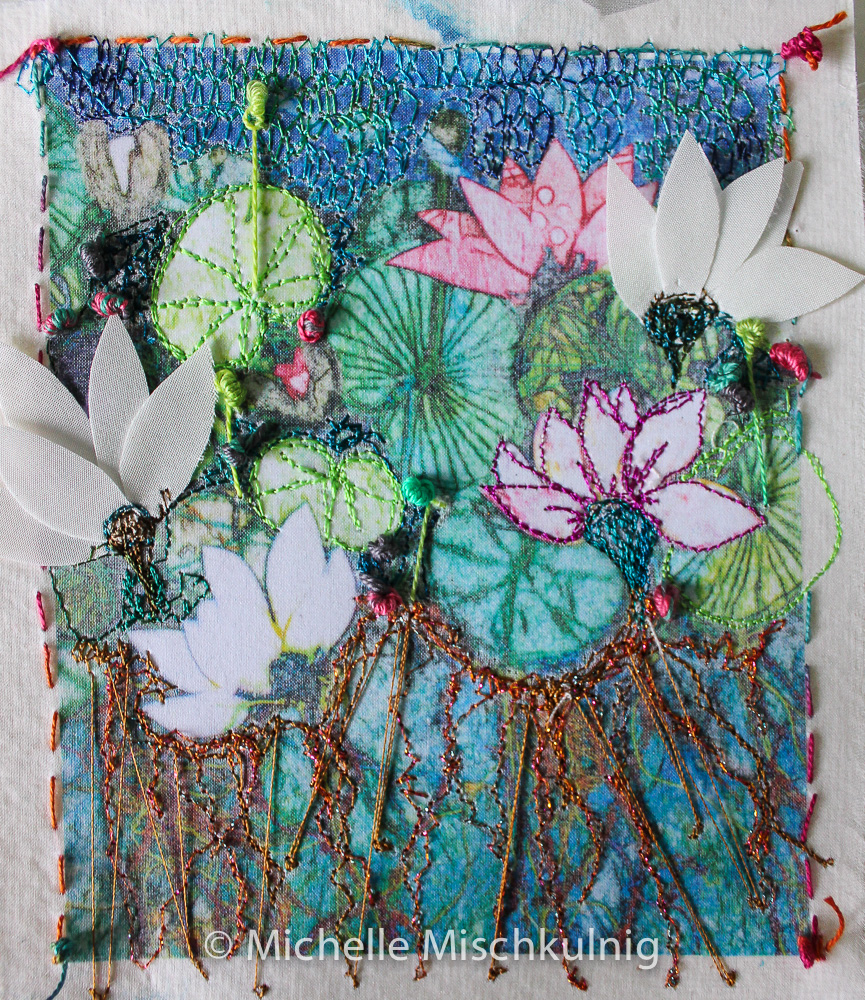
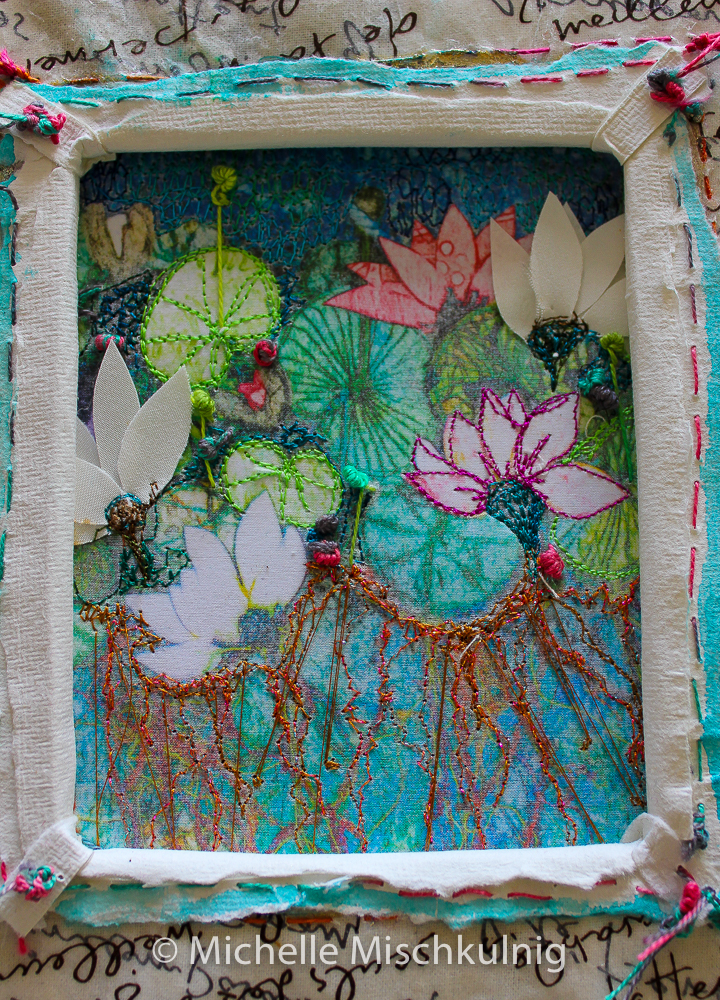
13. The window panel has been free motion stitched and hand stitched.I use double sided tape to attach to the back of the window frame of the note book.
14. After I have secured the window panel I glue the first 2 blank pages of the note book to the back of the front cover, so as when the book is opened it looks neat and the back of the window is not visible. Then I have added my opening page and special words to the facing page. When this is finished glue the first 2 back pages to the back cover to cover messy workings.
15. As you can see from this image I used hand made paper to form a frame around the art work, one layer being tucked under the internal front edge of the window and the other layer having some hand stitching .I also added a little water colour paint to the edge.
16. The final add to my note book is some hand dyed silk ribbon and a bit of bling as a page marker.I attach this by glueing the end of the ribbon in to the bottom of the spine wrap it up the spine and down the open page.
Hope you enjoy
Upcoming events
http://www.craftours.com/trips/?page=australia_michelle_0417
http://artquilttahoe.com registrations not available until November 2016
This week in my studio
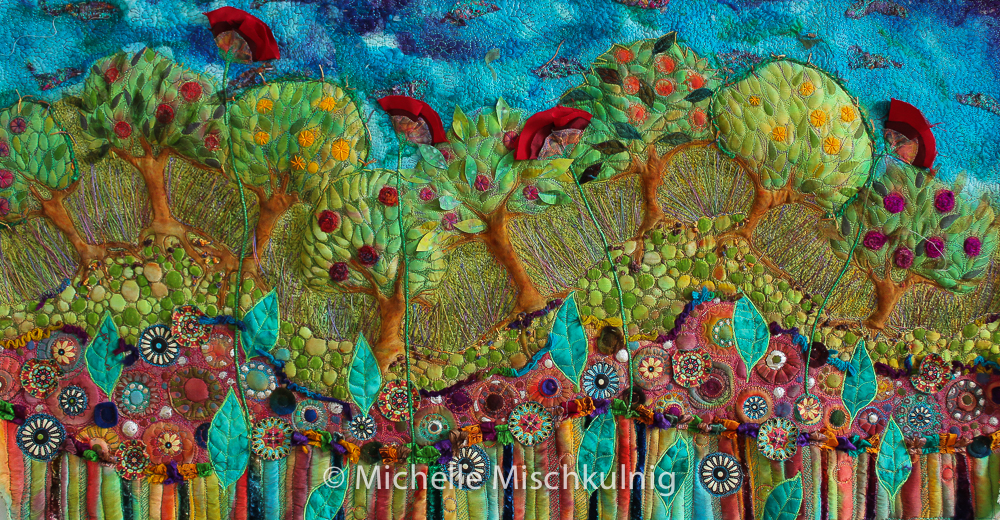
This is the piece I completed this week you can see some close ups on my FB page https://www.facebook.com/Chelle.Textiles/
Something to experiment with
Have a little play stitching on bark and other found materials.
Thanks Lynette just trying to find small projects to share that people can make there own.There is nothing better for the soul than creativity :-) and love.
Love the cut-out window idea and how you’ve used it is just beautiful. Always inspired by your work :-)
Thanks Yvonne I think it needs some more fine tuning.I have just run out of time. What i really loved was the deli paper fused onto the printed paper, thats given me lots of ideas.I try to think of projects where you might have most of the materials are available or that are easy to source.I too will make another, and might get a matching pen printed at vista print to make a nice gift :-).Always appreciate feed back
Thank you, always some really lovely work & good ideas. I might have a go at something similar.